All About The Best Oyster Shucking Knives
Important Note: When you buy through our links, we may earn a commission. As an Amazon Associate we earn from qualifying purchases. Content, pricing, offers and availability are subject to change at any time - more info.
Oyster shucking is probably not a task most people do very often unless you work in a seafood restaurant! Shucking an oyster is a skill that requires practice to master, and having the right oyster shucking knife is crucial to your success.
The best oyster shucking knives will have a thick, short, robust blade with a tip shape designed for the particular opening method you prefer. The blade can be high-carbon steel, but stainless steel is preferred. The handle should be non-slip and provide a comfortable, full grip in your hand.
Like any other knife in your kitchen, you get good quality oyster shucking knives and poor quality knives. Choosing a good-quality oyster shucking knife will ensure you have a knife you can use with confidence and safety. Then, you can concentrate on your shucking skills without worrying about the knife.
- What Makes A Good Oyster Shucking Knife?
- What If You Use The Wrong Knife To Shuck Oysters?
- How Do You Use An Oyster Shucking Knife?
- Selecting A Good Oyster Knife
- Some Great Oyster Shucking Knives To Choose From
What Makes A Good Oyster Shucking Knife?
Opening an oyster to gain access to the meat inside is no easy task and will take some practice and skill, and the right knife will make the job easier.
An oyster knife looks a little different from conventional knives and has certain characteristics built into the knife’s design that makes it perfect for the job of oyster shucking!
Large knives or knives with thin blades are unsuitable for opening oyster shells since part of the operation requires leverage and twisting the blade in the shell.
The following characteristics are the basic features to look out for on a good oyster shucking knife. Of course, some knives come with additional features, but we will discuss those later.
- A short blade. A good oyster knife should have a short blade of between 2 and 3-inches long. A longer knife blade will have too much flex in the steel when you try to pry the shell open.
- Thicker steel on the blade. The steel on the blade of an oyster knife should be thicker than that of most other kitchen knives. This provides rigidity to the blade in the twisting motion and makes the blade robust.
- A wider blade. Oyster knives generally have short, stout, wider blades rather than long narrow blades. This is both for the strength of the blade but also to make the blade easy to use safely.
- A full tang blade. A full tang knife is one where the blade’s steel continues throughout the length of the handle. A hidden tang is usually a partial tang, where the steel does not extend all the way through the handle. This can be a problem, particularly on knives that are not made well. The handle could come loose on the knife’s tang with the twisting action used during shucking oysters.
These are the basic characteristic you should look for in a good oyster knife. There are many different designs in oyster knives, and they vary in shape and size, but if you look for the characteristics we have outlined as the basics, you will have a good foundation from which to make your selection.
Should Oyster Knives Be Sharp?
Your oyster knife will not be the sharpest in your knife collection, but the knife will still have an edge capable of cutting.
Oyster knives do not need to be razor-sharp like other knives in your kitchen, but they do require an edge sharp enough to separate the oyster’s muscle from the shell. The tip of the oyster knife is usually sharper than the sides of the blade.
This edge may not seem very sharp, but it is sharp enough to cut you should the knife slip during the process. The main function of an oyster knife is to be able to easily penetrate the gap between the shell halves, twist to break the shell hinge, and cut the meat loose from the shells.
This does not require an extraordinarily sharp knife but a knife designed specifically for the job.
What If You Use The Wrong Knife To Shuck Oysters?
Knives designed for food preparation have features built into the knife that make the knife suitable to the task, making the task easier, quicker, and safer for the knife user.
Using the wrong knife or a knife not designed to shuck oysters can have several consequences and potential outcomes.
- The oyster shell could shatter. Using the wrong knife to shuck the oyster can result in the shell cracking and breaking, leaving the oyster covered in shards of shell, which are difficult to pick out and can cause problems for your guests when eating the shellfish.
- The knife could break. Shucking an oyster puts pressure and torque on the blade and structure of the knife. If the knife is not designed to handle these stresses, it could fail when used for this task. The knife tip could snap off, the blade could snap at the handle, or the knife handle could break or come loose from the blade.
- It is not safe. Should the knife slip during the process, you could be seriously cut or stabbed. Likewise, should the knife break during the process, you could be injured by the sudden release of pressure, causing the remnant of the knife to cut you.
As with any other knife in the kitchen, it is best to use a knife designed for the specific task you are performing. It is not only safer for you but also for your knives!
How Do You Use An Oyster Shucking Knife?
There are several different oyster shucking techniques, and the knife designs vary according to the technique they were designed for.
We will discuss the most common oyster shucking technique, but you can explore other methods and the associated knives once you become more adept at the task.
The first part of oyster shucking, before you even pick up your oyster knife, is to examine your oysters to ensure they are all safe to eat. This is a key aspect to preparing oysters, especially if you are new to this dish. You don’t want to make you or your guests ill by serving them oysters that are not fresh.
If you have bought your oysters a few days before you intend to use them, always store them in the coldest part of the fridge. Oysters can be stored in the vegetable crisper at the bottom of the refrigerator or alternatively on one of the lowest shelves, as these will be the coldest locations in the appliance.
Always store oysters with the rounded side of the shell down. This prevents liquid from spilling out of the shell if the oyster opens. Use your fresh oysters within 5-days after purchase to prevent them from dying and going bad before serving.
Check the oyster before you start to shuck it. The two halve of the shell should be tightly closed, with no gaps and no fluid leaking out of the shell. If the shell is slightly open, the fluid can run out of the shell, which will make the meat inside dry and rubbery, or the oyster could have died, in which case, it is not safe to eat.
If the shell is not tightly shut, discard the oyster and do not attempt to open it, serve it to your guests, or eat it yourself.
Now that you have a good batch of oysters, let’s get to the fun part; the shucking!
1. Secure The Oyster In A Kitchen Towel
One of the most frequent causes of oyster shucking injury results from the shell slipping on a smooth surface, and using unprotected hands.
The kitchen towel can be used in a couple of ways. Fold the kitchen towel in half and place it on the kitchen countertop. Place the oyster, rounded half down, on the kitchen towel and fold the towel over the oyster to cover half the shell. The tapered hinge section of the shell should protrude out from the towel.
An alternative method is to fold the towel a couple of times and then place it over your non-dominant hand and grip the oyster shell with your fingers through the towel. This method is safer since the towel also covers your hand, providing it with protection should the knife slip.
If you are a beginner to oyster shucking, you can also use a cut and stab-proof glove on your non-dominant you will use to hold the oyster.
Many oyster shucking knives come bundled with a safety glove to encourage safety when using the knife.
2. Insert The Knife Between The Oyster Shell
There are different methods to oyster shucking, and the method you use will largely depend on the style of oyster shucking knife you have.
Some methods to separate the shells start at the rounded end, some on either side of the pointed hinge, but the easiest method is to start right at the hinge itself.
It is best to use a shucking knife with a pointed tip rather than a rounded tip for this method. While holding the oyster firmly in the kitchen towel with your non-dominant hand, insert the tip of the knife under the top shell at the hinge.
Using a fair amount of pressure, wiggle the tip of the knife a little to get the knife under the top shell. Don’t push the shucking knife in too deep, or you could damage the oyster’s meat underneath. The tip of the knife only needs to go in about a ¼-inch, or 5 to 6-mm.
3. Pop the Oyster Shell Hinge
Once the tip of the knife is inserted at the hinge, you are ready to pop the hinge of the oyster shell. This is the muscle that holds the shell tightly closed.
There are two methods to separate the hinge. One method is to twist the knife, first one way and then the other. This lifts the top shell to the height of the blade as you twist it inside the shell opening. However, sometimes this is not enough to pop the oyster hinge.
The second method is preferred because you can lift the shell higher. This method is to use the knife as a lever and lift the shell at the hinge. Raising the shell higher makes it easier to separate the hinge muscle from the shell.
Some people use a combination of the two methods, starting with the twist method to loosen the shell and then lever the shell up to finish the job.
You may hear the top shell separate from the hinge with an audible pop, or you may simply feel the tension go out from the top shell, indicating the hinge has separated.
4. Release The Top Shell From The Oyster
Once the hinge has separated, you can now easily get the knife further inside the top shell to disconnect the top shell from the oyster.
Slide the oyster knife under the top shell from one side, angling the tip of the knife slightly to point up towards the top of the shell. This is to prevent cutting into the meat of the oyster.
Slide the knife along the underside of the top shell to sever the oyster from the shell, cutting the muscle holding the shell to the oyster. You will feel once the top shell has completely separated from the oyster.
Use your knife to slightly lift the top shell’s edge, and then use your fingers to lift the top shell away from the oyster.
5. Loosen The Oyster From The Bottom Shell
You can leave the oyster as is in the bottom shell and let your guests dislodge the oyster from the remainder of the shell, or you can do it for them.
If you are serving the oyster without utensils as “finger-food” before the meal, you will need to loosen the oyster in the lower shell before serving.
The method for this is similar to loosening the oyster from the top shell. With the point of the oyster knife pointing down towards the center of the shell, slide the knife under the oyster from the righthand side.
Slide the knife around the righthand side of the shell to sever the abductor muscle from the bottom shell. It is unnecessary to run the knife down the other side of the oyster since there is only one muscle holding it to the shell. You can now serve the oyster in the bottom shell.
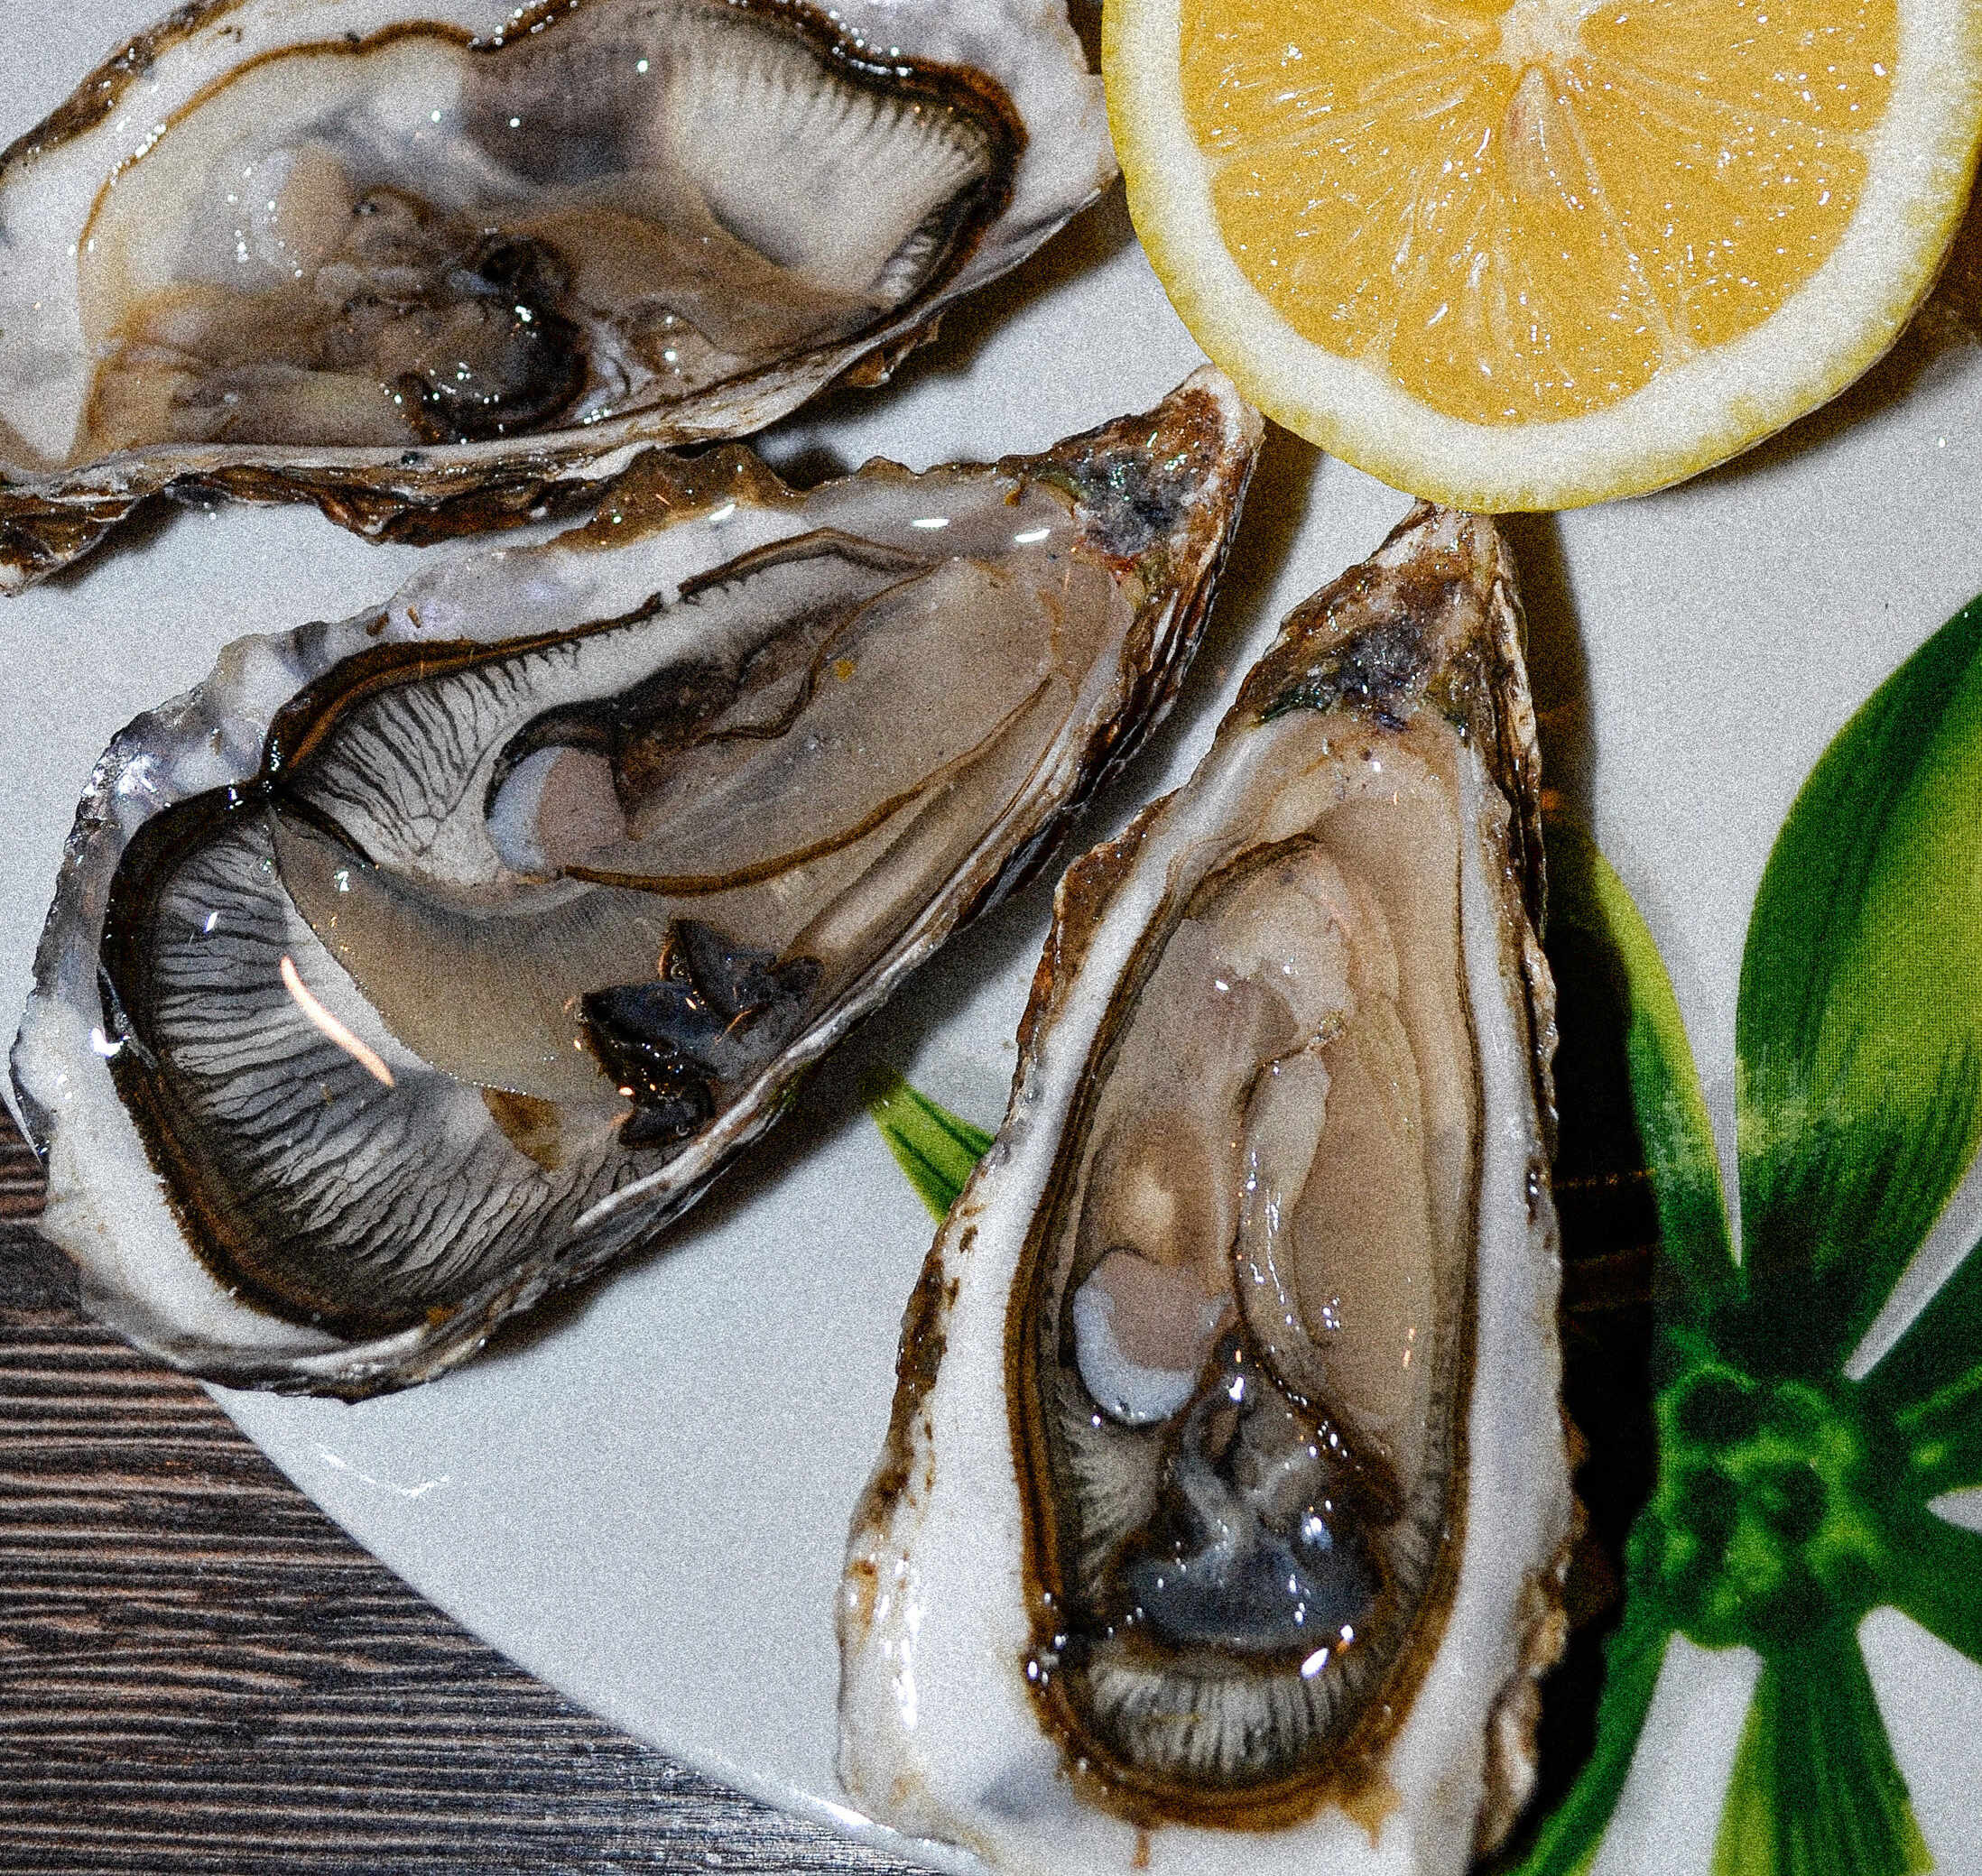
Serve the oysters on a tray on a bed of crushed ice to keep them cool and prevent the oyster from tipping over and spilling the content.
Oysters are usually served with some sort of acidic sauce, such as a slice of lemon on the side to be squeezed over the oyster, a tabasco sauce for some chili heat, or red wine vinegar with some shallots chopped up in it can be spooned over the oyster before serving.
The oyster should be consumed as soon as possible before shucking to ensure freshness!
Selecting A Good Oyster Knife
If oyster shucking is a new endeavor for you in the kitchen, you need to select the right knife to make the task as safe and easy as possible. The right knife will also allow you to shuck oysters faster to ensure you will be on time for your dinner guests!
Selecting The Style Of Oyster Knife
As we have already mentioned, there are different methods of shucking oysters that will affect the design of the knife you choose to purchase.
Oysters also come in different sizes, influencing the size of the oyster knife that you will purchase. The main styles of oyster shucking knives are as follows.
- Boston-style shucking knife. These shucking knives are slightly longer than other oyster shucking knives and have a narrow blade with the tip rounded rather than pointed. This style of shucking knife is intended for use to shuck oysters from the side rather than the hinge. It is also intended for small to medium-sized oysters
- Galveston-style shucking knives. These knives are shaped similarly to the Boston-style in that they are long, narrow, and have a rounded tip. They are longer than the Boston-style knives because they are intended for use with medium to large oyster varieties.
- New Haven-style shucking knife. This style of shucking knife has a short, broad blade with a pointed tip. The pointed tip has a slight upward curve, which helps prevent damage to the oyster meat during shucking. This knife style is a preferred choice when the oysters are served in the shell.
- Providence-style shucking knife. This style of shucking knife also has a short, wide blade with a pointed tip, but the knife is flat and straight with no curve on the blade. This is the oyster shucking knife of choice when using the hinge method of shucking described earlier.
What Steel Should You Select For Your Oyster Shucking Knife?
Steel is an important consideration when choosing a knife since it influences the knife’s durability, the toughness of the blade, and the maintenance of the knife.
Many oyster shucking knives are made from high-carbon steel, which makes the steel very strong, but it does increase the maintenance required to keep the knife clean and rust-free.
Stainless steel is the preferred choice of steel in an oyster shucking knife. Oysters come from the sea, which means the combination of salt and water increases the risk of rust on the knife.
Stainless steel is not as hard as high-carbon steel, but it is tough enough for this job, and it will be more rust and stain-resistant than a high-carbon steel blade.
Our recommendation would be for a stainless steel shucking knife, especially if you are unfamiliar with the care required to maintain a high-carbon steel knife.
Choosing The Handle Type For Your Oyster Shucking Knife
The handle material of your oyster knife is a vital aspect to consider since you will be using the knife in wet conditions and placing a lot of pressure on the knife.
The handle of your oyster shucking knife should be large enough to get a good, firm, comfortable grip on the knife. The handle should be made from a material that will not become slippery when it gets wet.
A handle that becomes slippery when wet is not only dangerous, but it will also take you longer to shuck the oysters while you fight to grip the knife properly.
Most oyster shuckers find that handles made of textured plastic or rubber work very well. Wood also works well for a handle on a shucking knife, but it should be protected from moisture damage with a suitable food-grade protective coating.
Do You Need A Blade Guard On A Shucking Knife?
A blade guard is not an absolute necessity on a shucking knife, but it does offer good protection to your hand using the knife and allows you to add greater pressure to the knife.
A blade guard on a shucking knife will prevent your hand holding the knife from sliding forward over the blade should your hand slip while applying the pressure necessary to get the knife under the shell.
In some shucking knives, an obvious blade guard is included in the knife’s design, but in others, a swell of the handle material near the blade can perform the same function without being so obvious.
A shucking knife that incorporates a blade guard or at least a swell in the handle material near the blade is recommended for all beginner oyster shuckers for added safety.
Some Great Oyster Shucking Knives To Choose From
We have selected a few oyster shucking knives that we recommend as a good place to start your search for a good quality shucking knife.
The knives we recommend all take into account the features that we discussed earlier that make for a great shucking knife.
Stainless Steel ABS Handled Oyster Shucking Knife Set
This oyster shucking knife set we chose is a great option for beginners because the knives have all the safety features required for safe shucking.
The Stainless Steel ABS Handled Oyster Shucking Knife Set comes with two stainless steel shucking knives with non-slip ABS plastic hands. The knives have a blade shield to prevent your hand from slipping forward over the blade.
The set includes a pair of food-grade cut-resistant gloves while you work on your shucking skills. This knife set is great to use in the kitchen for fast, safe processing of your oysters before serving.
Stainless Steel Oyster Shucking Set
This set comes with 2 oyster shucking knives, two stainless steel spoons, and two pairs of food-grade cut-resistant gloves.
The Stainless Steel Oyster Shucking Set knives are stainless steel, with stylish wood handles and a blade guard for your protection.
These knives are well-made and look great when serving your oysters for the guests to cut them from the bottom shell themselves.
As with any task in the kitchen, using the right knife for the job makes the task safer, more efficient, and preserves the integrity of the food for a good presentation.
Oyster shucking requires a specialist knife with design features made for the task. Oyster shucking knives are generally knives with a short, stout, robust blade made from thicker steel than most other kitchen knives. There will be little to no flex in the blade of an oyster knife.
The handle should offer a firm, solid grip and should not become slippery when the handle gets wet. A good safety feature is a blade guard preventing your hand from slipping from the handle over the knife’s blade.
Never use a normal knife to shuck your oysters! This could end in disaster for you, the knife, or both. Choose a good quality shucking knife, and you will be enjoying the process of preparing your oysters as much as eating them!