
Homemade Japanese Spring Rolls
Important Note: When you buy through our links, we may earn a commission. As an Amazon Associate we earn from qualifying purchases. Content, pricing, offers and availability are subject to change at any time - more info.
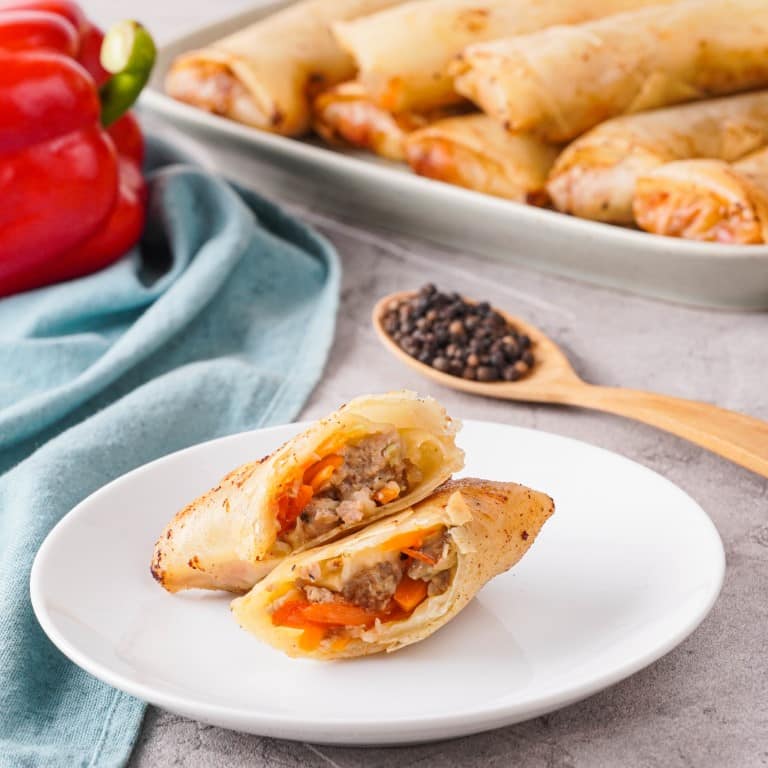
Harumaki or Japanese spring rolls are made with classic Japanese flavors and a savory gravy-like sauce that makes each bite extra juicy. Japanese spring rolls are deep-fried, giving them a crispy exterior that delectably contrasts with the succulent vegetable and ground meat filling.
Why We Love This Japanese Harumaki Recipe
It’s super versatile and vegetarian/vegan friendly. This harumaki spring roll recipe calls for ground pork, but you can easily replace it with any other ground meat, crumbled tofu, or plant-based meat. You can even replace meat with more shiitake mushrooms.
We use a special rolling technique that keeps the spring rolls crisp for hours after frying. So, you can manage to devour the whole plate of harumaki before they lose their crunch. This method also prevents oil from splattering when frying.
They’re still delicious cold, making them perfect for leftovers. Pack them in your lunch box or take them on a picnic. You can also easily reheat them in a pan. Check out our article on Can You Reheat Spring Rolls for all the deets.
This Japanese harumaki recipe is a bit time-consuming, yet very straightforward. Follow the detailed instructions and you’ll soon enjoy the tastiest, juiciest, crispiest spring rolls of your life. They don’t even need a dipping sauce!
What Do I Need To Make Japanese Spring Rolls?
There are a few pieces of equipment you’ll need:
- 12-inch pan
- Dutch oven or another heavy-bottom pot for deep-frying
- A large tray and a smaller tray (for cooling the filling)
- A deep bowl and 3 paper towels (for draining the oil off the fried harumaki)
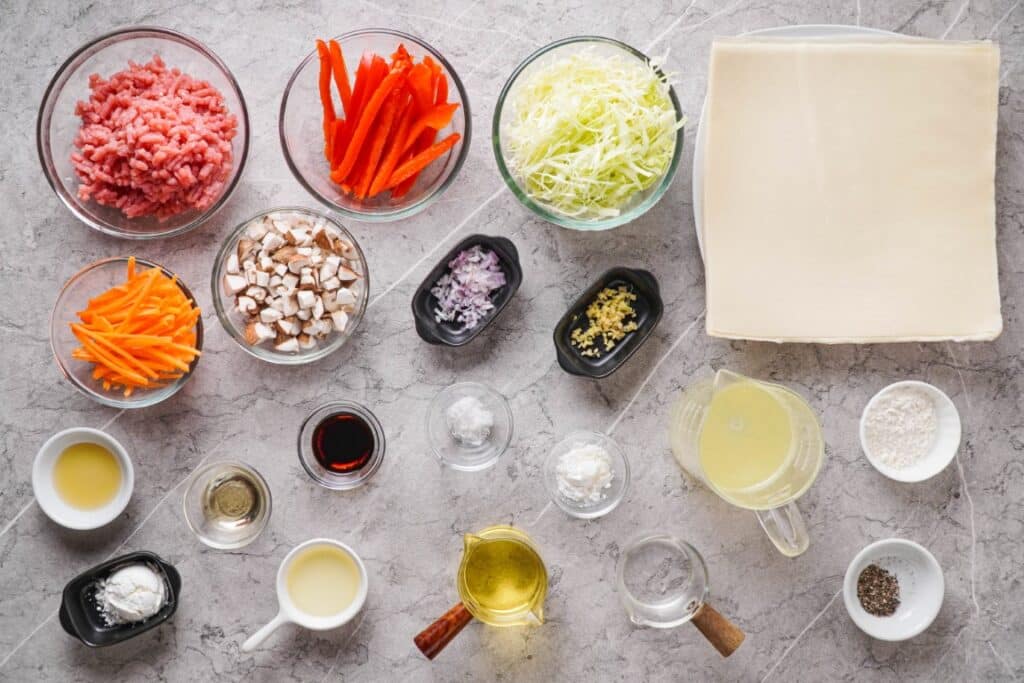
Here are the ingredients for the spring rolls:
For the protein:
- 5.3 oz. ground pork (or other ground meat, plant-based meat, or crumbled tofu)
- 1 Tbsp. soy sauce
- 1 Tbsp. mirin
- 2 tsp. potato starch
- ¼ tsp. black pepper
For the vegetables:
- 1 Tbsp. cooking oil
- ¼ inch ginger, minced
- 2 shallots, minced
- 6 oz. cabbage, shredded
- ½ medium carrot, julienned
- 3.5 oz. red bell peppers, julienned
- 2 large shiitake mushrooms, chopped (or another mushroom)
For the gravy:
- 1 cup chicken stock (or vegetable stock to make it vegan)
- 1 Tbsp. potato starch
- 1 tsp. sesame oil
- Salt (to taste)
For Harumaki:
- 10 spring roll wrappers (not the same as egg roll wrappers)
- 1 Tbsp. flour + Tbsp. water (to make glue)
- Vegetable oil for deep-frying
How To Make Japanese Spring Rolls Harumaki
These deep-fried treats take some time to make, but the result is worth it.
Step 1: Marinate Pork & Infuse Flavors While Preparing Ingredients
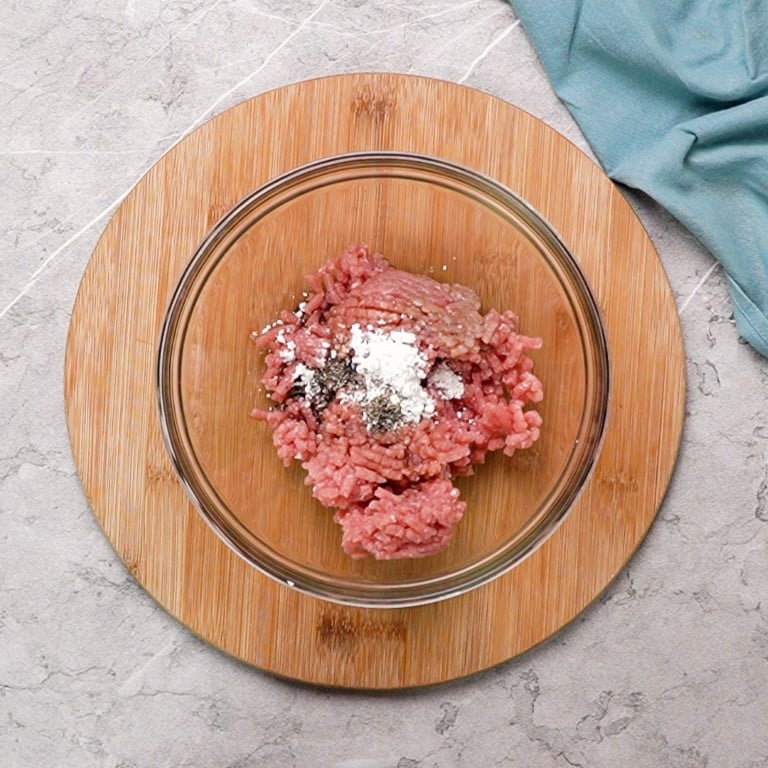
First, marinate the pork by adding it to a bowl with the soy sauce, mirin, 2 teaspoons of potato starch, and black pepper. Mix to combine. Leave marinating at room temperature while you prepare the other ingredients.
Step 2: Whisk Together Gravy Components for a Rich & Savory Blend
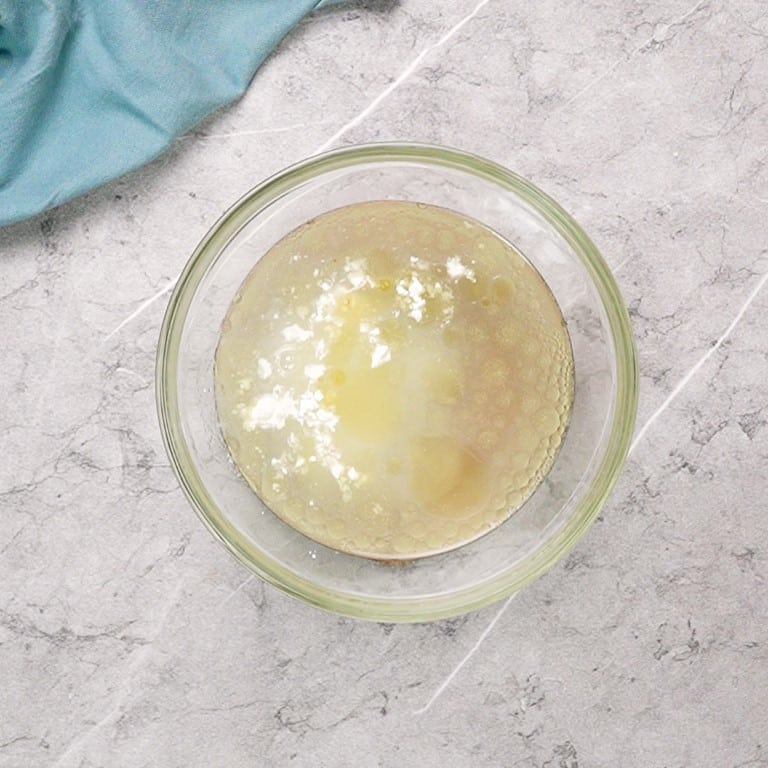
In a separate bowl mix all the ingredients for the gravy (chicken stock, 1 tablespoon of potato starch, and sesame oil). Set aside.
Step 3: Prep Veggies & Organize for Efficient Cooking
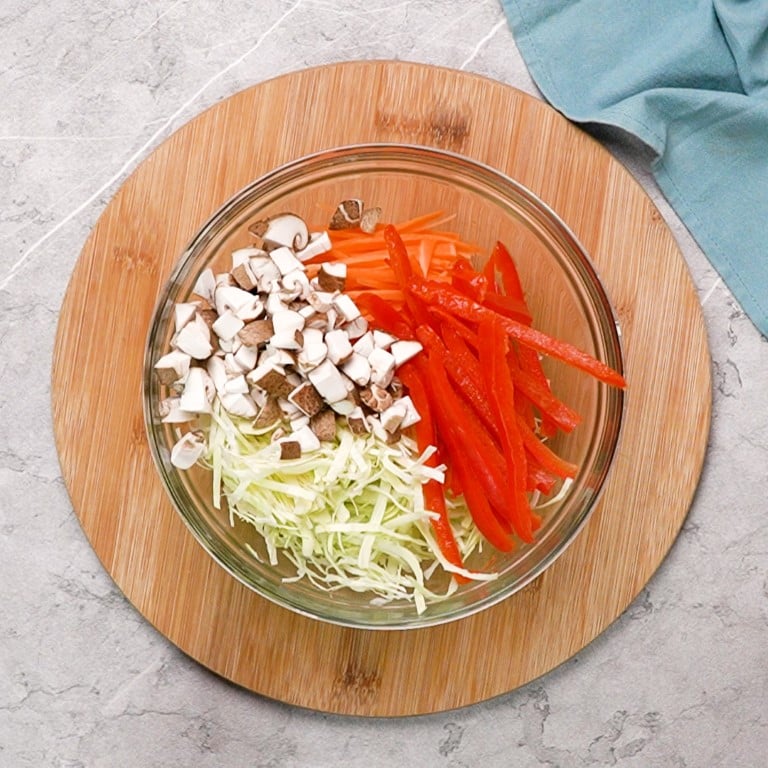
Cut all the veggies as indicated and assemble them – the ginger and shallots should be separate from the rest of the vegetables.
Step 4: Prepare the filling
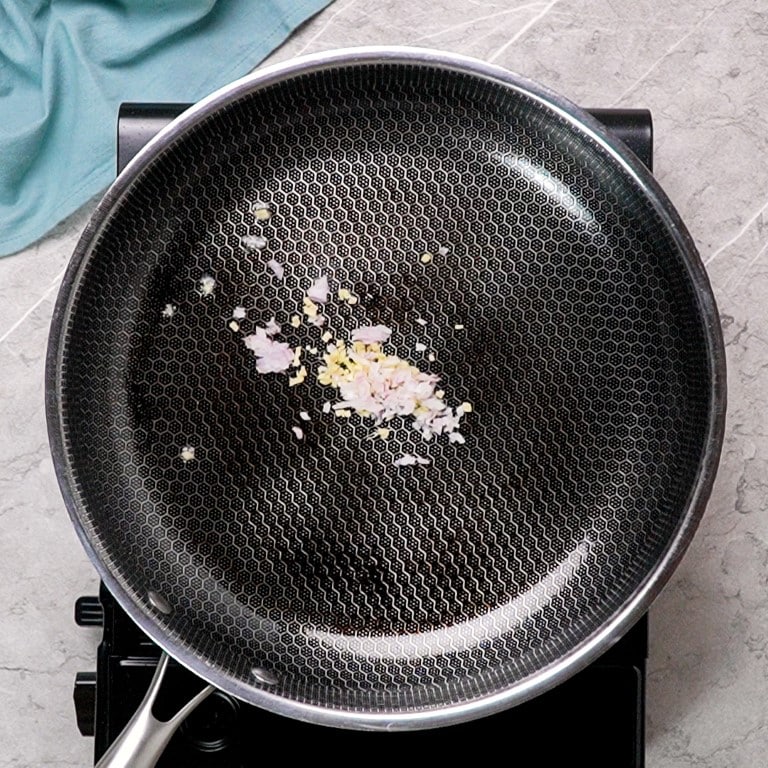
Heat 1 tablespoon oil in a 12-inch frying pan over medium-high. Add ginger and shallots, and sauté until fragrant and tender (about 2 minutes). Don’t let them burn.
Step 5: Sizzle Remaining Veggies & Stir to Perfect Tenderness
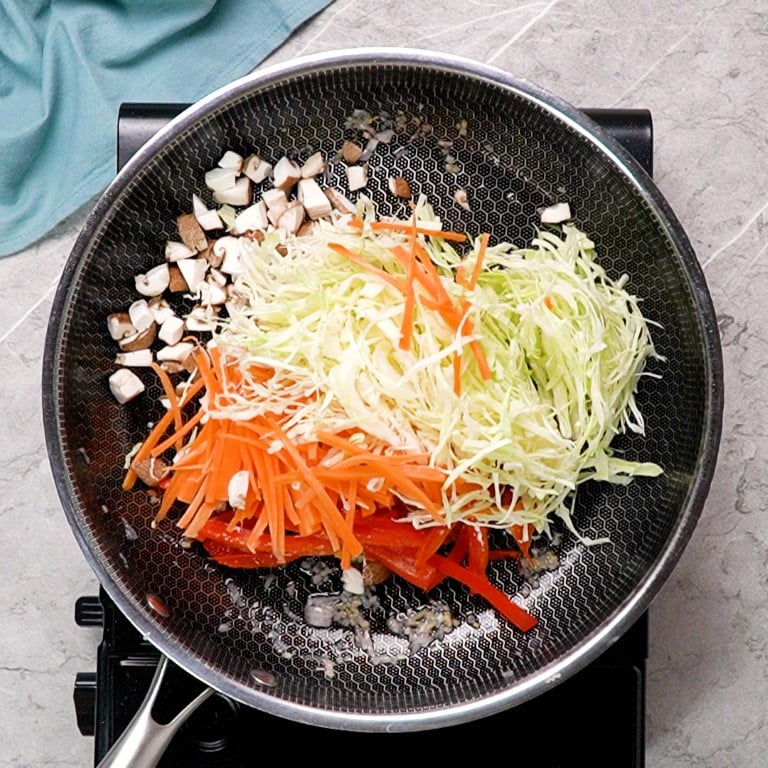
Toss in remaining vegetables and stir-fry until tender (about 3 minutes). Stir the vegetables constantly to ensure they cook evenly.
Step 6: Incorporate Pork, Cook Thoroughly & Merge with Veggies
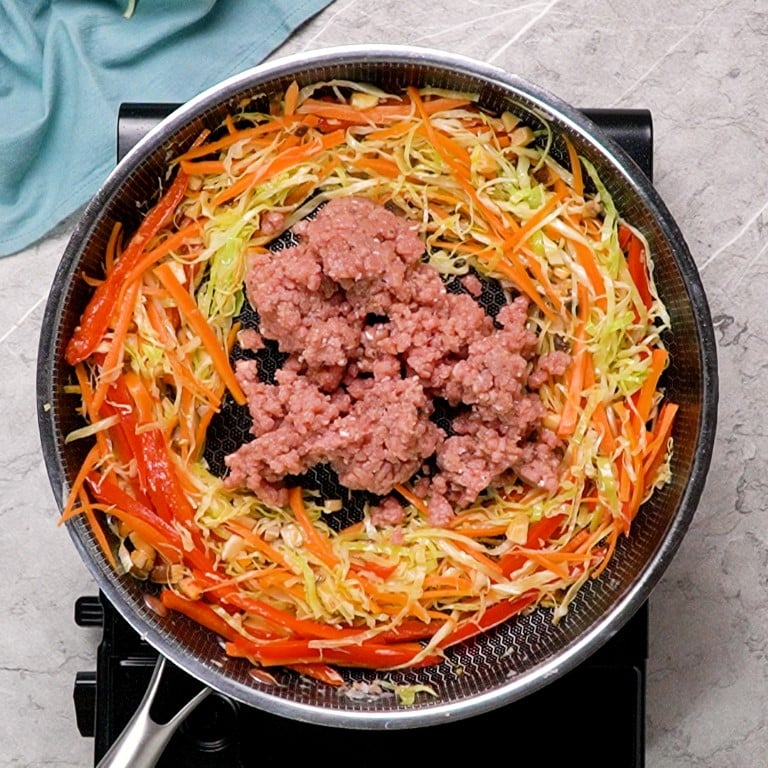
Now, make a hole in the middle of the pan by pushing the veggies to the sides and add the ground pork in that hole. Cook the meat, while breaking it up with a spatula until crumbly, then stir-fry it together with the vegetables until the pork is almost done.
Step 7: Pour in Gravy, Blend with Ingredients & Thicken to Perfection
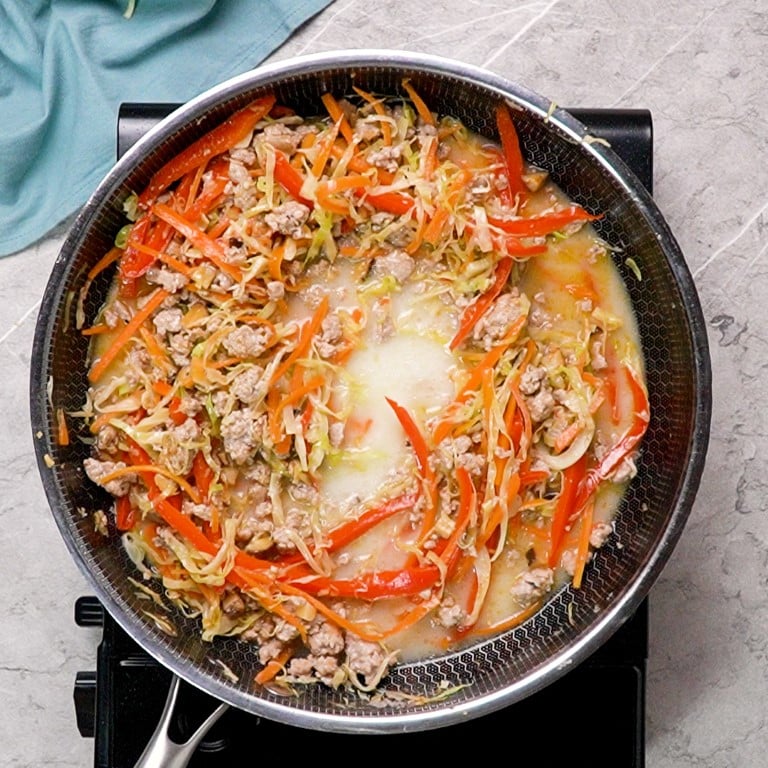
Give the gravy mixture another stir and add it to the pan. Mix with the spatula to combine with the pork and veggies, and cook until the sauce has thickened. Taste and add salt as needed.
Step 8: Cool the filling and prep the rolling station

Fill a big tray with cold water. Place the filling in a smaller tray and let it cool in the bigger tray. Even the mixture out so that it cools evenly. While the filling is cooling, mix 1 tablespoon flour with 1 tablespoon water to form the “glue”.
Step 9: Prep Wrapper Sheets & Maintain Moisture with Damp Towel
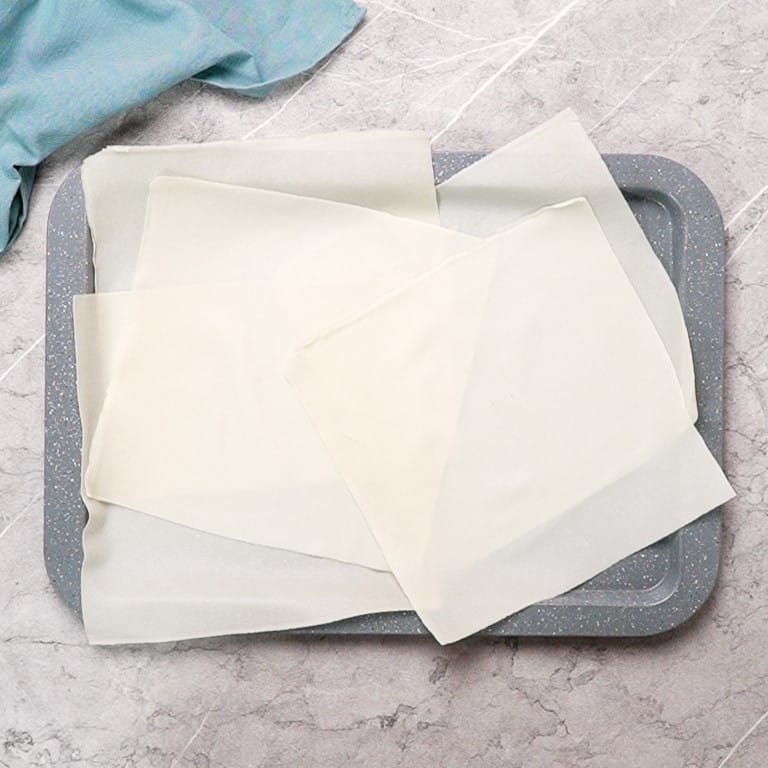
Also, separate or prepare the wrapper sheets as per package instructions. Keep them covered with a damp towel so that they don’t dry out.
Step 10: Divide into 10 Portions & Prep for Harumaki Assembly
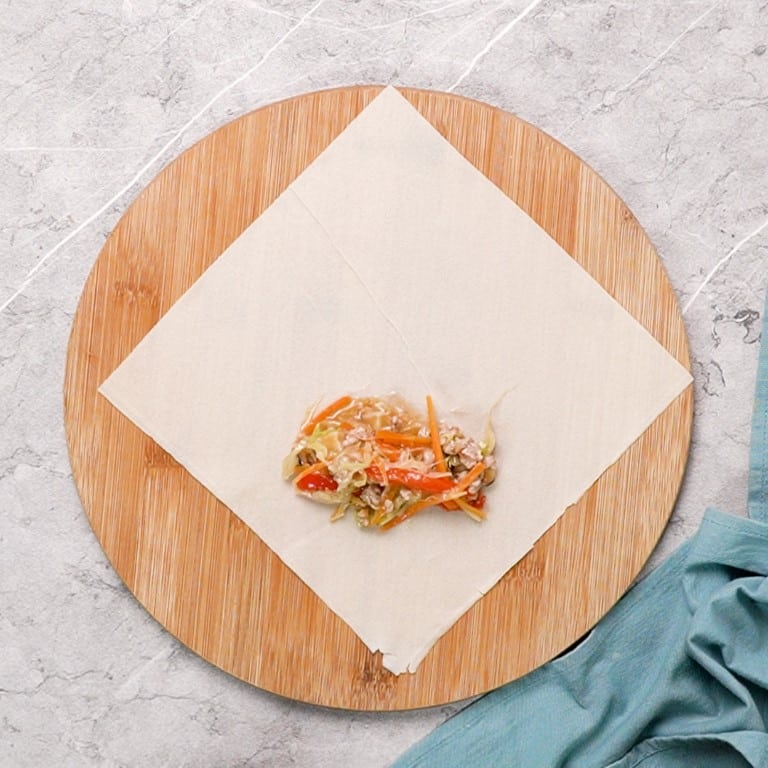
Once the filling has cooled, make lines to separate it into 10 even portions. You can use chopsticks or a knife. Assemble the Harumaki by placing a wrapper with one corner pointing towards you.
Step 11: Place Filling & Initiate Rolling for Perfect Harumaki Formation
Add a portion of filling to the middle of the lower half of the wrapper. Roll the corner closest to you up and over the filling until the midline.
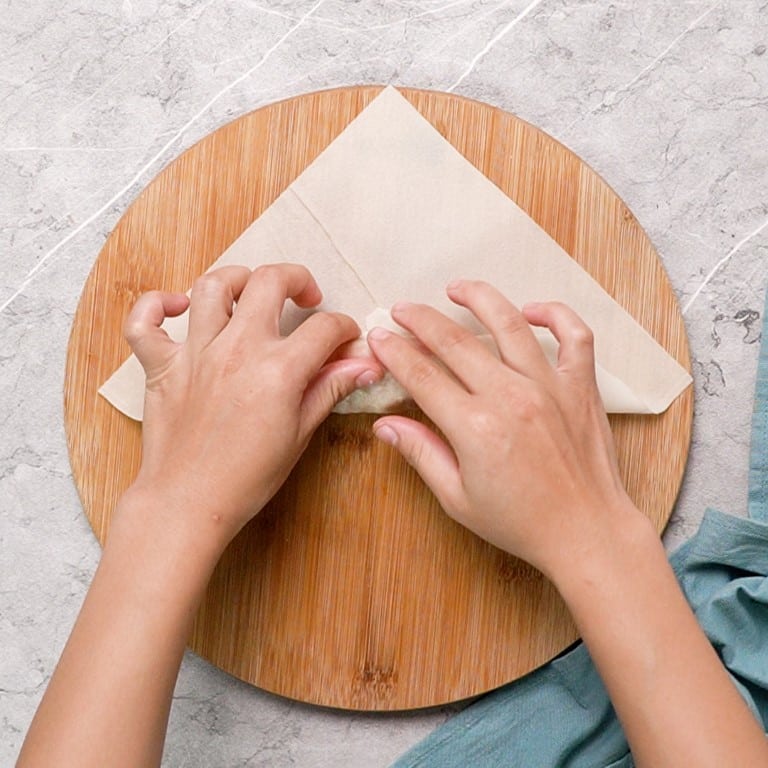
Step 12: Fold Side Flaps, Apply Flour Glue for Secure Harumaki Closure
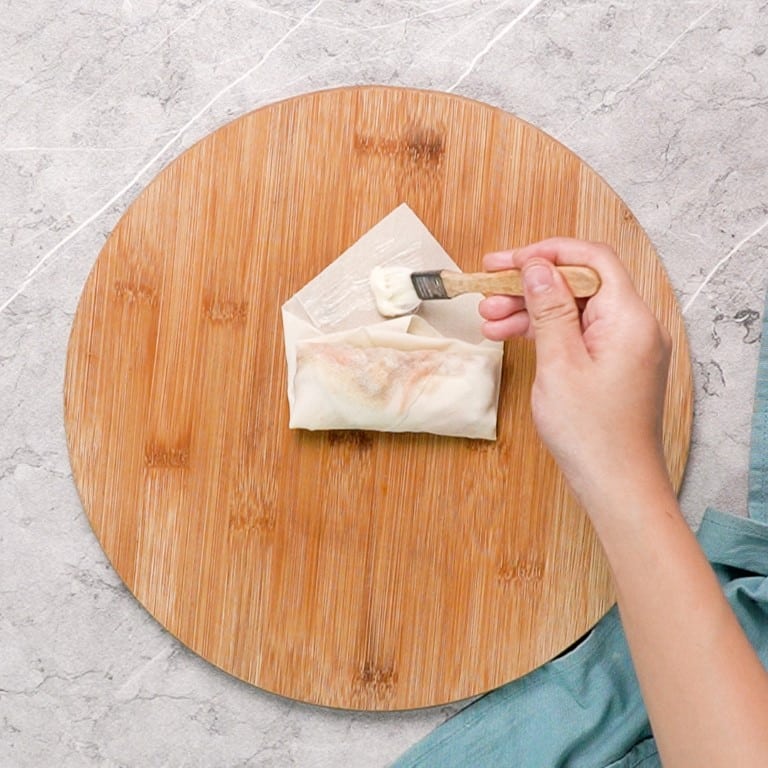
Fold the two flaps on either side towards the center, then spread some of the flour “glue” on the wrapper’s top edges.
Step 13: Secure Harumaki by Rolling Loosely with Finger Tips for Optimal Crispiness
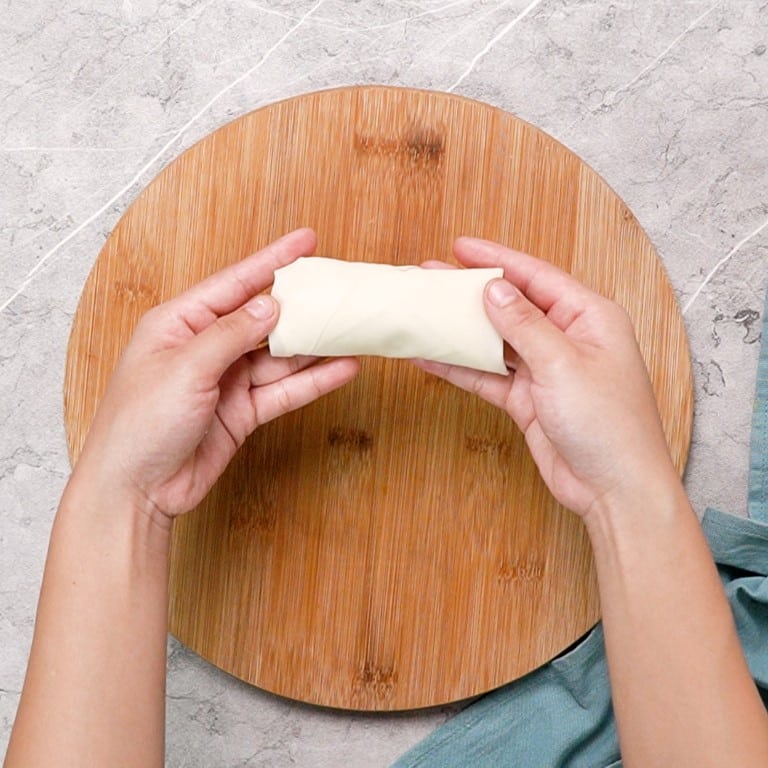
Loosely finish rolling the Harumaki by placing the tips of your fingers into either end of the roll as you roll it. This will prevent the Harumaki from bursting in the oil and keep them crunchy longer.
Step 14: Fry the harumaki
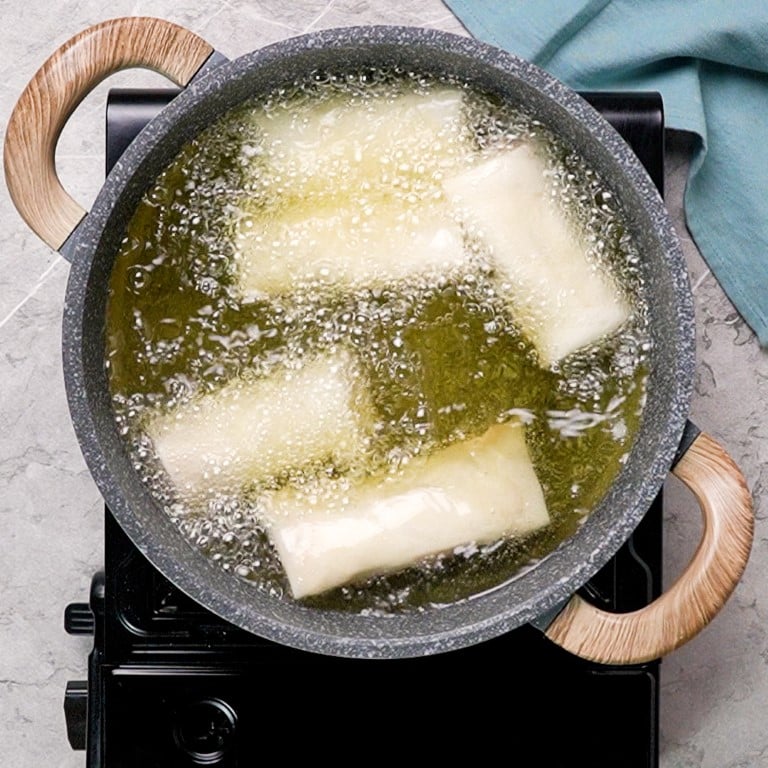
Line a large deep bowl with 3 layers of paper towels. This will be used to drain the spring rolls in an upright position after frying. Heat oil in a heavy-bottomed pot to 360°F and fry the Harumaki in batches until crisp and golden. Turn them around a few times so that they evenly fry (it should take around 3 minutes).
Step 15: Drain on Paper Towels & Serve Upright in Bowl

Remove the harumaki from the oil and place them upright in the bowl with paper towels to drain any excess oil.
Step 16: Enjoy!

Wait a few minutes before devouring them since the center is going to be hot. Enjoy as is or dipped in soy sauce and wine vinegar!
Notes & Tips
- To save time, split up the tasks and prep the filling a day before. Let it come to room temperature, then cover it and store it in the fridge. Then you won’t have to use extra trays and wait for the mixture to cool.
- I’ve used potato starch in this recipe because it doesn’t get gummy like cornstarch. You can substitute cornstarch, but I prefer the consistency of the sauce with the former.
- Make sure you use an oil with a high smoking point since we’re frying these bad boys at a pretty high temperature. Refined oils are generally more heat resistant.
- The best refined oils to use are ones with a high smoke point like canola oil, sunflower oil, corn oil, or avocado oil. The exception is sesame oil which is semi-refined but perfect for creating the authentic tempura experience.
- Use the chopstick method to check the oil temperature. Dip a chopstick until it touches the bottom of the pot and observe the bubbles that form. If the bubbles are relatively fast and on the smaller side, the temperature is around 360°F.
- If you don’t want to make a mess deep-frying or you’re trying to consume less oil, you can make these Japanese spring rolls in an air fryer. Preheat your air fryer to 380°F and place the Harumaki on the basket. Don’t overcrowd them. Spray with cooking oil and cook for 8 minutes, flipping halfway.
- The classic veggie mix for spring rolls typically contains cabbage, carrots, mushrooms, and some vegetable from the allium family like shallots, scallions, or chives. I like to have a combination of colorful veggies. Beansprouts or bamboo shoots are common as well.
Ingredients
- 5.3 oz. ground pork
- 1 Tbsp. soy sauce
- 1 Tbsp. mirin
- 2 tsp. potato starch
- ¼ tsp. black pepper
- 1 Tbsp. cooking oil
- ¼ inch ginger minced
- 2 shallots minced
- 6 oz. cabbage shredded
- ½ medium carrot julienned
- 3.5 oz. red bell peppers julienned
- 2 large shiitake mushrooms chopped
- 1 cup chicken stock
- 1 Tbsp. potato starch
- 1 tsp. sesame oil
- Salt to taste
- 10 spring roll wrappers
- 1 Tbsp. flour + Tbsp. water to make glue
- Vegetable oil for deep-frying
Instructions
- Add the pork, soy sauce, mirin, 2 teaspoons potato starch, and black pepper to a bowl and mix to combine. Marinate at room temperature.
- In a separate bowl mix all the ingredients for the gravy (chicken stock, 1 tablespoon of potato starch, and sesame oil). Set aside.
- Assemble the pre-cut veggies, and heat 1 tablespoon oil in a pan over medium-high. Add ginger and shallots, and sauté until fragrant (about 2 minutes).
- Toss in remaining vegetables and stir-fry until tender (about 3 minutes).
- Push the veggies to the sides and add the ground pork in the hole. Cook, while breaking it up with a spatula, then stir-fry with the vegetables until almost done.
- Stir the gravy mixture again and add it to the pan. Mix with the spatula to combine and cook until the sauce has thickened. Taste and add salt as needed.
- Place the filling in a smaller tray and let it cool in a bigger tray full of cold water.
- While it’s cooling, mix 1 tablespoon flour with 1 tablespoon water to form the “glue”. Separate the wrapper sheets and cover them with a damp towel
- Once the filling has cooled, make lines to separate it into 10 even portions.
- Assemble the Harumaki by placing a wrapper with one corner pointing towards you. Add a portion of filling to the middle of the lower half of the wrapper. Roll the corner closest to you up and over the filling until the midline.
- Fold the two flaps on either side towards the center, then spread some of the flour “glue” on the wrapper’s top edges. Loosely finish rolling the Harumaki by placing the tips of your fingers into either end of the roll as you roll it.
- Line a large deep bowl with 3 layers of paper towels.
- Heat oil in a heavy-bottomed pot to 360°F and fry the Harumaki in batches until crisp and golden. Turn them around to evenly fry (about 3 minutes).
- Remove from the oil and place upright in the bowl with paper towels to drain any excess oil. Let cool for a few minutes and enjoy!