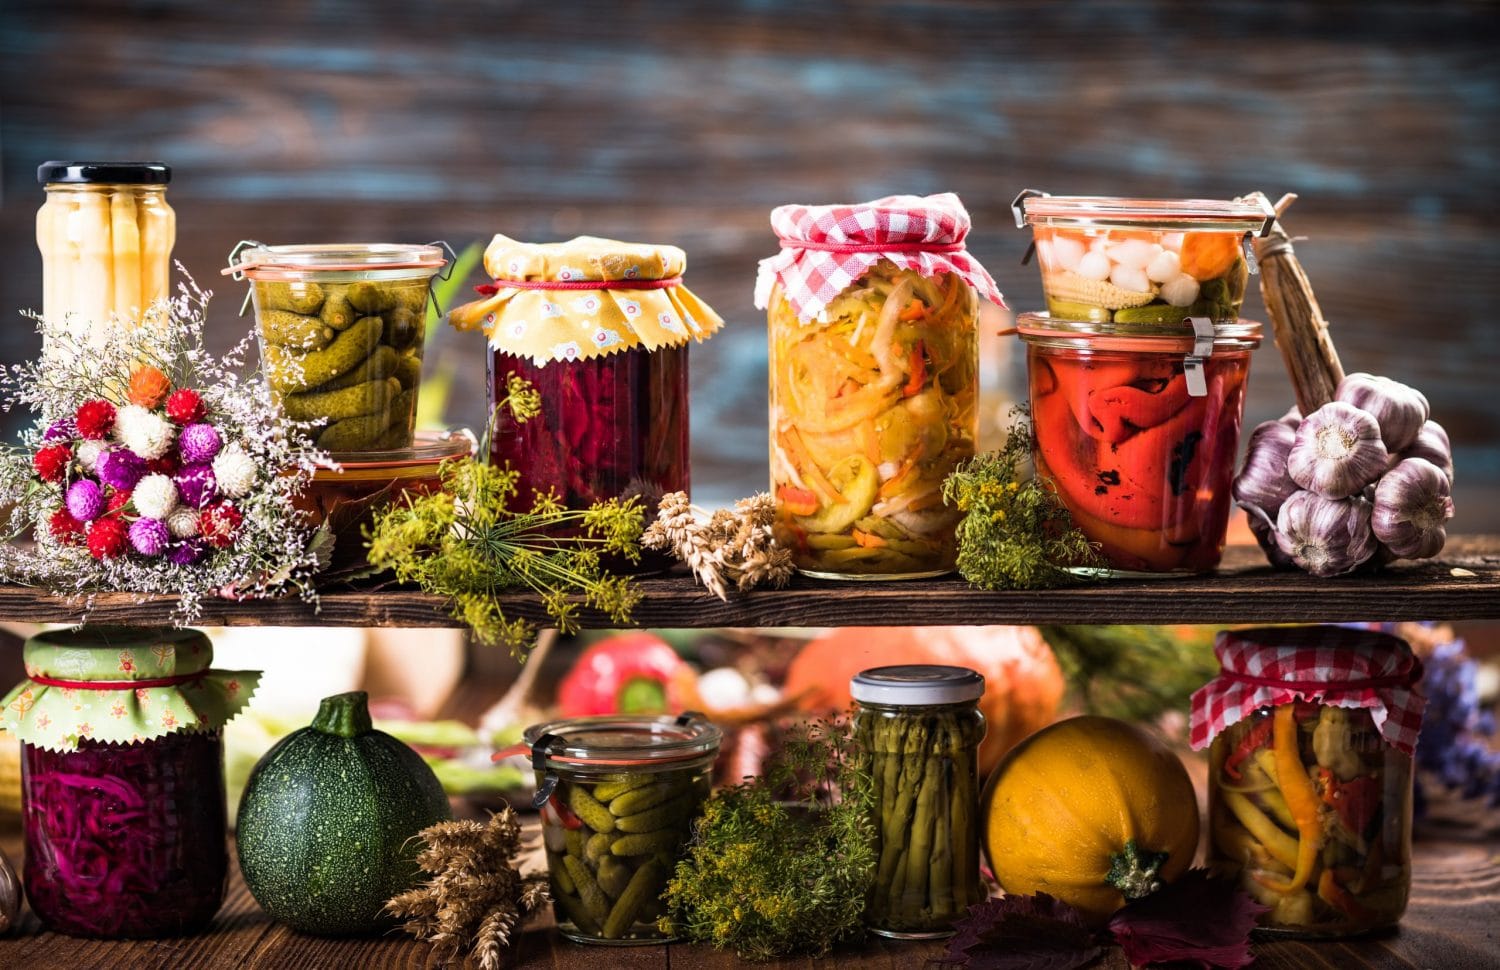
Canning 101
Important Note: When you buy through our links, we may earn a commission. As an Amazon Associate we earn from qualifying purchases. Content, pricing, offers and availability are subject to change at any time - more info.
There’s nothing quite like popping a fresh jar of summertime salsa right in the middle of winter. It’s been months since you canned these tomatoes and onions, but once you take the lid off, it still smells, looks and tastes like it did back in July. It’s like a magic trick, sending fresh food through time, into the future, where it will still be fresh.
The vacuum seal provided by the canning process, combined with the natural acidic content of the food, helps to kill the bacteria that spoils our food, including clostridium botulinum.
In 1974, an 1865 steamboat wreck was salvaged from the Missouri River. Onboard they found canned freeze-dried gods. The National Food Processors Association ran some tests on the cans and found no trace of microbial growth. The food had deteriorated a bit in flavor and vitamin content over the course of a full century, but it was still technically safe to eat. That’s the power of canning. So there’s no doubt it can survive a couple winters in your pantry.
Note that the canning process isn’t the only factor at play, here. In order to really get the most out of your jars, you’ll need to run down this checklist:
- Cool, dark storage. Don’t expect to leave a case of pickles in the back seat of your car for years and then serve them up like nothing’s happened. You need a cool, dark place to storage. A pantry, a cellar, or just a cupboard in your kitchen devoted to canned goods.
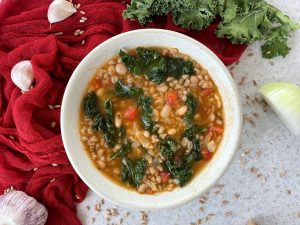
- High-acid foods. That means fruit preserves, tomato sauces, pickles, things like that. Potatoes, beans, anything soy-based, are usually going to be bad candidates for canning. With the right equipment, it’s possible to safely can low-acid foods like meat and poultry, and we’ll get into that below. But this guide is canning 101, so we’ll mostly be discussing the hot water bath canning technique that you can do at home with little more than a bunch of Mason jars.
With that in mind, let’s get started.
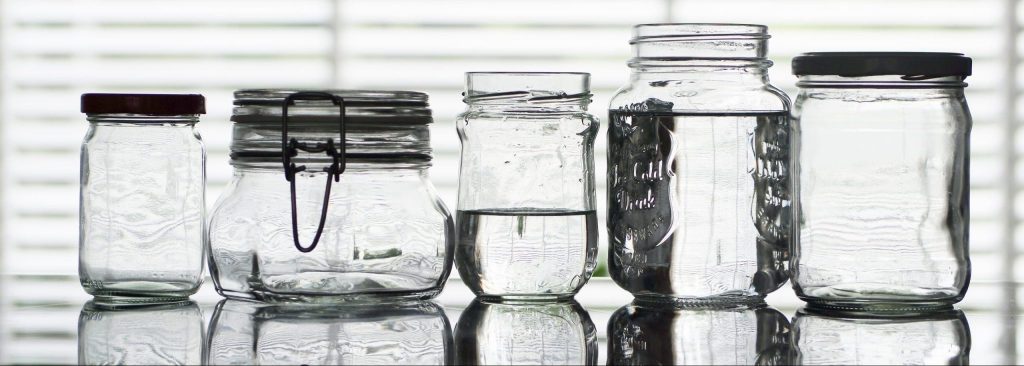
1. Clean your jars
Even if they’re brand new, you want to make sure they’re sterilized. So take care to clean them with hot soapy water. If you want to use the dishwasher, even better, as the hot water of the dishwasher will help to kill any contaminants lurking in the creases and corners of your jars and lids.
2. Pre-heat your jars
Place open, empty jars on the rack in your canning pot. If you’re not using a rack, place your screw tops down, and put the jars on those to keep them from touching the bottom of the pan. Once you have your jars in place, fill the canning pot with hot water, put the lid on your pot, and heat that up on your stove. You don’t want to boil the water, you just want to keep it nice and hot.
Note that if your canning recipe does tell you to boil the jars, then you can skip the sterilization and jump right to step three. Just make sure to boil the jars for a full ten minutes, and you’ll be fine.
3. Prepare your recipe
Follow the steps of whatever recipe you’ve selected. You’ll need to keep your jars hot throughout this step until they’re ready to be filled. Keep the food hot until it’s time to pour, too.
4. Heat jar tops
Once your food is ready to be canned, you’ll want to heat your jar tops. You need to heat your tops for five minutes. If you’re using metal lids, you’ll heat the flat lids, but not the screw tops. If you’re using weck jar tops, you’ll want to heat the rubber gasket in hot, but not boiling water, and you’ll want to heat the weck glass tops.
5. Remove jars one at a time for filling
It’s tempting to just pull all your jars at once, but you want to pull them out one at a time. They need to be kept hot until the second you’re ready to fill them, so pull them out as needed, not all at once. It’s a good idea to invest in a silicone glove or a jar lifter for this step so that you won’t have to stick your hand in hot water.
Place your jars on a folded kitchen towel. You don’t want to place a jar directly on your counter, as it could easily shatter when it comes into contact with a cold surface.
Turning the jar upside down and patting it with the towel will get it dry enough. You don’t need to worry about whatever moisture you have trapped inside the jar itself.
6. Fill your jars
Ladle or pour your food into the jars, one by one. If you have a funnel for this job, awesome. If not, just be careful you don’t spill as you pour.
Give about a half-inch of headspace in each jar as you pour. If you give too little headspace, you could have your jars overflowing in the canning process. If you give them too much headspace, it’s unlikely to seal correctly. If your recipe recommends something besides a half-inch, go with what the recipe says. Otherwise, a half-inch of headspace will usually work out just fine.
7. Remove air pockets
A small rubber spatula can help you to get all the air pockets out from around the side of the jar. You probably won’t have to do this with jams, salsas, or sauces. But fruit preserves, chunkier soups and stews, pickles, you may have bubbles trapped here and there throughout the jar.
If you don’t have a spatula, a chopstick will do the trick nicely. Any clean, simple utensil you can use to wiggle around in there and clear out the air pockets.
8. Place lids
Wipe the rim down with a damp towel to make sure you’ve cleared away any bits of misplaced food.
Now, if you’re using mason jars, place the flat lids on top of the jars. Now place the screwcaps and tighten with your finger tips. You don’t want to over-tighten. You just want to screw the caps on and let the sealing process do the rest.
If you’re using weck jars, place the rubber gaskets and glass lids on the jars. Once you have that in place, pop your metal clips onto the lid directly across from one another.
9. Adjust your water
You want your water to cover the jars plus one inch. Of course, you’ll want to start with your tallest jar to make sure that you have enough water to cover everything. Better the water is too deep than too shallow.
That being said, you want to use same-size jars as much as possible, and if you absolutely have to mix-and-match, you want to avoid more than an inch of difference between your tallest and shortest jars.
10. Process your jars
Different recipes have different processing times, and instructions will vary by jar size, as well. Go by your recipe, and if you’re ever lost, check with the National Center for Home Food Preservation to see how best to can whatever ti is you’re canning.
Process time, of course, refers to the amount of time your jars will spend being boiled. Some points to mention here:
- Don’t start the timer until you have a full, rolling, steady, vigorous boil going.
- Keep the jars totally immersed in the water during the entire process time.
- Make sure that the water stays at a full boil throughout the entire process time.
It’s a good idea to keep a kitchen timer handy. A minute too long, and you could overcook your food. A minute early, and you could leave it open to contamination. When you’re waiting on the coffee in your French press, a minute early or late is no big deal. In canning, every second is important.
You generally don’t want to alter process time, but you may need to make some adjustments based on altitude if you’re particularly high up. These measurements are borrowed from the USDA guidelines…
- 1,001 to 3,000 feet above sea level = add 5 minutes
- 3,001 to 6,000 feet above sea level = add 10 minutes
- 6,001 to 8,000 feet above sea level = add 15 minutes
- 8,001 to 10,000 feet above sea level = add 20 minute
Or you can add one minute for every extra thousand feet above sea level.
11. Let jars cool
Once you’re done processing, you’ll want to let the jars cool off in the water. Taking them out right away may have them cooling too fast. So take the lid off the pot, turn the heat off, and leave them in there for five minutes.
12. Remove jars
Take the jars out of the canning pot with a jar lifter or silicone glove and place the jars on kitchen towels. Again, you want to put them on towels, not ride on your cold counter top, or they might crack.
Leave the clips and screw caps alone for now, so you don’t interfere with the process. Try not to tilt your jars or shake them up too much, and don’t worry about water gathered on the jars.
Let your jars sit for twelve to twenty-four hours. If you hear the occasional popping sound, that means your jar lids are sealing and the process is working.
13. Check your seals
After your twelve-to-twenty-four hour cooling period, check your lids.
For a Mason jar, you’re trying to make sure that the lids don’t pop in and out when you press down on the button. For a weck jar, you need to make sure that the tab on your rubber gasket is pointing down.
Remove screw caps/metal clips, and slowly try to pick the jar up by the lid. If you can lift the jar, you’re good to go. If the lid comes off, something went wrong.
If your lid comes clean off, you can go ahead and process again. However, some foods are easy to overcook by reprocessing, so if you’re dealing with something that’s easy to overheat, you might want to put it in the fridge and use it this week rather than recook it and lose the flavor.
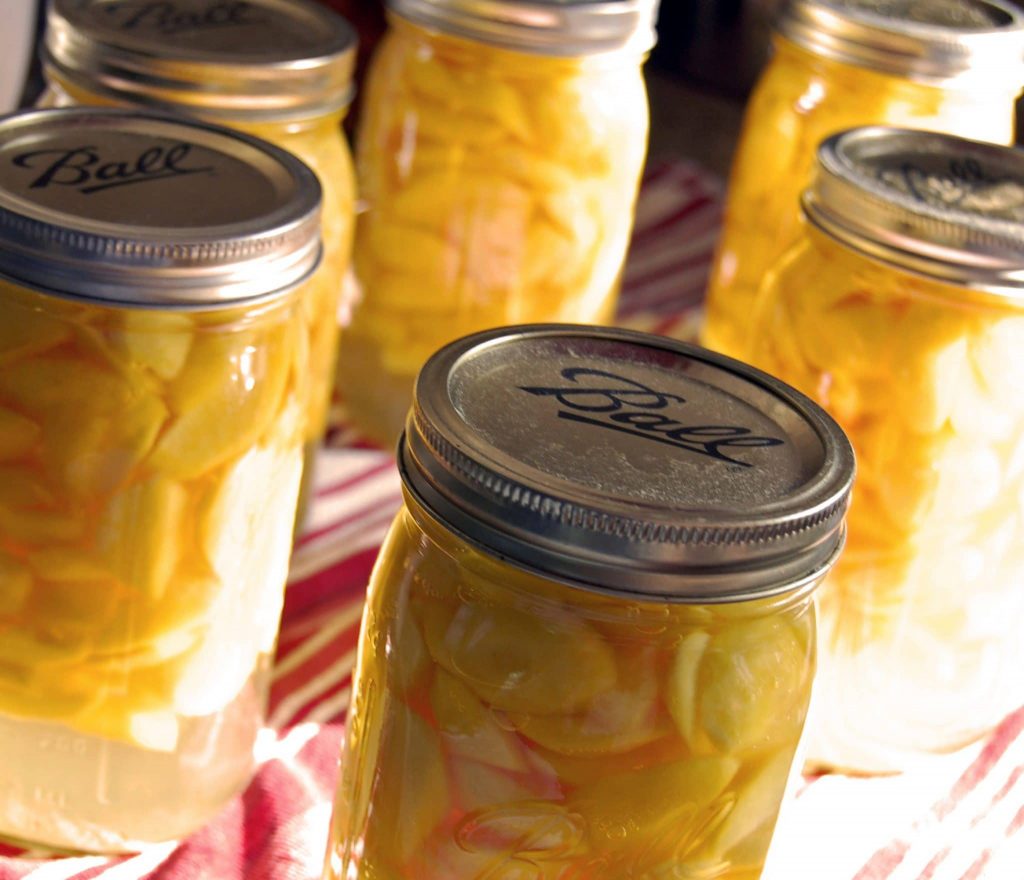
14. Label and store
If you’re packing a lot of jars, you might want to invest in a label-maker or sticker-paper for your computer printer. Otherwise, some masking tape and a black marker will do the job just fine. Make sure to label every single jar. You may think you’ll remember which one is which, but you won’t. Someone’s going to move stuff around in your pantry without telling you, someone’s going to mix your jars up, or you’ll just plain forget which was which after a year and a half has passed.
Make sure to write both the date and contents of the jar on each label, and label the jars individually.
The ideal temperature range for storage will be between 55° to 78° Fahrenheit, or 12.7° to 25.5° Celsius.
Wherever you store your jars, make sure that they don’t get much sunlight. If you have a cellar or a pantry, perfect. Otherwise, take a look around your kitchen and figure out where you’re going to get the least exposure to sunlight. Your most-used cupboards will probably get way too much exposure, so don’t store it with your cereals and potato chips. Find a cupboard that doesn’t get opened every day, a shelf tucked up where the sun won’t reach it. Keep it dark, and keep it cool.
Now you’re all done with the canning and storing process! Just one more thing:
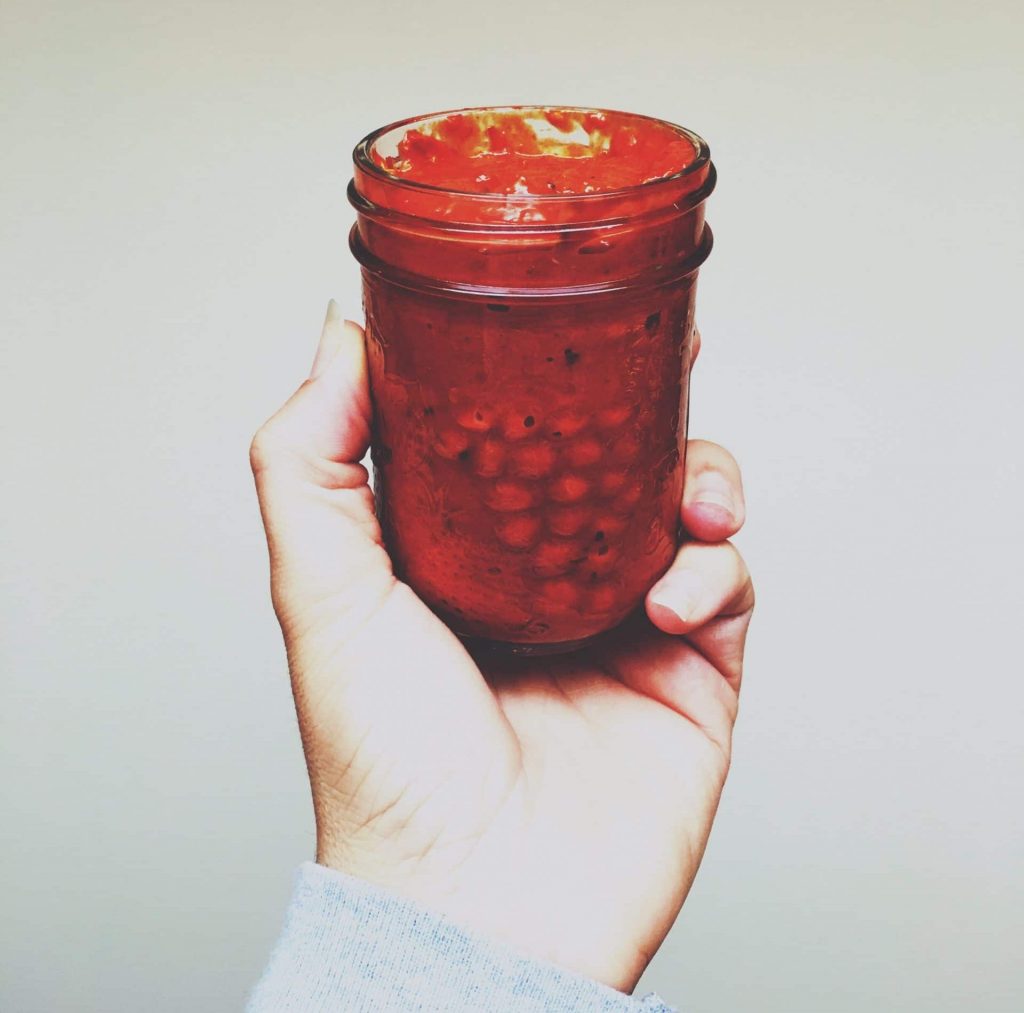
15. Examine before use
You can’t be one hundred percent sure how your jars are doing until it’s time to pop them open and enjoy the delicious contents found inside.
Before you use any of the preserves, soups, salsas or veggies you canned all those months ago check the jar for loose seals, popped buttons tops, leaks, bulging, anything to suggest that the food has not been kept airtight all this time.
It’s no fun throwing away spoiled food, but if your seal is broken, you’re going to have to dump the jar and sterilize it.
Don’t stress about losing one or two jars. You probably canned dozens of them, right? So you should have plenty to get you through winter.
After opening a jar, use your screw tops or metal clips to keep it sealed tight while you store it in the fridge.
A note on low-acid canning
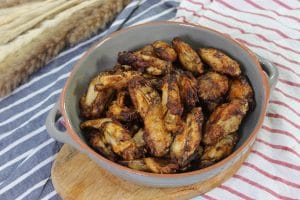
If you check out some of the NCHFP’s recipes for canning low-acid foods like meat and poultry, you’ll see references to “weighted-gauge pressure canners.”
That’s not a suggestion, it’s a requirement. All you need for most preserves and veggies is a pot that you can boil water in. For beef stew, chicken, meat sauce, a weighted-gauge pressure canner could be the difference between a delicious meal and a case of food poisoning.
Many of the steps for canning low-acid and high-acid foods are basically the same, but we recommend getting some experience with low-acid foods first before buying yourself a pressure canner and moving on to the meat-canning game.