How To Make A Milkshake Without A Blender?
Important Note: When you buy through our links, we may earn a commission. As an Amazon Associate we earn from qualifying purchases. Content, pricing, offers and availability are subject to change at any time - more info.
Milkshakes are something that we can never outgrow, no matter our age. These delicious summer treats go well with our fries, burgers, and so many other things. And there are so many varieties of milkshakes that you’ll never get bored of it. Why do people love milkshakes so much?
It is because of the decadent ice cream that comes in so many flavors. Generally, when you are making or ordering a milkshake, it’s the blender that does all the job. It breaks down the ice cream and milk into a thick and creamy consistency.
But if you think you will need a blender to make your milkshake, you are wrong. We have simple tricks that will help you make a creamy milkshake-like you would get with a blender.
The No Blender Milkshake Trick #1
Thaw Your Ice Cream
You can thaw your ice cream in two ways. The first is to let the indoor warmth do the job and soften your ice cream tub. This process will take around 1 hour. You can put the ice cream tub outside, carry on with your work, and come back after an hour.
The second way is faster, but it produces uneven results. Place your tub in the microwave and press the Defrost setting. Let it defrost for around 7-10 minutes. The process melts the ice cream from outside to inside. So you are likely to find the ice cream around the edges completely melted and the inside still a bit hard.
Put A Generous Scoop Of Ice Cream In Your Milkshake Glass
Using an ice cream scoop or a spoon to put a generous amount of ice cream into the glass. You should fill the glass ¾ with ice cream.
Put Milk In The Glass
You need to add a liquid to make it easier for you to mix the ice cream and get milkshake consistency. Add a little bit of milk into the ice cream glass. The amount of milk you put in depends on how thick or loose you want your milkshake to be. But make sure that you don’t add too little or too much.
Mix Until Smooth
Let the milk and ice cream settle down before grabbing a spoon. Use a long spoon with a thin handle for this task. This is the most hardworking part of the process, but the result will be worth it. Gently stir to break into the ice cream. When your ice cream is properly thawed, it will make things easier for you. Continue to mix until you get a thick and smooth milkshake.
Add Your Favorite Toppings
Your milkshake is ready to be served. You can either have it as it is or add your favorite topping over it. The options are in abundance: dry fruits, chocolate syrups, sprinklers, whipping cream, cherry, marshmallows, fresh fruits, and much more.
The No Blender Milkshake Trick #2
This is another simple trick for which you need a microwave, ice cream, milk, and a mason jar.
Thawing The Ice Cream
Put the ice cream in a microwave-safe mason jar. And defrost the ice cream until it just starts to melt. The consistency of the ice cream should be at a point where you can easily put a spoon through.
Pour the Milk
Take your ice cream jar out of the microwave and add some milk. You can use almond milk, soy milk, or regular milk based on your preference. And the amount also depends on your taste. But ensure that you add enough milk so that you get a creamy consistency.
Put a Lid On And Start Shaking
Put a lid on and tighten the mason jar properly. Now it is time to shake the jar vigorously until the milk and ice cream have blended together properly. It is okay if you find some stubborn chunks of ice cream that refuse to mix. Stir into the mixture using a spoon; mash them against the edges to blend it in. Your milkshake is ready to be poured into a glass and topped with your favorite toppings.
Kitchen Appliances That You Can Use As A Substitute For Blender
While blenders are great for making milkshakes, they are not the only option in your kitchen. Here are some appliances that you can use instead of a blender to make your favorite milkshake:
Drink Mixer
It is a soda fountain machine, which is specially designed to make milkshakes. The drink mixers can churn out fluffy smoothies and milkshakes with the right consistency. This machine can also be used to make thin batters of beaten eggs.
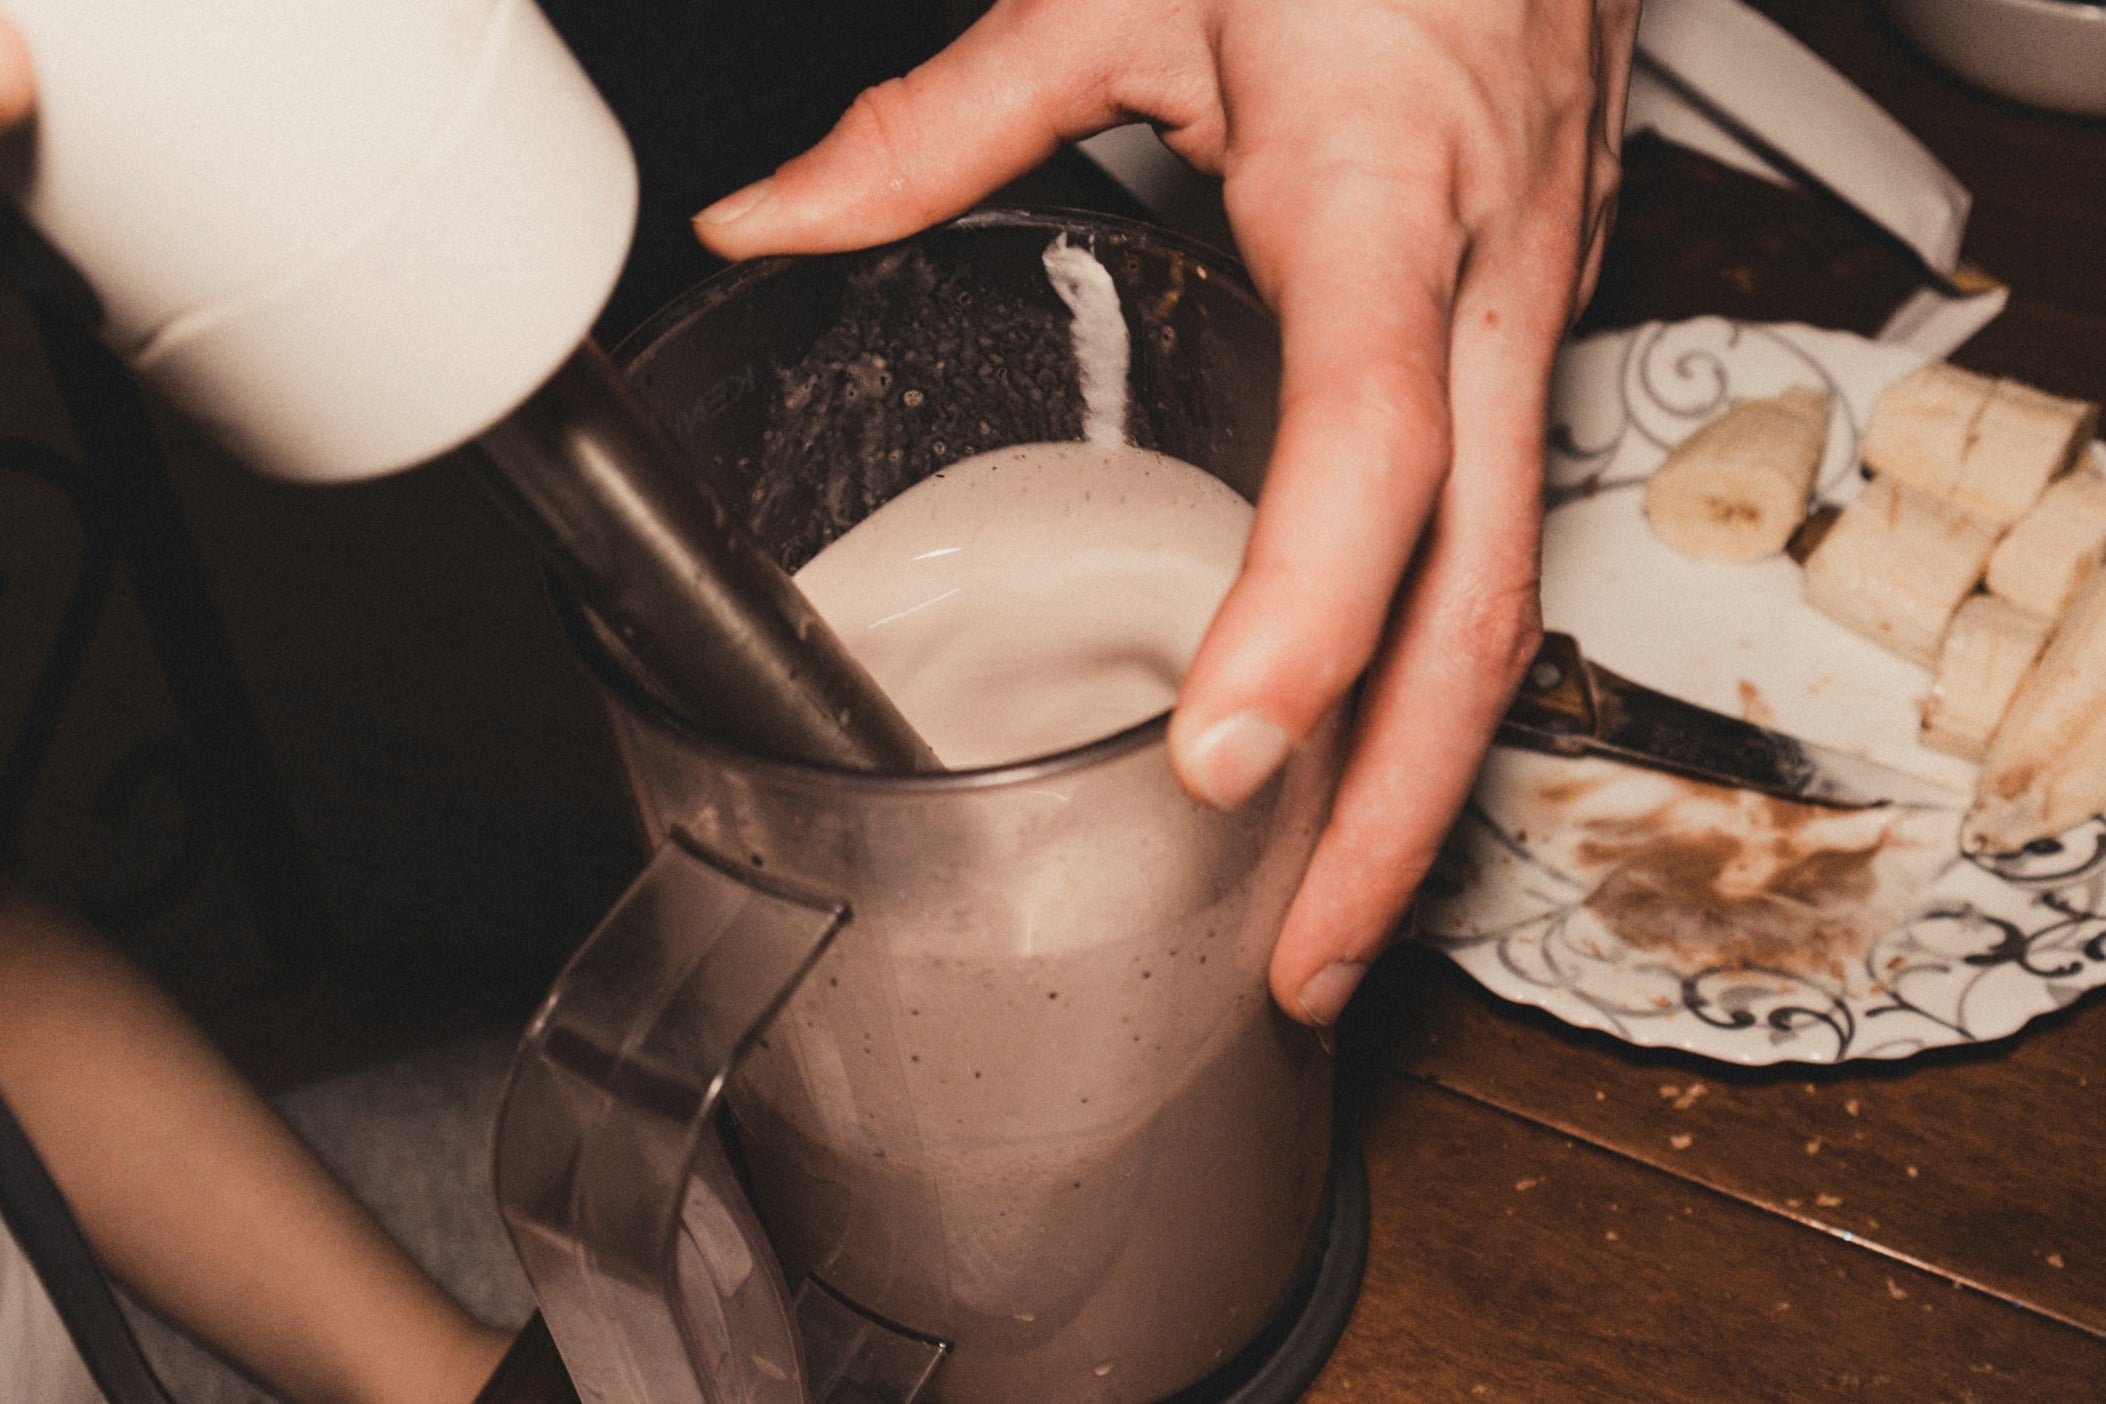
Food Processors
While food processors are made to chop vegetables, they can also be used to make a milkshake. A great thing is you can even add hard ice cream to it, and the processor will get the job done. Moreover, you will not have to do anything different. Make a milkshake in your food processor just the way you would do in the blender.
Stick Blender
A Stick blender is also known as an immersion blender or hand blender. It is a handy tool that does take any counter space. But it can make a milkshake just like your large blender would. Simply put all the ingredients in a bowl, place your blender inside and turn it on. Let the mixture blend until everything is mixed properly.
Electric Mixer
Electric mixers are designed to mix heavy batters, so blending in milkshake ingredients should be easy. Ensure that you use a deep bowl to avoid any splatters.
The Bottom Line
Whether you have a blender or not, there are plenty of ways you can make a milkshake to satiate your cravings. Generally, a milkshake calls for a lot of ice cream. And if you choose ice cream with lower butterfat content, you will get a creamer milkshake.
Additionally, when adding milk go slow; you do not want to ruin the consistency by adding too much milk. Add a little in the beginning, blend it all up. If you feel that the mixture is too thick, you can add some more and blend. You can make milkshakes in so many different ways; it is up to you to explore and try them out.