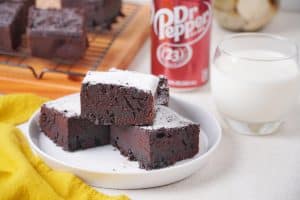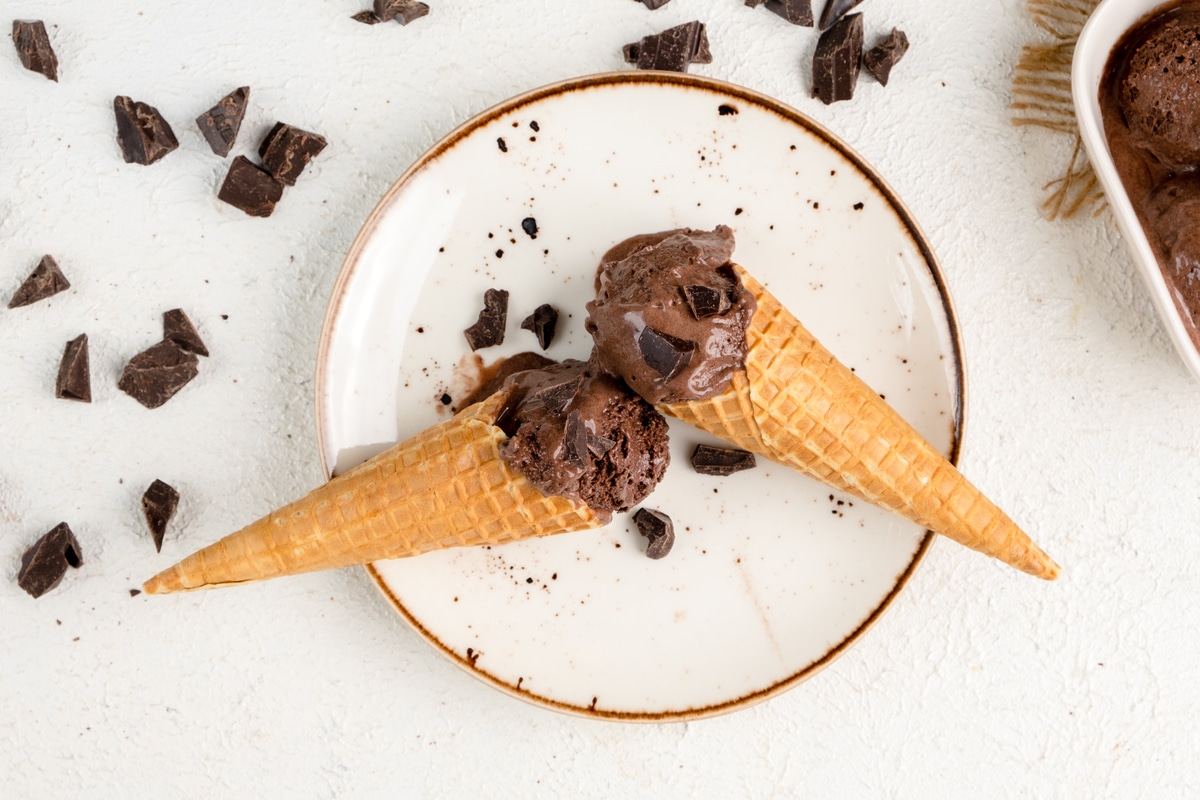
Simple Dark Chocolate Sea Salt Ice Cream
Important Note: When you buy through our links, we may earn a commission. As an Amazon Associate we earn from qualifying purchases. Content, pricing, offers and availability are subject to change at any time - more info.
Ahh, ice cream. A fantastic summer treat. Well, if I’m honest it’s a great treat for all seasons. Ice cream can come in loads of flavors, but there are a few classic flavors that will never go out of style. One of those popular flavors is chocolate, though different brands of ice cream often make it a little differently. I myself am not a big chocolate ice cream fan, but this recipe has managed to turn me. It is not just chocolate; it is dark chocolate with sea salt. If that doesn’t make your mouth water, I don’t know what will.
I believe dark chocolate is the superior form of chocolate and salt serves to bring out the flavor of anything, so it works perfectly here. Another popular flavor is sea salt and caramel, but caramel can still be overwhelmingly sweet sometimes, while the dark chocolate of this recipe helps bring a bit more balance to your palate. If you want a chocolate ice cream but aren’t interested in the sea salt aspect, why don’t you check out this homemade creamy chocolate potato milk ice cream? Or, alternatively, if the savory sea salt intrigues you, you might enjoy an easy sweet onion ice cream instead.
This ice cream recipe does require the use of an ice cream machine, so please make sure to read the machine’s instructions beforehand. Many ice cream machines require certain parts to be frozen for several hours before use, so you will need to make sure to do that before starting the ice cream. The time needed for freezing the ice cream will be dependent on your particular ice cream machine, so the time below is more of a rough estimation.
Ingredients
- 5 eggs
- 1 ½ cups milk
- 2 cups heavy whipping cream
- ½ cup cocoa powder
- 1 cup sugar
- ½ tsp sea salt
- 2 tsp vanilla
- 1 bar dark chocolate
Instructions
- Separate the yolks from the egg whites. Discard or save the egg whites for a different recipe and put the yolks in a mixing bowl.

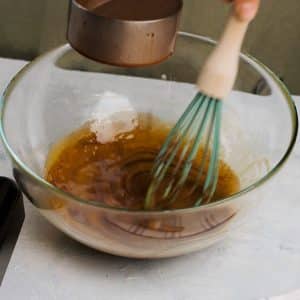
- Vigorously whisk the egg yolks until smooth.

- Add to a medium saucepan the milk, heavy whipping cream, cocoa powder, and sugar.

- Place over medium heat and stir occasionally for about 5 minutes or until the sugar and cocoa powder are both fully dissolved and incorporated.

- Constantly whisk the eggs while drizzling in ½ cup of the hot milk mixture. Make sure you are constantly whisking to slowly cook the eggs, otherwise the hot milk will just scramble them.
- Whisk the eggs for a minute then pour it all back into the milk and place back over medium heat.

- Keep stirring for 5-10 minutes or until it begins to simmer (not boil). The mixture should be thick enough to coat the back of the spoon or spatula.

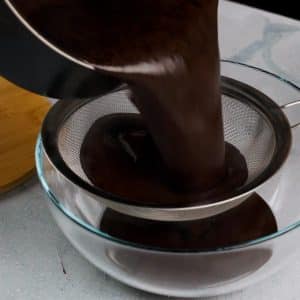
- Remove from heat and set a strainer over a clean, heat-proof mixing bowl. Pour the milk mixture into the new bowl through the strainer to remove any lumps or skin that may have formed on the milk.
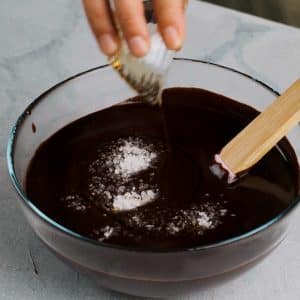
- Add to the bowl the vanilla and 1 ½ tsp sea salt. Gently stir to combine.
- Cover and place in fridge to cool completely for a minimum of 2 hours, though it is best to leave overnight.

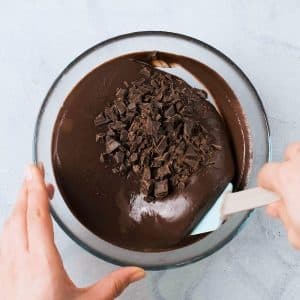
- Whenever you are ready, you can roughly chop your bar of chocolate. The pieces should be small enough to not break your teeth when frozen, but do not need to be shredded (unless that's how you would prefer it). Remove the cream mixture from your fridge and dump in the chopped chocolate. Use a spatula to gently fold in, then transfer to the bowl of your ice cream machine.
- Follow the instructions that come with your ice cream machine to finish off your dark chocolate sea salt recipe. This will probably involve allowing the ice cream machine to mix for several hours.
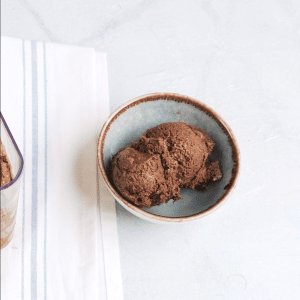
- If you prefer softer ice cream, you can serve it immediately from the ice cream machine when it reaches the desired consistency. If you prefer harder ice cream, transfer it to a freezer-proof container and leave it to freeze for another few hours.

- If desired, you can sprinkle some sea salt on top of each bowl before serving. Enjoy!
Video
Nutrition
Notes & Tips
- To store any leftover ice cream, keep in an airtight and freezer-proof container. It will keep in the freezer for several months. Please note: homemade ice cream tends to get extra hard when left in the freezer, so you may need to let it rest at room temperature for a little bit before serving. You could also try popping it in the microwave for a few seconds if needed.
- Homemade ice cream usually takes hours to make, so I advise starting this the day before you want to eat it. It is best to leave the cream mixture overnight in the fridge. This way, the flavor is able to marinate throughout the cream and it freezes faster in the machine because it is so cold. Plus, then you can just pop the liquid in the bowl of the ice cream machine the next morning so it should be ready by the time dinner is done or the day is hot.
How to Separate Yolks from Whites
While you can buy egg whites in a carton, there isn’t really an option for buying ready egg yolks. So, you will need to separate them yourself. You can do this by gently cracking the egg over a bowl and transferring the yolk from each half of the shell, allowing the white to fall into the bowl. Or you can do my preferred method which is cracking the egg into your hand and transferring the yolk from hand to hand with your fingers spread so the white can fall through.
If a little bit of white gets mixed in with your yolks, don’t worry about it too much. When separating yolks and whites for recipes, it is more important that whites don’t get stuck in them, but yolks are generally okay with a bit of egg whites.