Easy Japanese Rice Omelette (Omurice)
Important Note: When you buy through our links, we may earn a commission. As an Amazon Associate we earn from qualifying purchases. Content, pricing, offers and availability are subject to change at any time - more info.

Ingredients
The demi-glace sauce:
- 3 Tbsp. cooking oil
- 2 Tbsp. all-purpose flour or cornstarch for gluten-free
- 10 Tbsp. ketchup
- 2 Tbsp. light soy sauce
- 2 Tbsp. Tonkatsu sauce or more soy sauce
- 2 Tbsp. honey or brown sugar
- ½ cup milk
- 1 ½ cups water
The fried rice:
- 1.3 lb. warm cooked rice
- 7 oz. boneless skinless chicken thighs cut into cubes
- 7 oz. onion diced
- 3 oz. shimeji mushrooms sliced
- ½ green pepper diced
- 5 Ketchup
- 1 Tbsp. butter for the fried rice
- Salt and pepper to taste
The omelettes:
- 12 eggs
- 4 Tbsp. heavy cream
- Cooking oil for the omelette
- Salt and pepper to taste
Instructions
- Make the demi-glace sauce. Combine the ketchup, soy sauce, Tontaksu sauce, honey or sugar, water, and milk in a large bowl. Set aside.
- Heat the oil in a frying pan on medium-high heat and add the flour. Cook and stir until the mixture turns dark brown (5-7 minutes). Be careful not to burn it.
- Pour in the sauce mixture, stir, and bring the heat to medium. Let the sauce simmers, stirring, for 8-10 minutes until it thickens. Once thickened, set aside.
- Make fried rice. Preheat a pan to medium-high. Add chicken and cook for 2-3 minutes. Add butter, onions, mushrooms, and pepper, and cook until tender.
- Add the warm rice, toss to incorporate, and pour the ketchup into the pan. Let it come begin to bubble and then toss it to incorporate. Cook for 1-2 minutes.
- Turn off the heat and cover the rice to keep it warm.
- Prepare the omelettes. Whisk the eggs with a little salt and pepper to taste.
- Strain the eggs. Incorporate the cream. Don’t over-whisk. Let the mixture rest.
- Heat some oil, and pour a quarter of the egg mixture. Scramble it with chopsticks from the outside to the inside.
- Place a serving of the fried rice on the undercooked omelette. Let it cook for 30 seconds, then fold the opposite edges to the center to cover the rice. Flip the omelette with the spatula, and allow it to cook for a few seconds to seal.
- Transfer the omelette to a plate and further shape it with paper towels if desired.
- Top the omurice with demi-glace sauce or ketchup and some parsley. Enjoy!
Nutrition
The Japanese rice omelette omurice is a sweet and savory fried rice covered in a soft and creamy layer of egg. Traditional omurice is arguably the most sophisticated omelette out there. There are multiple ways to prepare this Japanese rice omelette and I’ll share an easier method, as well as the advanced one here.
Omurice is a Western influence dish that originated in Japan in the 1920s, the Taisho era, right when WW1 was about to end. The name omurice or omu rice comes from omelette and rice.
Legend that Japanese people invented omurice because they realized they were too small (size-wise) to conquer the world. They thought that maybe if they ate like Europeans, it could make them grow taller and stronger.
The dish uses dairy products, meat, and grains which are not typically consumed in large amounts in traditional Japanese cuisine. Interestingly, most Japanese people are lactose intolerant. The fried rice can be made with chicken, pork, spam, sausage, beef, or any protein of choice.
Why Is This Omurice Japanese Omelette So Delicious?
In this Japanese rice omelette recipe, I’ll teach you how to make the eggs in an easy homemade way, and the most sophisticated way. Bear in mind that I’ve tried the most complicated version over a dozen times and only succeeded once, so don’t be too hard on yourself.
This omurice includes an easy meatless demi-glace sauce recipe which elevates this Japanese omelette to the restaurant level. It takes only 10 minutes to make but is so much better than simply squirting ketchup on top.
Making omurice is a great way to use up any leftover rice dish either from takeout or homemade dinner the night before. It can make any leftover fried rice taste like a freshly cooked meal.
Last but not least, I’ve included plenty of useful tips in this recipe to achieve a flawless omurice Japanese rice omelette. You can choose your preferred method depending on whether you’re comfortable with eating undercooked eggs (and whether you want to practice preparing the omelette until you ace it).
What Do I Need To Make Omurice?
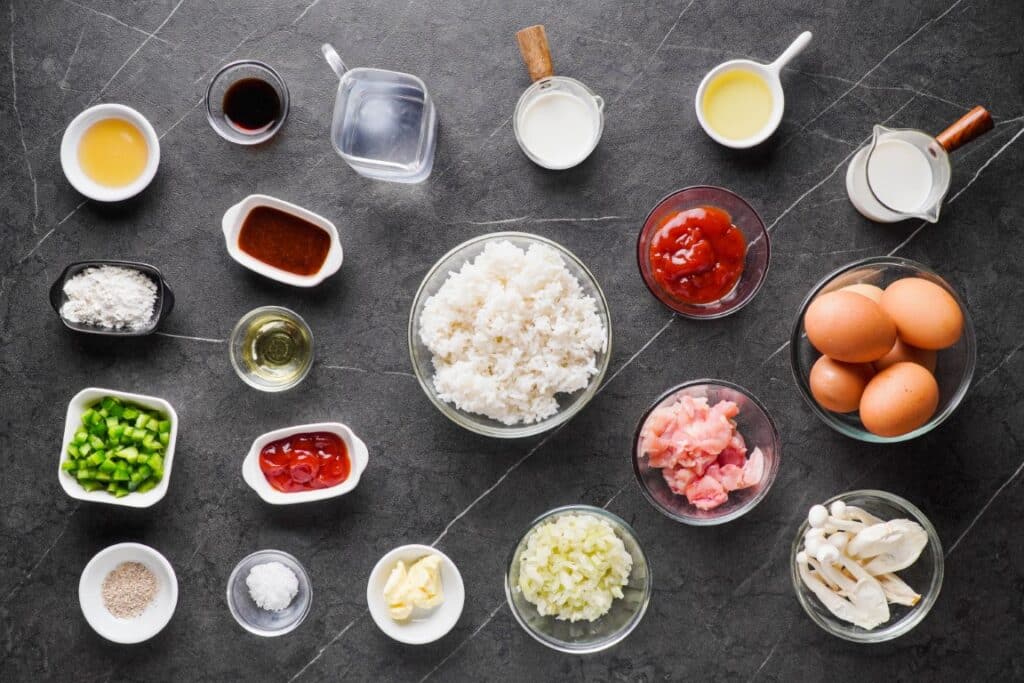
To make a quicker version, you can skip the demi-glace sauce and just squirt ketchup on top, but I recommend spending an extra 10 minutes. It’s worth the wait.
There are also a few pieces of equipment I recommend using for making omurice:
- 8-inch skillet non-stick pan (in good condition, preferably with 45-degree angle edges)
- Chopsticks
- Strainer
- Large skillet or frying pan (for the fried rice)
The demi-glace sauce:
- 3 Tbsp. cooking oil
- 2 Tbsp. all-purpose flour (or cornstarch for gluten-free)
- 10 Tbsp. ketchup
- 2 Tbsp. light soy sauce
- 2 Tbsp. Tonkatsu sauce (or more soy sauce)
- 2 Tbsp. honey (or brown sugar)
- ½ cup milk
- 1 ½ cups water
The fried rice:
- 1.3 lb. warm cooked rice
- 7 oz. boneless skinless chicken thighs, cut into cubes
- 7 oz. onion, diced
- 3 oz. shimeji mushrooms, sliced (or other mushrooms)
- ½ green pepper, diced
- 5 tablespoons Ketchup
- 1 Tbsp. butter (for the fried rice)
- Salt and pepper to taste
For the omelettes:
- 12 eggs
- 4 Tbsp. heavy cream
- Cooking oil (for the omelette)
- Salt and pepper to taste
How To Make Japanese Omelette Over Rice
After preparing the fried rice and demi-glace sauce, I’ll also show you two ways to make the omelette itself.
Step 1: Prepare the demi-glace sauce
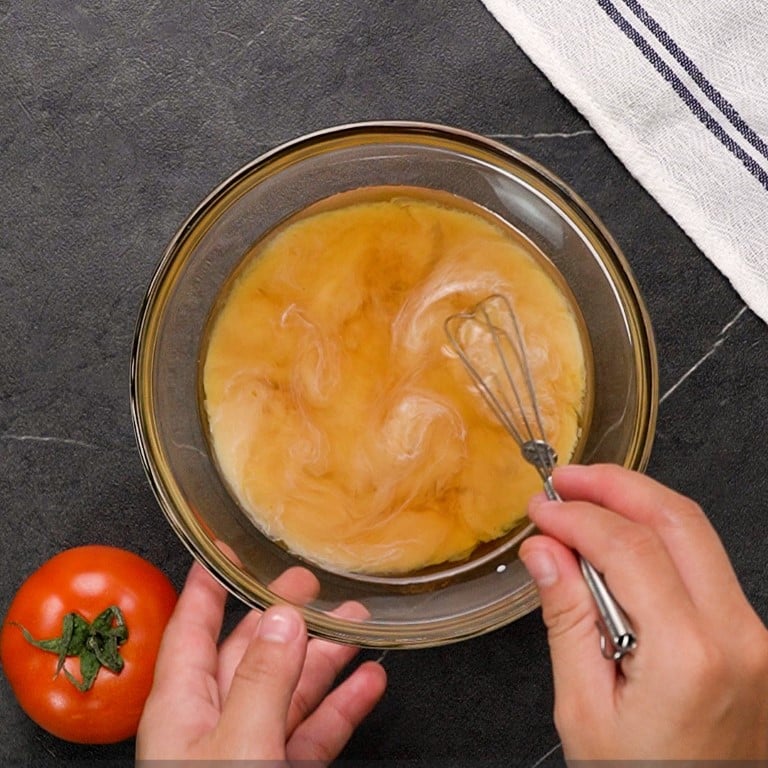
Combine the ketchup, soy sauce, Tontaksu sauce, honey, water, and milk in a large bowl. Set aside.
Heat the oil in a frying pan on medium-high heat and add the flour. Cook and stir until the mixture turns dark brown. It should take from 5-7 minutes. Reduce the heat to avoid burning it.
Step 2: Simmer the savory sauce
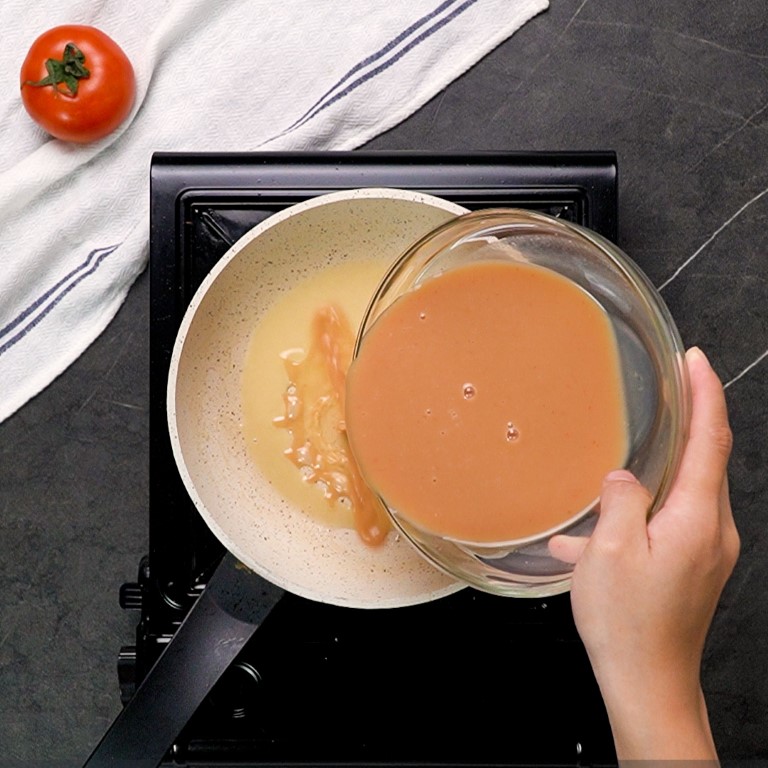
Now, pour in the sauce mixture, stir, and bring the heat to medium. Let the sauce simmer for about 8-10 minutes until it thickens. Stir it often to prevent it from sticking to the pan or burning. Once thickened, set aside.
Step 3: Make the fried rice
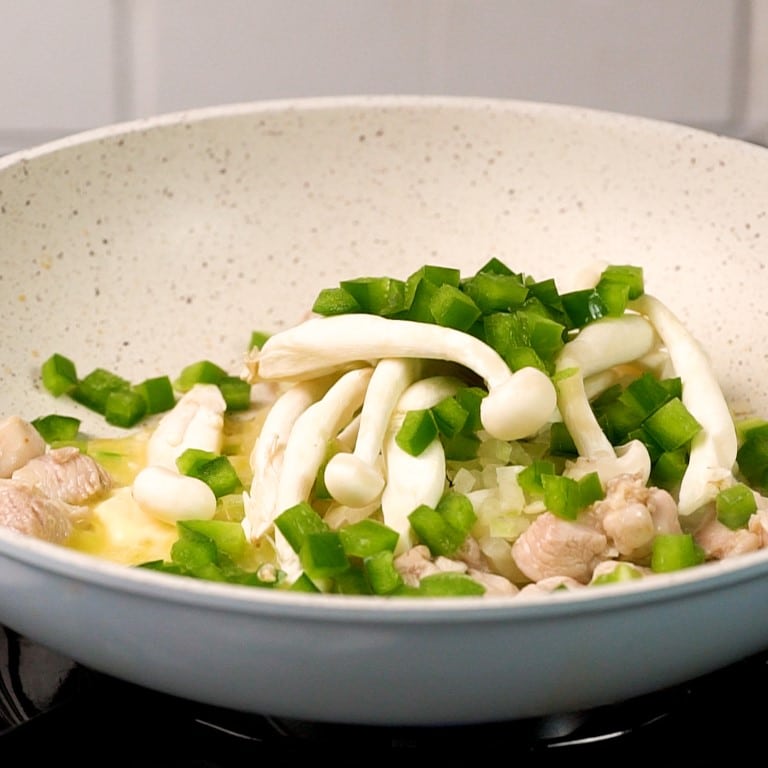
Preheat a skillet or frying pan to medium-high and then add the mushrooms and chicken. Cook for 2-3 minutes to release some water, then add the butter, onions, and pepper and cook until tender.
Step 4: Sizzle the ketchup coated mix
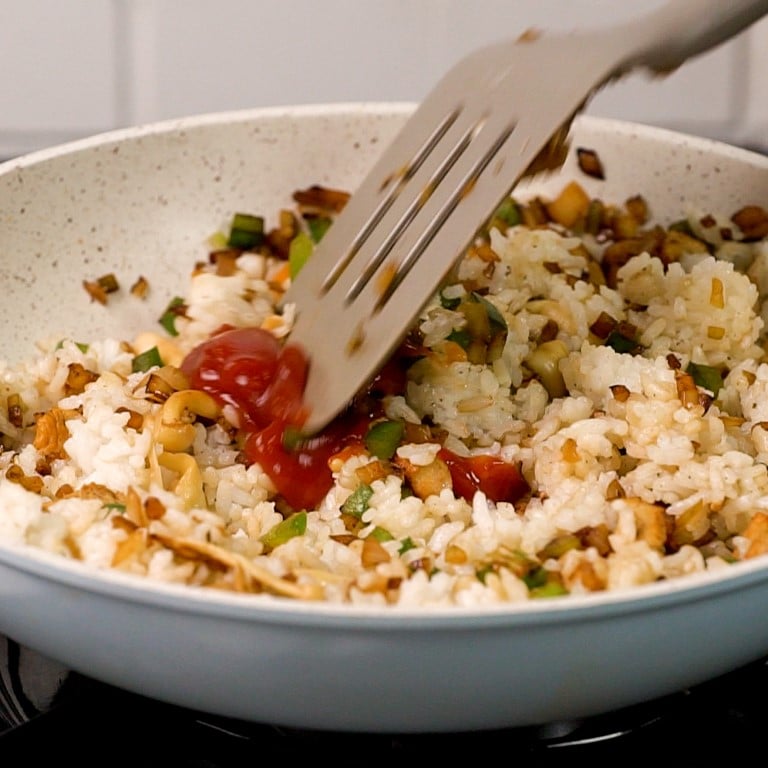
Add the warm rice, toss to incorporate, and pour the ketchup into the pan. Let it come begin to bubble and then toss to evenly coat the rice, chicken, and veggies. Cook for 1-2 minutes.
Step 5: Keep the rice warm & covered
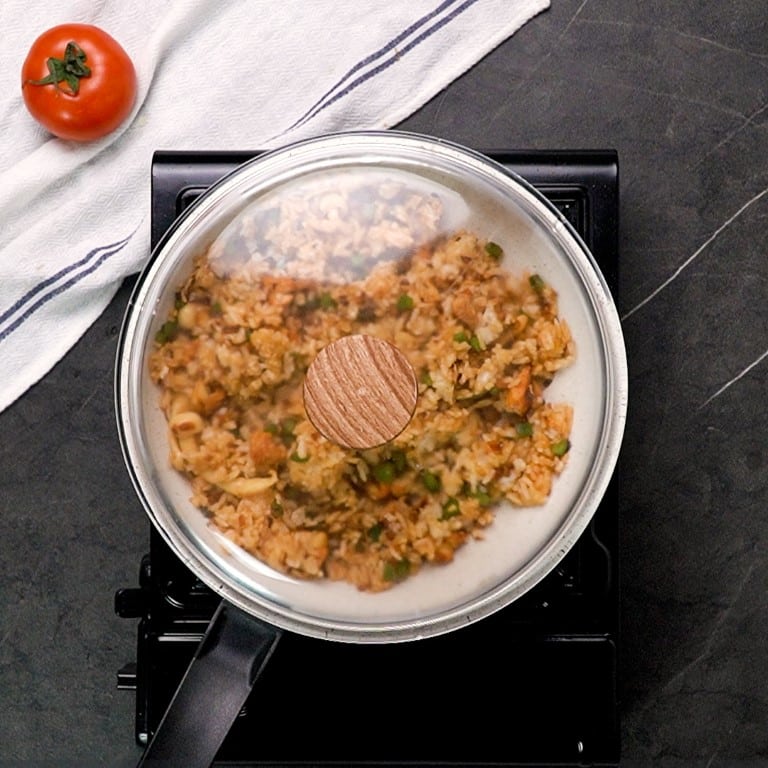
Turn off the heat and cover the rice to keep it warm while you prepare the omelettes.
When ready to serve, place a portion of rice in a small bowl or melon-shaped mold to shape it into a mound. Put the serving plate on top of the bowl and flip it, then remove the bowl.
Step 6: Prepare the omelette
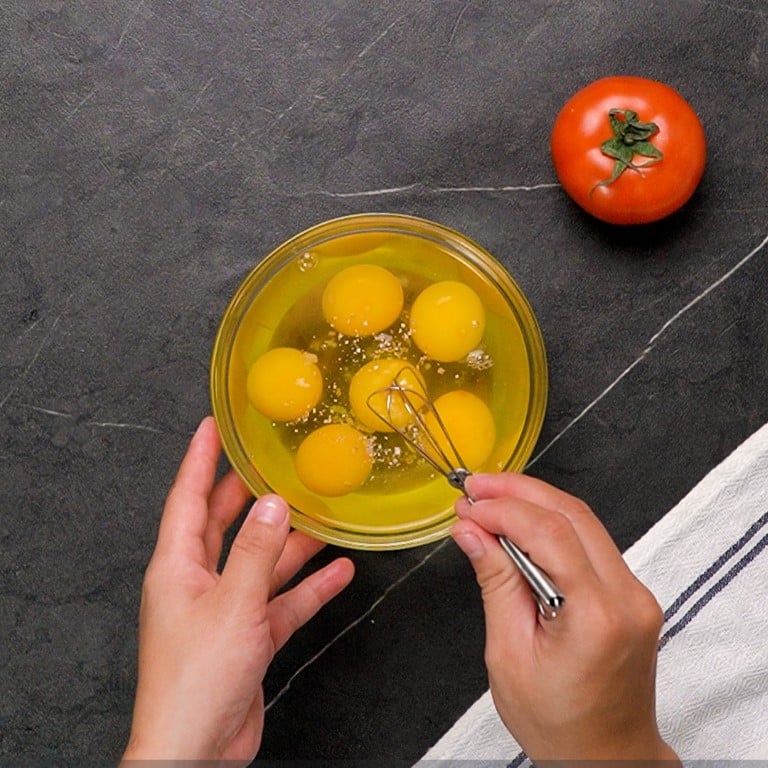
Whisk the eggs together (you can do 3 eggs at a time to get equal servings) with a little salt and pepper to taste.
Step 7: Strain & silkify the eggs
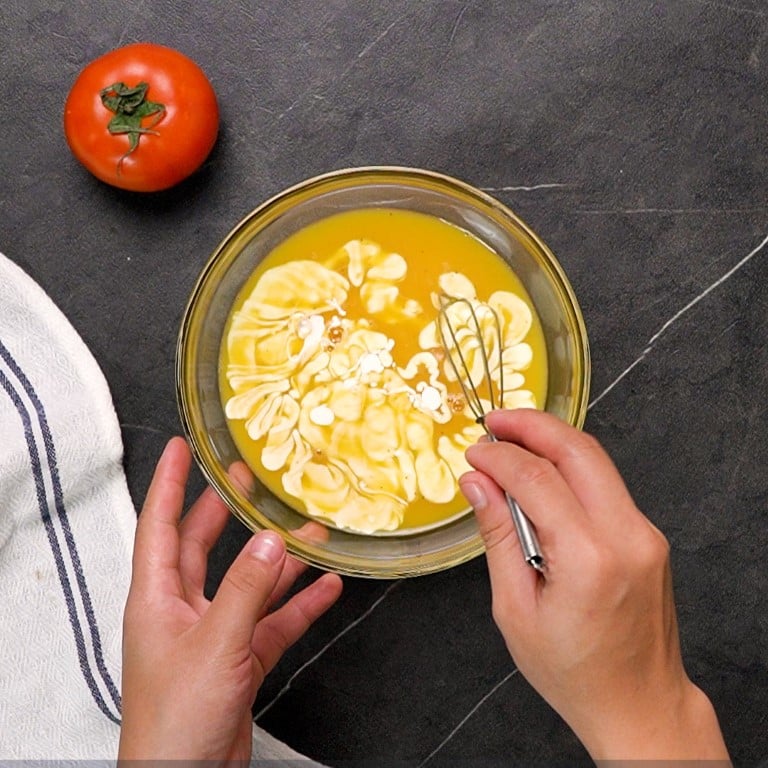
Strain the eggs for a silkier texture, then incorporate the cream (1 tablespoon per serving of 3 eggs). Don’t over-whisk or it’ll turn into whipped cream. Let the mixture rest while you heat the skillet.
Now, to make expert-level Japanese omurice, you’ll need to get the heat just right, use chopsticks, and apply the tapping technique.
Step 8: Enjoy your Easy Japanese Rice Omelette (Omurice)
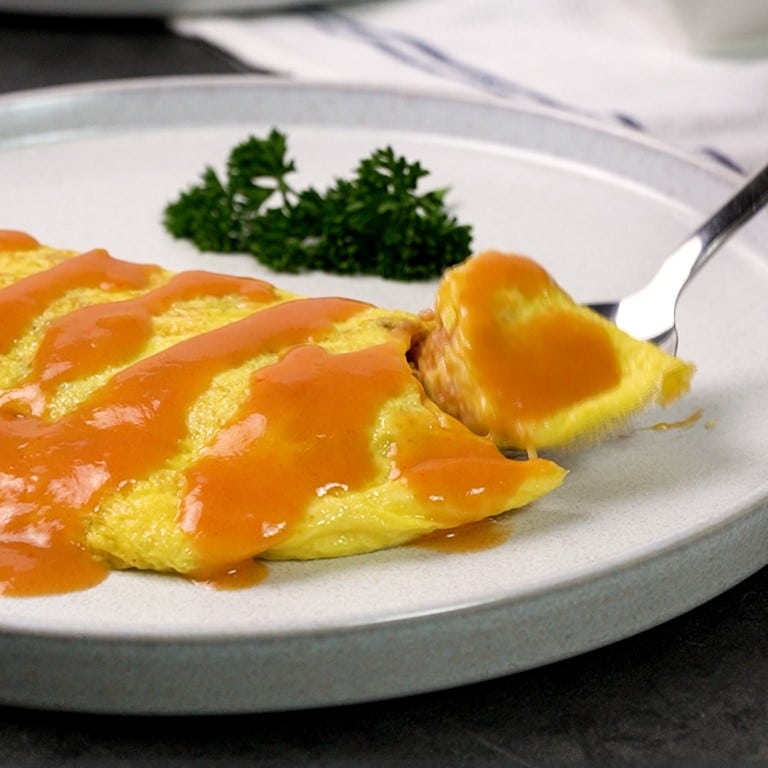
How To Make Restaurant Level Omurice Step-By-Step
Heat about ½ tablespoon of cooking oil in your 8-inch skillet non-stick pan on medium-high to high heat until hot.
Pour ¼ of the egg mixture (3 eggs + 1 Tbsp. of cream) into the pan. Quickly begin to scramble the eggs with the chopsticks from the outside to the inside.
When the eggs are still liquid, remove them from the heat and scrape the edges of the omelette with a spatula to unstick them. Tapping the pan twice on the stove helps to separate the eggs from the edges.
Now tilt the pan to 45 degrees and begin to fold the omelette from the top to the bottom with the spatula. Fold it about halfway, then finish closing it by tapping.
To tap, lift the pan with your left hand and stop it on the handle with your right hand.
Flip the omelette to close the edges and put it back on the heat for about 10 seconds to seal it fully.
If the omelette is rolling down when you tilt the pan, it’s ready.
To serve, roll the omelette carefully onto your mound of rice. You can use chopsticks to maneuver it.
Slice the top of the omelette through the midline to reveal the creamy scrambled eggs inside. Top with demi-glace sauce and some fresh parsley to serve.
How To Make An Easier Version Of Omurice
Now, if you don’t want to spend hours in the kitchen and waste a bunch of eggs in frustration to achieve the perfect omurice, don’t fret. This easier method is also perfectly scrumptious and appealing.
Heat some oil in the pan as you would do for the first version, pour a serving of the egg mixture, and scramble it with chopsticks from the outside to the inside.
Now, instead of folding the omelette and then placing it on top of the rice, place a serving of the fried rice on the undercooked omelette.
Let it cook 30 seconds longer and then fold the opposite edges to the center to cover the rice. Flip the omelette with the spatula, and allow it to cook for a few seconds to seal.
Transfer the omelette to your plate and further shape it with paper towels if desired.
Top the omurice with demi-glace sauce or ketchup and some parsley. Voila, easy peasy!
Is Omurice Safe To Eat?
Traditionally, the egg omelette in omurice is undercooked and runny, allowing deliciously creamy scrambled eggs to cover the fried rice. But, unfortunately, it’s not so safe to eat raw eggs in the US.
Raw eggs can contain salmonella and even if they’re pasteurized, might still be unsafe. But this study looks at the effects on bodybuilders who eat copious amounts of eggs, so I would take it with a grain of salt.
My advice is to cook the omelette a bit longer just to avoid any salmonella poisoning. But eggs in Japan are much less contaminated with salmonella and thus, safe to eat.


