
Simple Donut Breakfast Sandwich
Important Note: When you buy through our links, we may earn a commission. As an Amazon Associate we earn from qualifying purchases. Content, pricing, offers and availability are subject to change at any time - more info.
The donut breakfast sandwich went through a really popular phase a few years ago, but it never truly went away. How could it, when it’s so delightfully indulgent? Perfectly done, crispy bacon atop rich sausage, cheese, and eggs cozied together beneath two fluffy, glazed donuts. My mouth is watering already.
If you want a breakfast shortcut, you can buy donuts from a shop and focus on the fillings (I won’t judge you). But if you want to build from scratch or maybe you don’t have good doughnuts nearby, I have included a homemade donut recipe as part of this tantalizing breakfast. The sandwich assembly is fairly straightforward and the ingredients listed should make 4 sandwiches, but it’s easy to make more or adjust to your liking. However, you should end up with at least a dozen doughnuts because they are so delicious. I can’t stop myself with the sandwich, I need more!! So you get more too.

Ingredients
For the donuts:
- 1 ¾ cup milk
- 2 ¼ tsp instant yeast
- 8 tbsp butter
- ¼ cup sugar
- 2 eggs
- 1 tsp salt
- 1 tsp vanilla
- 5 cups bread flour
- Vegetable oil
- 4 cups powdered sugar
For the sandwich:
- 4 sausage patties
- Mild cheddar cheese
- 8 pieces of bacon
- 4 eggs
- Salt
- Pepper
Instructions
- All ingredients ready? Let's begin!

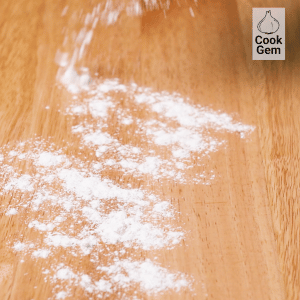
- Separate 4 ½ cups of flour. Set the rest aside to flour your surface later.
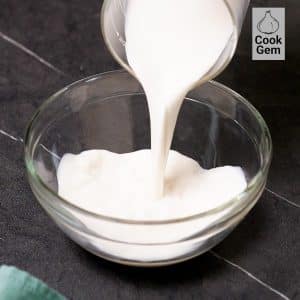
- In the microwave or over the stove, heat 1 ¼ cups of milk until just warm. Remove from heat and add the yeast, as well as a tbsp of sugar. Stir to mix and allow to sit for 5 or more minutes or until you see foamy bubbles.
- In a microwave-safe bowl, heat the butter in the microwave until it melts.

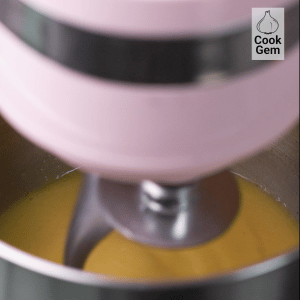
- In the bowl of a stand mixer (you can also use a handheld mixer or be very enthusiastic with your arms and a wooden spoon) add the melted butter, the rest of the sugar, the eggs, salt, vanilla, and the yeast mix.

- Attach the dough hook to the stand mixer and beat until the ingredients are combined.
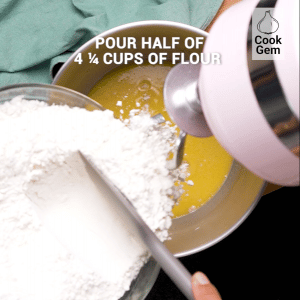
- Carefully pour half of the 4 ¼ cups of flour into the mixing bowl and continue kneading until combined.
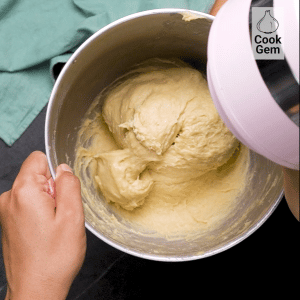
- Carefully add the rest of the flour and knead until combined. Use a rubber spatula to scrap the sides of the bowl to ensure everything gets mixed well. If the dough is too wet, you can add a little bit of flour until it reaches the right consistency.

- The dough should be sticky and stretchy, but solid and not too wet. Once the dough is mixed to that consistency, cover it with a kitchen towel and place in a warm spot.
- Leave the dough to rice for about an hour or until it doubles in size. It may take a little longer depending on how warm your kitchen is.

- Once the dough has doubled in size, liberally flour a clean counter or surface and dump the dough onto it.
- Knead it a few times then roll out to roughly half an inch thick.

- To cut out the donuts, use a donut cutter or two different sized biscuit cutters.

- Place the donuts on parchment paper, leaving space between each one.
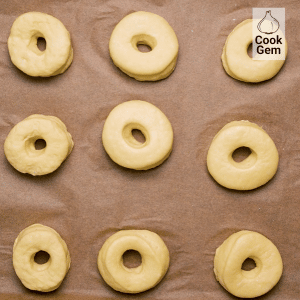
- Knead the excess dough and roll out again to repeat the process until the dough is gone. Alternatively, you can keep some as donut holes.

- Drape a towel over the shaped donuts and set in a warm spot. Leave to rise for 45 minutes or until puffy.

- Use a deep fryer if you have one or heat oil in a large pot. You will need the oil to be several inches thick. Bring the oil to 375F.

- Once the oil reaches the desired temperature, carefully add a few donuts–don’t crowd them.
- After about 45 seconds, the donuts should be ready to turn over. The goal is to have them golden on both sides. If cooking donut holes, they will cook faster.

- Use tongs to remove from oil and leave to cool on a wire cooling rack. Repeat until finished.

- In a clean bowl, add the powdered sugar, ½ cup of milk, and a pinch of salt. Whisk together until mixed. If it is too thick, add more milk. If too thin, more sugar.

- Place parchment paper under the wire cooling rack and arrange the donuts in an even layer. Drizzle the glaze over all the donuts and they’re done!

- Preheat your oven to 375F. Place the bacon on a baking tray and cook in the oven for 8 minutes or until done. Alternatively, use this candied bacon recipe for maximum flavor.

- While the bacon cooks, heat a little oil in a skillet over medium-high heat. Cook the sausages until brown on either side, or a little longer for more crisp.
- In the same skillet, fry all the eggs. Try to keep the yolks intact and sprinkle with a little salt and pepper.

- Slice some cheese for each sandwich, using as much as you want.
- Once all ingredients are cooked, you can assemble your mouth-watering breakfast sandwich: on a plate, place one donut. Next, place the sausage patty, then cheese, then two slices of bacon, then the egg. Top with another donut.

- Serve with an optional side of donut holes and enjoy!

Video
Nutrition
Notes & Tips
The donuts can be stored covered at room temperature for up to 5 days…but there’s no way they’ll last that long. Any leftover bacon or sausage can be stored in the fridge. Reheat both in a pan to make crisp again.
If you fry food often, try saving the excess oil to reuse later. It lasts a while in a closed container as long as there isn’t a lot of food residue. The oil can be used for other sweet dishes or for something savory like Moroccan fried chicken.
If you choose to discard the oil, it’s better to put it in a leak-proof jar in the trash than to pour it down the drain.