Easy Low FODMAP Waffles Recipe
Important Note: When you buy through our links, we may earn a commission. As an Amazon Associate we earn from qualifying purchases. Content, pricing, offers and availability are subject to change at any time - more info.
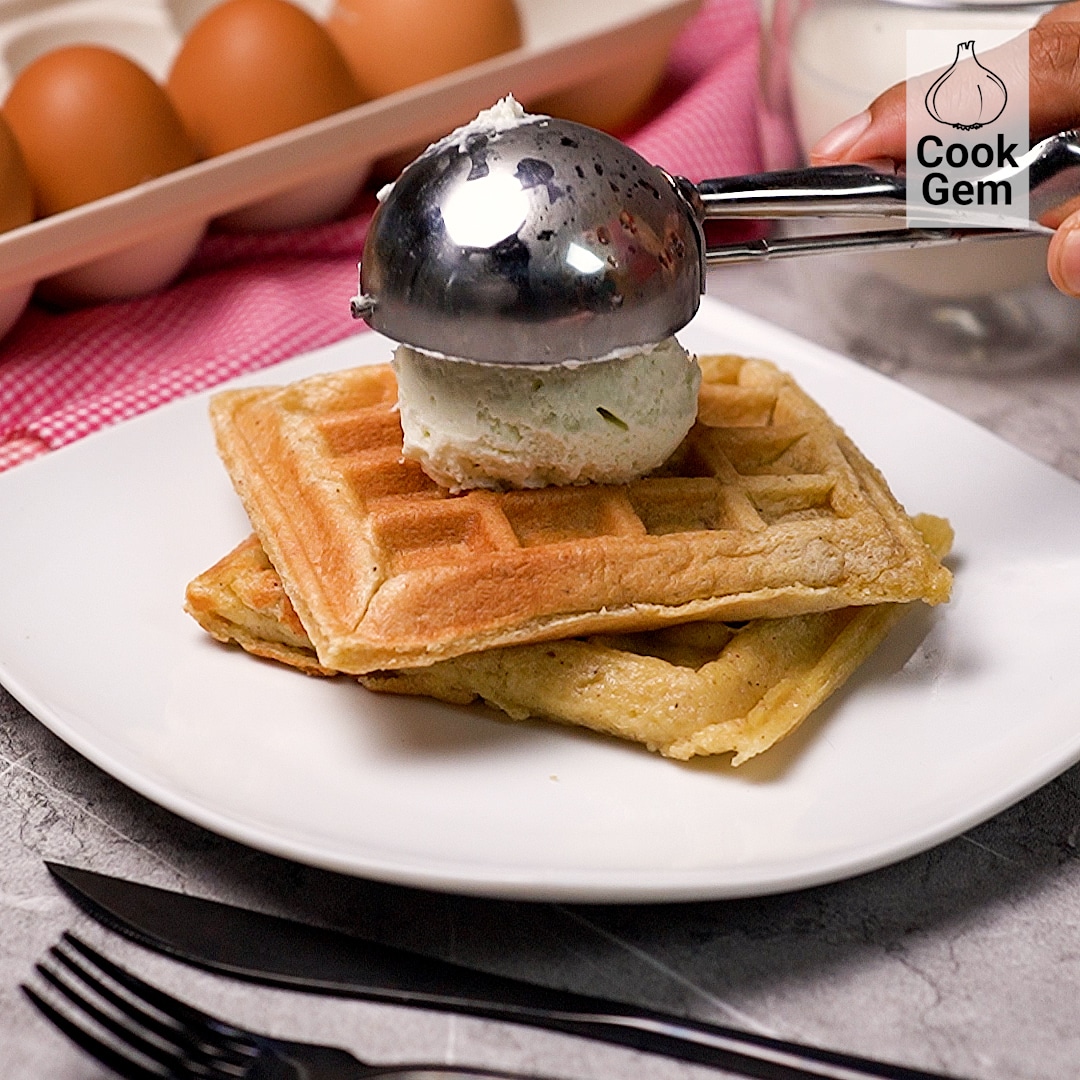
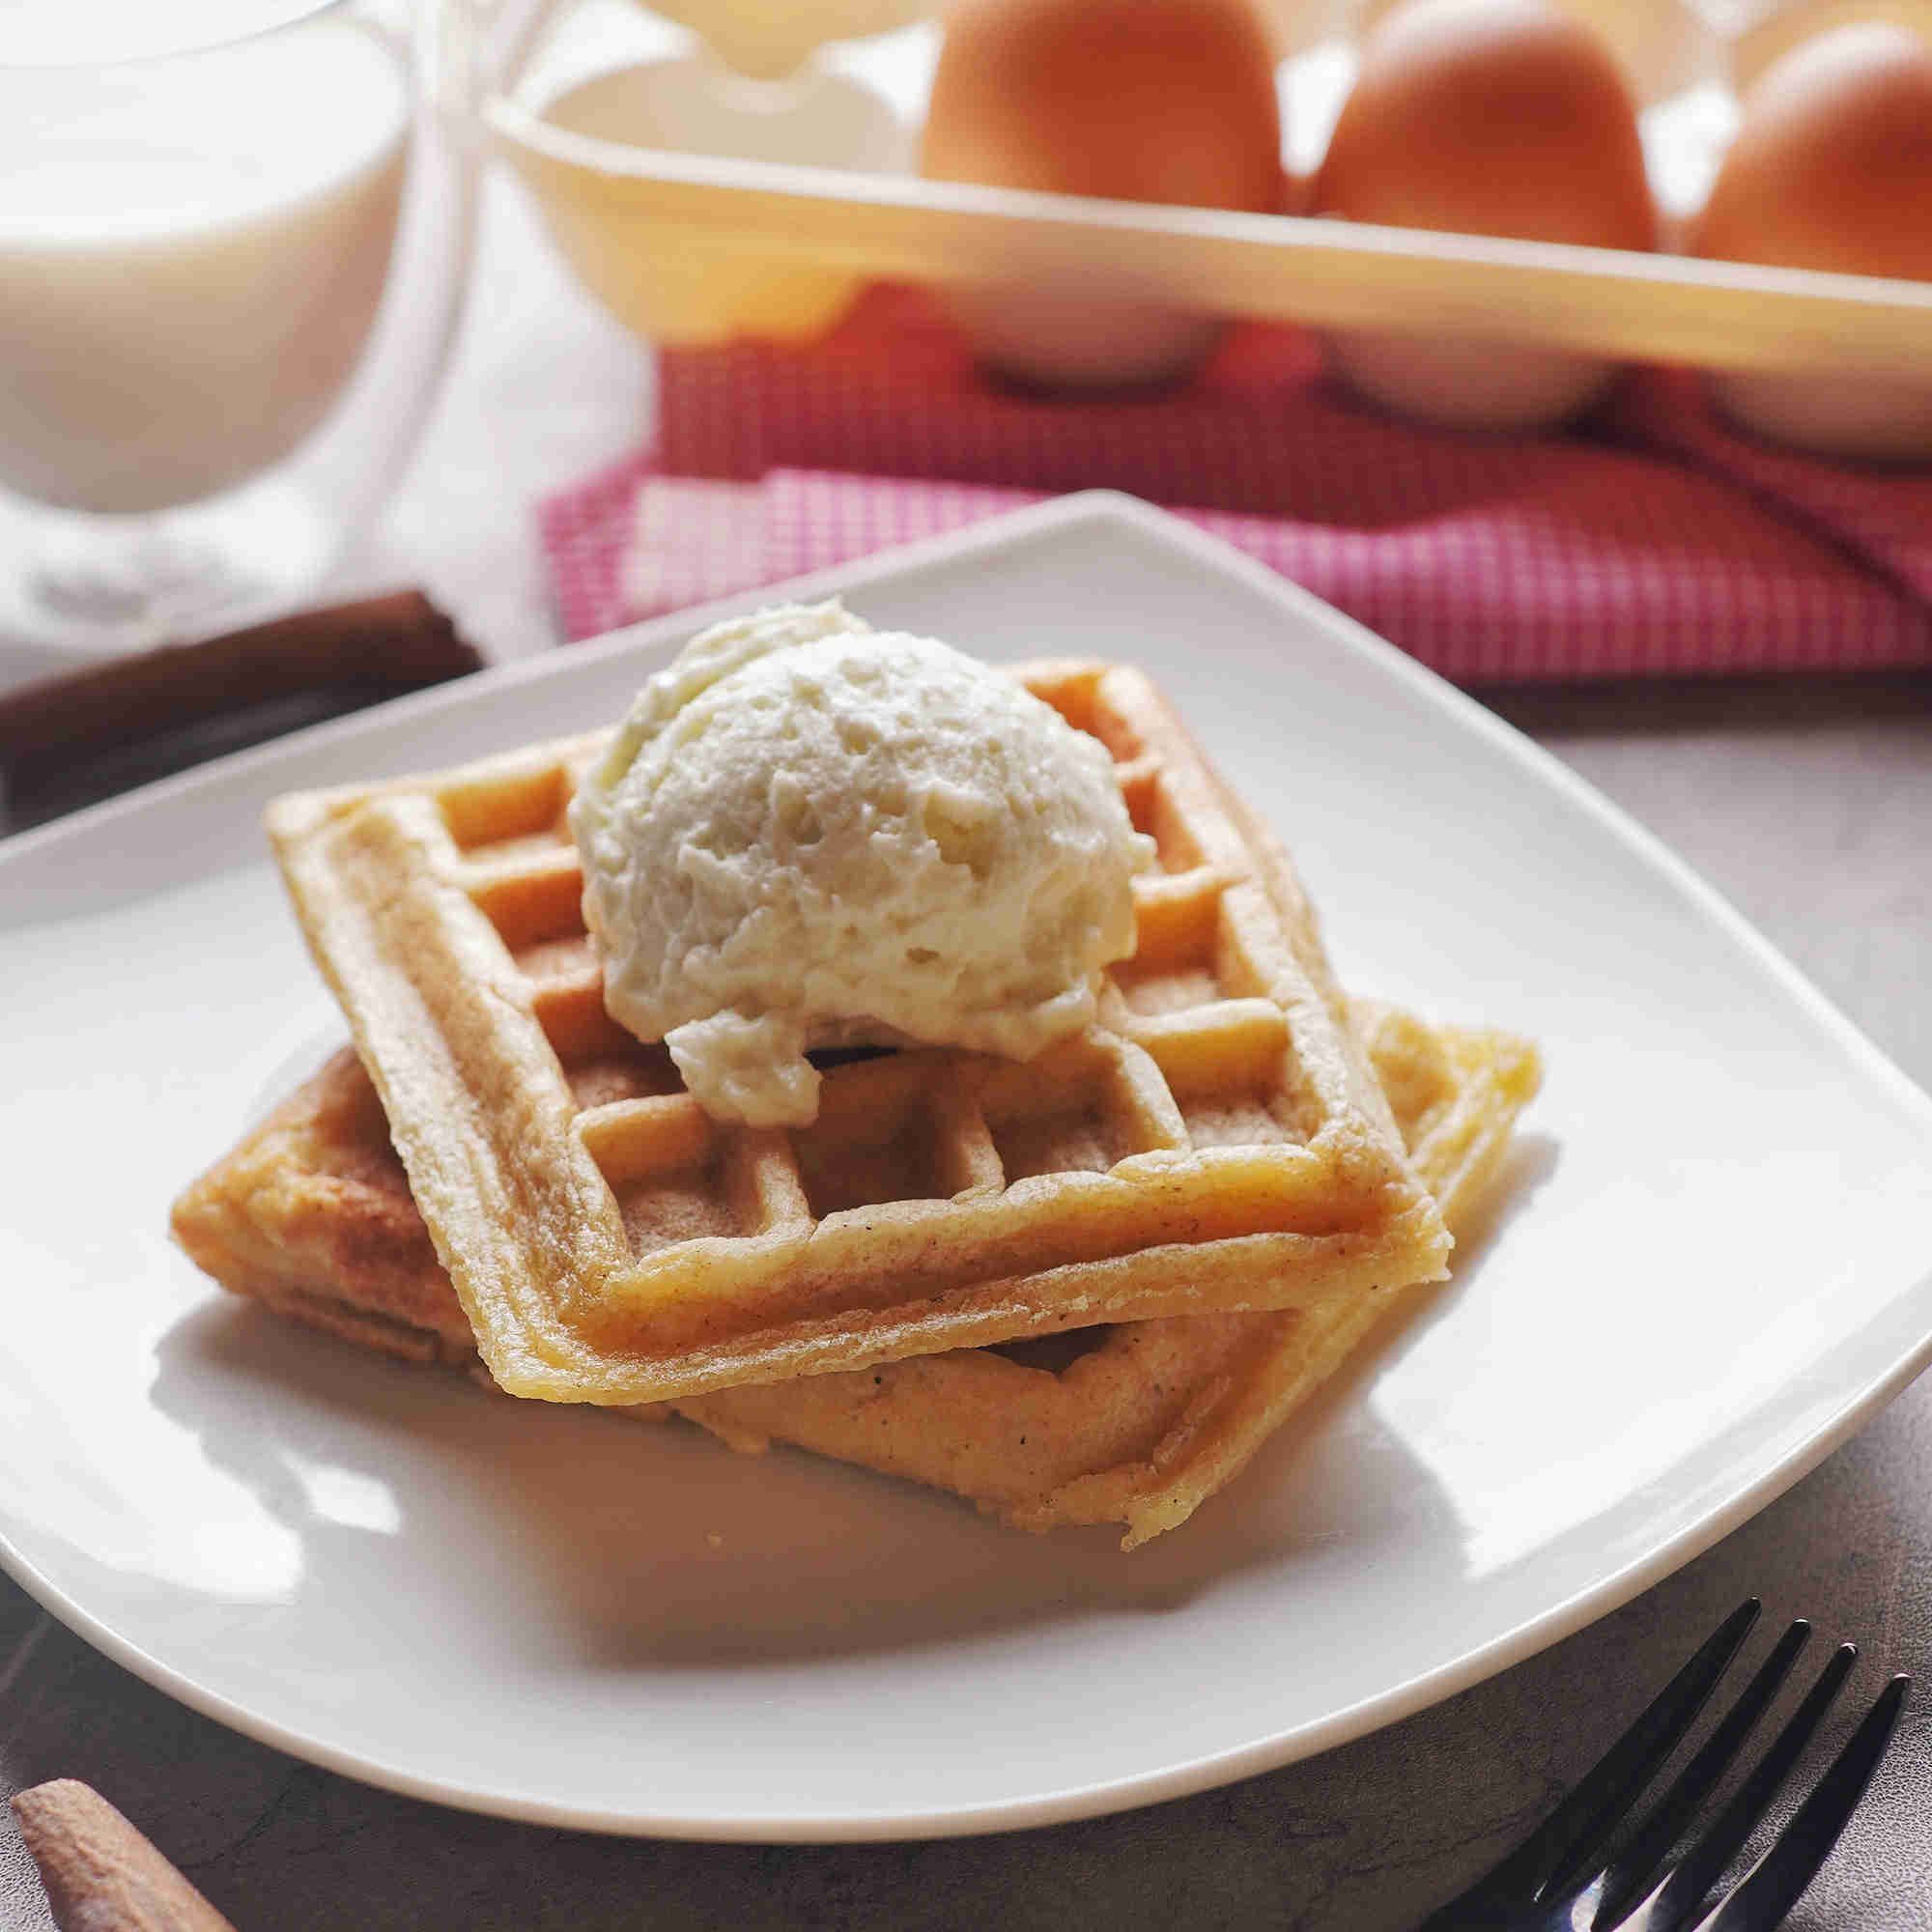
There’s often no better breakfast than a waffle drenched with sauce or topped with an assortment of chopped fresh fruit. If you’re following an elimination diet or sticking to low FODMAPs only, this doesn’t mean you can’t enjoy a decadent waffle. Our low FODMAP waffle recipe comes out just like a waffle made with gluten flour just ever so slightly chewier. Many may even prefer the slightly chewier texture over the cake-like inside of a conventional waffle.
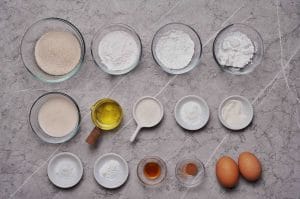
Ingredients
- 2 Tablespoons White Sugar
- 1 ½ Cups Brown Rice Flour
- 1 Cup Glutinous/Sweet Rice Flour
- ½ Cup Tapioca Starch
- ½ Cup Potato Starch
- 1 ½ Tablespoons Baking Powder
- 1 Teaspoon Salt
- 1 Pinch Cinnamon Powder Optional
- 1 Teaspoon Xanthan Gum
- 4 Eggs
- 1 Teaspoon Cream Of Tartar
- ½ Cup Coconut/Vegetable Oil
- ¾ Cup Low FODMAP Milk Almond, Hemp, Coconut, Rice, Soy Or Lactose-Free Milk
- 2 Teaspoons Vanilla Extract
Instructions
- Get all your ingredients together. Excellent!
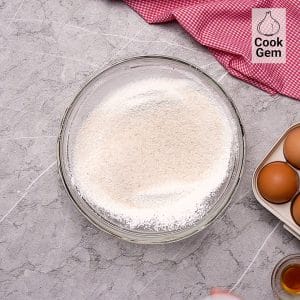
- Sift the sugar, brown rice flour, sweet rice flour, tapioca starch, and potato starch into a large mixing bowl.

- Mix in the baking powder, salt, sugar, cinnamon, and xanthan gum.
- Separate the eggs and set aside the yolk for later use.

- Whisk one teaspoon of cream of tartar and the egg white until frothy. Set aside

- Whisk the egg yolk, oil, vanilla extract, and low FODMAP milk in a separate container until well combined.

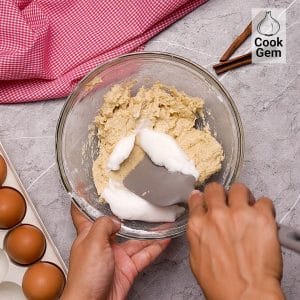
- Combine the egg yolk solution and dry ingredients in the large mixing bowl and mix until you’ve got a smooth batter.
- Fold in the egg whites.
- Pour the batter into a waffle iron or waffle maker and cook until browned and done or fry in a little oil for 2 minutes a side and flip.

Video
Nutrition
What To Serve With Low FODMAP Waffles
Like all waffles, low FODMAP waffles go great with ice cream. Stick to dairy-free and lactose-free ice cream, and your dessert is safe for a low FODMAP diet. Otherwise, give our homemade blueberry lavender chia jam, simple raspberry rose jam, or gooseberry jam a try for a gourmet spin on basic waffles that’ll ensure the whole batch vanishes in no time. Each artisanal jam is easy to make and will elevate breakfast to a fantastic feast for friends and family.
Low FODMAP Waffles Variations
Add a cup of fresh berries to our low FODMAP waffle batter, and you’ve got springy, chewy berry waffles in any flavor preferred. Dark chocolate is low FODMAP, so you can safely include dark chocolate chips in your batter as well. We’d recommend doubling the sugar to four tablespoons if you do decide to include dark chocolate in your waffles.
Tips For Cooking Low FODMAP Waffles
Anything made with rice flour needs a little less baking to cook through than baked goods made with regular, gluten-containing flour. If you leave your waffles in the waffle maker or waffle iron for too long, they’ll start turning crumbly. Ensure the temperature is suited to your batter, and watch carefully so that you can remove each waffle when it’s perfectly cooked.
Even though we’ve detailed easy instructions for grinding your own rice flour, it takes a great degree of practice, patience, and a very good mill to get the consistency as fine as store-bought rice flour. If you’re making your own, we suggest sifting the flour more than once and making large batches for storage.
Can You Freeze Low FODMAP Waffles?
These low FODMAP waffles are great for freezing and reheating. Wrap in foil and then in plastic wrap or place the wrapped waffles in an airtight container and store them safely in the fridge for two to three days. To reheat, simply pop them in a toaster oven or warm in the oven or a pan.
Is Baking Powder Gluten-Free?
Not all types of baking powder are gluten-free as many varieties are extracted from wheat and wheat derivatives. Most in the US are, however, free from wheat, but the label will nonetheless state that it’s gluten-free. If the baking powder in question doesn’t specifically mention that it has no gluten, rather avoid it completely and seek another brand.
Can I Grind My Own Rice Flour?
Grinding your own rice flour is a straightforward process but not as easy as pulsing regular uncooked white rice to powder. Rinse white or brown long or medium grain rice thoroughly and then soak it for between two and twelve hours. The longer you soak the rice, the finer they’ll grind with less effort. Drain and pat dry with a towel or paper napkins. Spread the rice out and allow it to air-dry in a cool place without direct sunlight for roughly an hour to an hour and a half. When the rice is dry but still moist to the touch, it’s ready for grinding with a grinder, blender, or mill.
Can I Make My Own Sticky Rice Flour?
Making glutinous rice flour involves the same process as conventional rice flour, but long or short-grain glutinous rice, Oryza sativa glutinosa, is soaked, dried, and milled instead of regular short or medium grain varieties. Glutinous rice is also known as sticky rice, sweet rice, and waxy rice. All types of glutinous rice, regardless of the cultivar or country, will work for making flour. The ultra-sticky consistency will result in a product that’s harder to grind to a fine powder without any lumps. Extensive sifting is required.
How To Make Rice Flour?
Rice flour is best processed with a mill. If you’re going to be grinding rice flour using a blender or coffee grinder, it is best to only grind a few tablespoons at a time. If the rice flour isn’t ground fine enough, your waffles and other baked goods will have a gritty texture, but if you get the ground right, it’ll be just like baking with all-purpose flour. Once enough rice flour has been ground, pass it through a sieve so that all the lumps are dispersed and broken into fine powder. Discard anything that doesn’t pass through easily or grind it some more and sieve again.