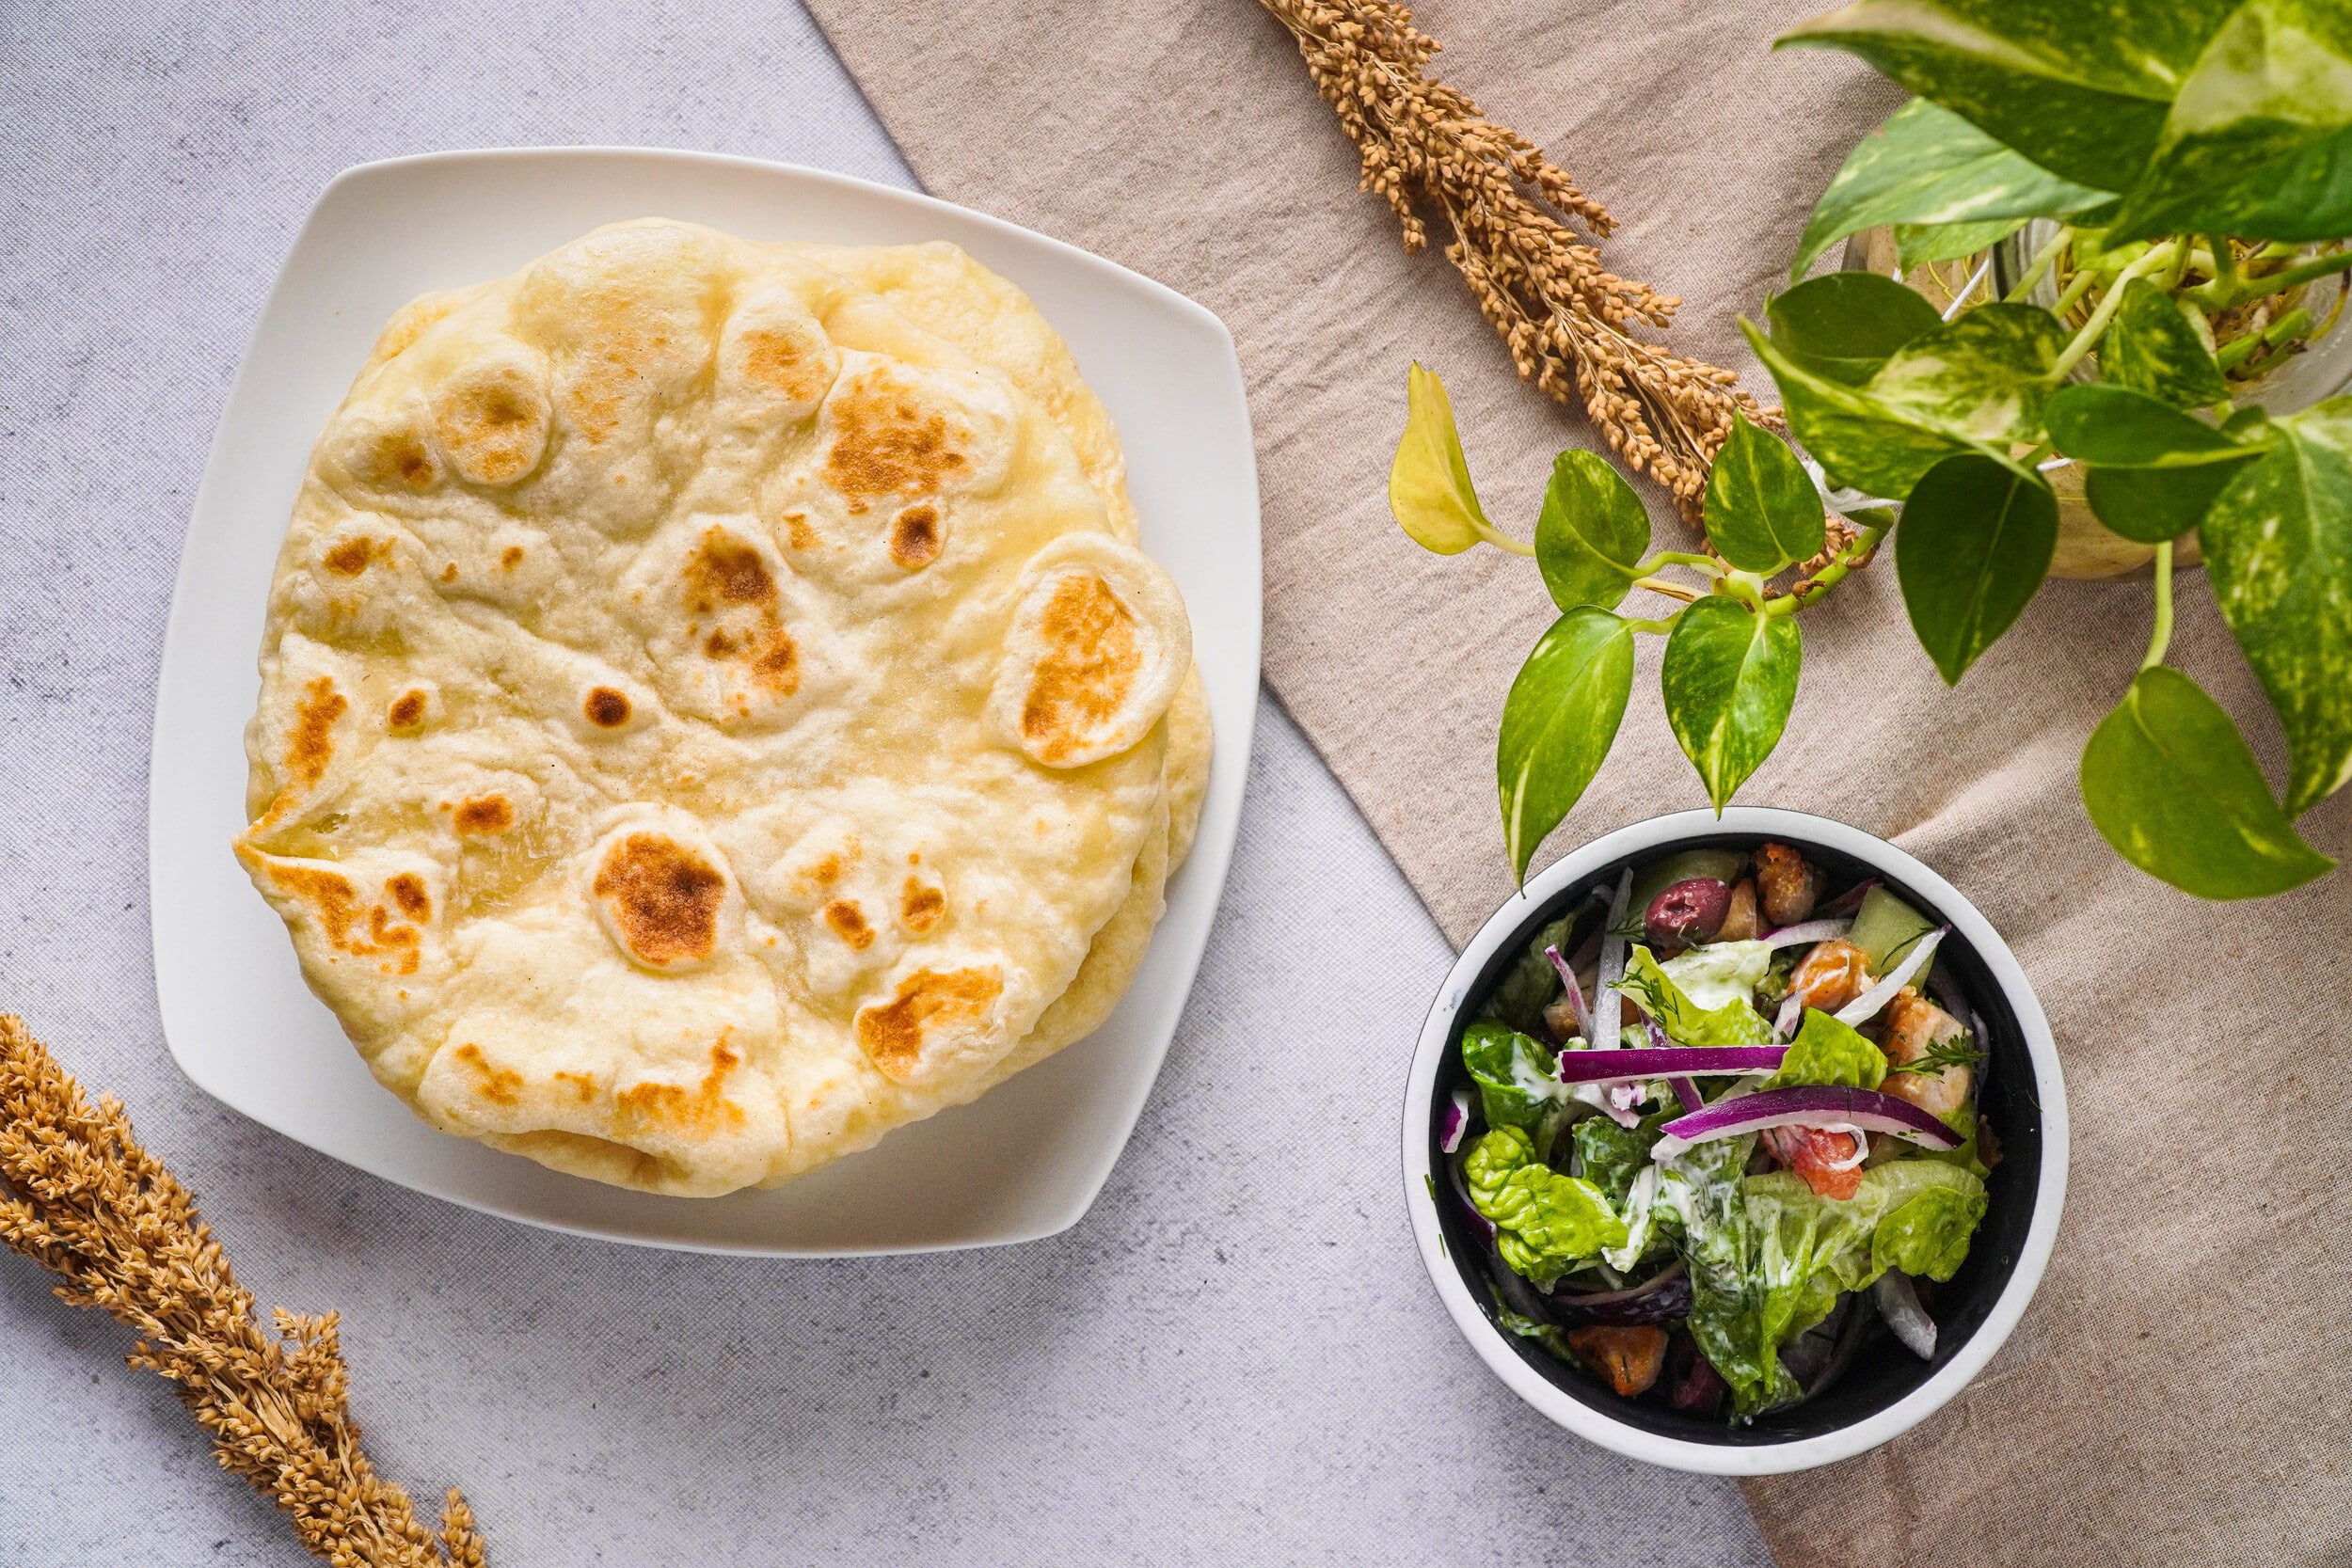
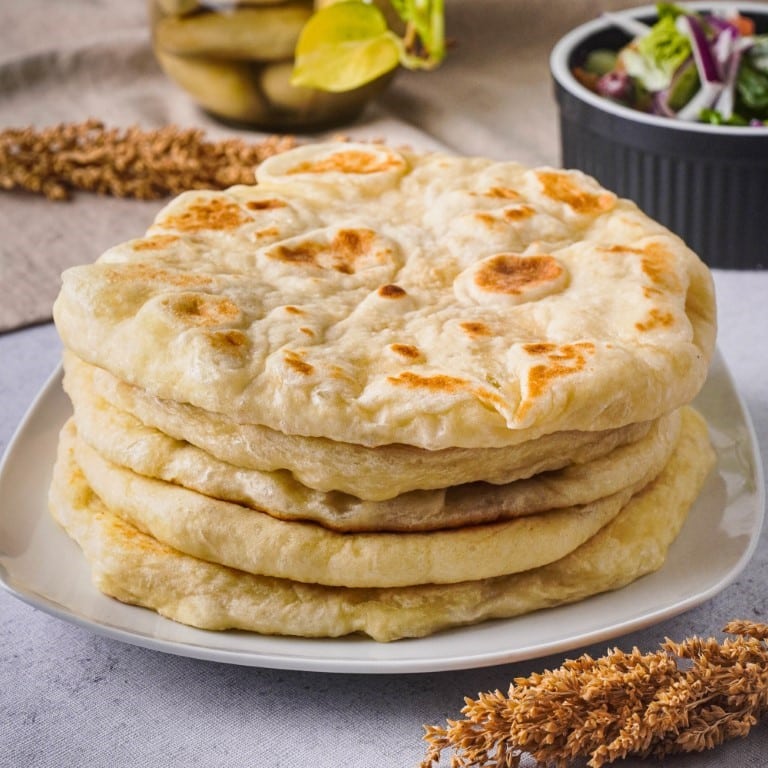
Easy Homemade Greek Gyro Pita Bread
Important Note: When you buy through our links, we may earn a commission. As an Amazon Associate we earn from qualifying purchases. Content, pricing, offers and availability are subject to change at any time - more info.
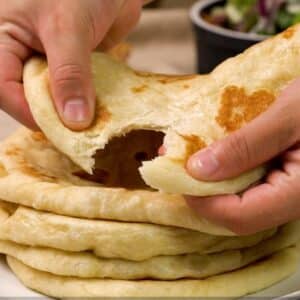
Nothing screams the perfect summer like Greek food, and to me nothing says Greek food like a Greek gyro. Plenty of food trucks offer their own variety of the Greek gyro, complete with tangy sauces and fatty meats. The good news is that Greek gyros are very easy to make at home and enjoy anytime you wish. And it all starts with the body of the Greek gyro; pita bread.
These homemade Greek gyro pita breads are the perfect thing to whip up the morning of a family get together and they are very simple to make. They would work perfectly alongside an array of other Greek dishes such as this quick and easy Greek lemon dill grilled chicken salad.
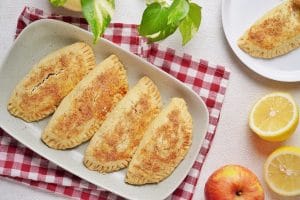
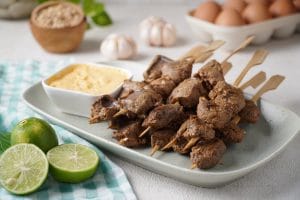
If you are struggling to find that perfect piece of meat to fill your homemade Greek gyro pita breads, check out these 8 places online that you can buy gyro meat.
Ingredients
- 3 cups bread flour
- 3 teaspoons instant dry yeast
- 1 tablespoon sugar
- 1 ½ cup warm water
- 1 teaspoon salt
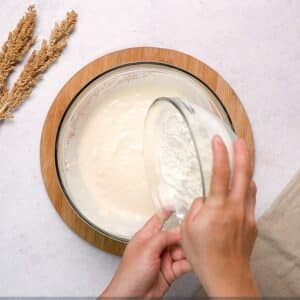
- ½ cup Greek yoghurt
- 4 ½ tablespoons olive oil
Instructions
- All ingredients ready? Let's begin!

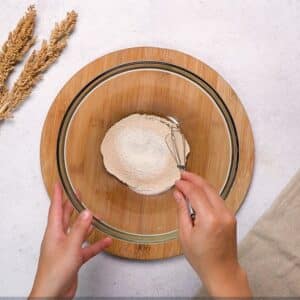
- In a sizeable bowl, make a yeast mixture by combining your yeast and sugar. Pour the warm water over the yeast and sugar and give it a little mix to help the sugar dissolve.

- Set the bowl to the side and leave it for 5-10 minutes or until the yeast starts to activate. You should be able to tell because it will bubble and grow in size.
- Once the yeast has produced a frothy mixture, add the salt, 2 ½ tablespoons of olive oil, and 1 ½ cups of flour.
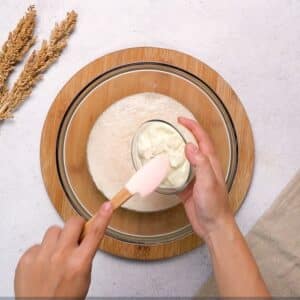
- Use a stand mixer dough hook, a wooden spoon, or your hands to thoroughly combine.
- Add the final 1 ½ cups of flour and mix again to combine.
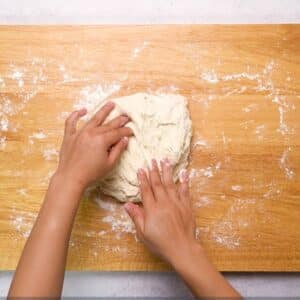
- Knead the dough by hand on a lightly floured surface or allow your stand mixer to work its magic until the pita bread dough develops an elasticity. About 5 minutes in a stand mixer or 8 if by hand. If your dough is still too sticky, you can add a little more flour but no more than ¼ cup as it should still be quite a sticky dough.
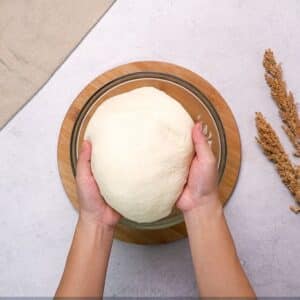
- Once smooth and elastic, securely cover the bowl with a clean kitchen towel or plastic wrap.
- Leave the dough to rise in a warm place for 30 minutes.
- When the dough has risen, transfer it to a well-floured countertop. Be generous with the flour coating to make it easier to work the dough.
- Knead the pita bread dough into a log. Use a sharp knife to separate the dough log into 8 portions (or less, if you want bigger pitas).
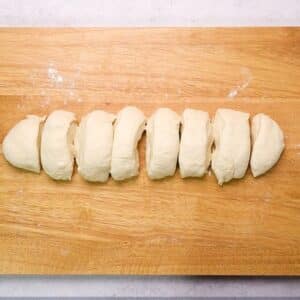
- Cover the portions with a moist tea towel and leave to rest for 10 minutes. Doing so will make them easier to shape and work with.
- One at a time, roll out each portion of dough until nice and flat.

- Keep the dough you are not currently working covered with a slightly damp tea towel to prevent the shaped and unshaped dough drying out.
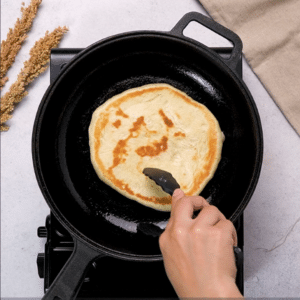
- Cover your dough while you heat a large frying pan with some oil (though not all of it). When the oil is hot enough, take your first pita bread and lay it flat in the pan.
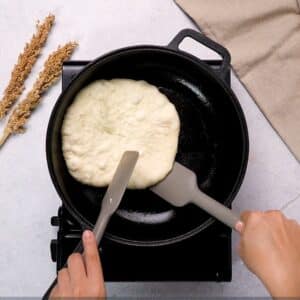
- Cook the pita bread for 2-3 minutes then flip it, frying for a further 2-3 minutes.
- Repeat this frying for the rest of your pita bread. Enjoy!
Video
Nutrition
Notes & Tips
- Any leftover pita breads can easily be frozen for later use, which is perfect if you want to double your batch to have homemade bread whenever you please. We recommend layering your leftover pita breads in an airtight container with pieces of parchment paper between each layer to make them easier to separate when you are ready to defrost them. Then place the pita breads directly from the freezer into your oven to heat up and defrost for around 10 minutes.
- Depending on how warm your house is, your pita bread dough may need longer to rise than 30 minutes. You don’t the dough to rise too much (it doesn’t need to double in size like most breads), but there does need to be an obvious rise to the dough for the pita bread to develop the lightness when fried.
- How you roll out your pita bread will have an effect on the final texture of the bread. Using a rolling pin to shape your pita bread will give them more a crunchy texture while flattening and shaping them with your hands will make them light and airy.
How To Use Left Over Pita Breads?
Just because you made these easy homemade Greek gyro pita breads with the intention of serving them as Greek gyros does not mean that you have to limit yourself to one pita-based dish. Like any bread, pita bread has a variety of uses. That is why I like to make a couple of batches of these pita breads so that I always have some to hand whenever I want to get creative in the kitchen.
By far my family’s favourite way to use up left over pita breads is to make pita bread pizzas. They turn out in a similar way to these simple pizza baguettes. You’ll just need to replace the use of a baguette with your left-over pita breads.
In a similar vein, you can make pita garlic bread by throwing together a quick garlic butter. Cover one side of the pita bread in a thick layer of garlic butter and place in a 350 F heated oven for 5-7 minutes or until the garlic butter has melted deliciously into the pita bread. Top with parsley and enjoy with some fresh pasta (or by itself).