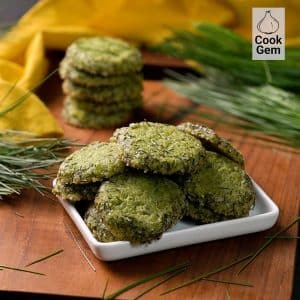
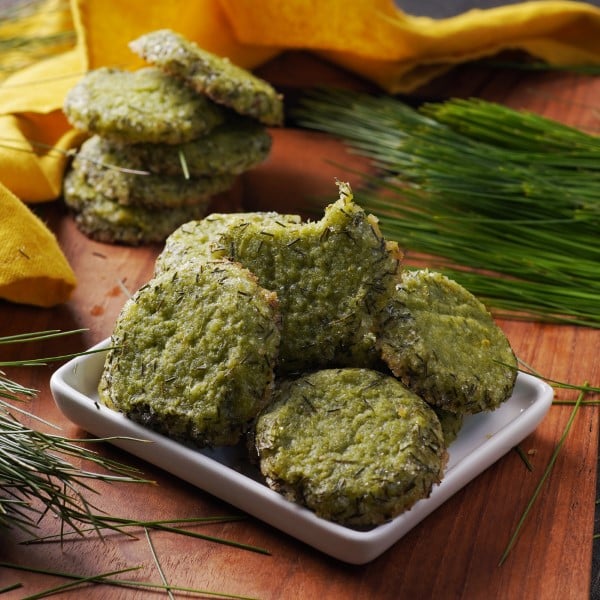
Easy Pine Needle Cookies
Important Note: When you buy through our links, we may earn a commission. As an Amazon Associate we earn from qualifying purchases. Content, pricing, offers and availability are subject to change at any time - more info.
Ingredients
- 1 cup loosely packed evergreen needles
- 2 sticks unsalted butter at room temperature
- 1 cup granulated sugar
- Zest from one orange
- Zest from one lemon
- ½ teaspoon kosher salt
- 2 cups all purpose flour
For rolling:
- ¼ cup granulated sugar
- 1 tablespoon evergreen needles
Instructions
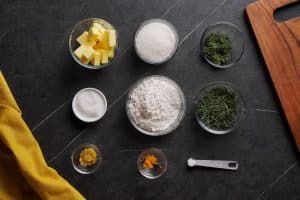
- All ingredients ready? Let's begin!
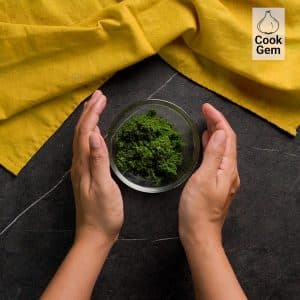
- First, you’re going to need to harvest the pine needles. Make sure that they are clean and dry. If they were treated by any pesticides, rinse them in water first a few times. Then, using a food processor or a coffee grinder, grind up the pine needles to a fine dust.
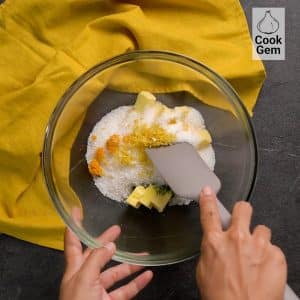
- Cream together the pine needles, butter, sugar, orange zest, lemon zest, and salt.
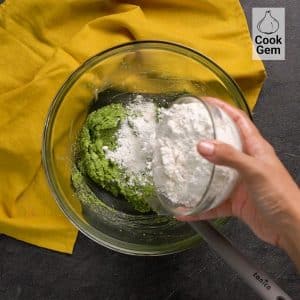
- Gradually add the flour and stir well after each addition.
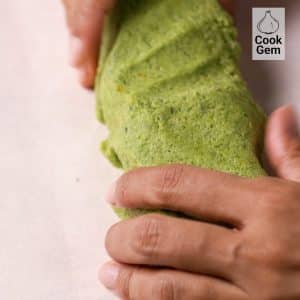
- Divide the dough into two equal portions. Roll them into cookie logs that are about 1 ½” thick in diameter.
- Roll the cookie logs into parchment paper and then wrap the logs with plastic wrap.
- Chill in the refrigerator for at least 30 minutes. You can even freeze the logs for further use at this step.
- Preheat the oven to 350F when you are ready to bake.
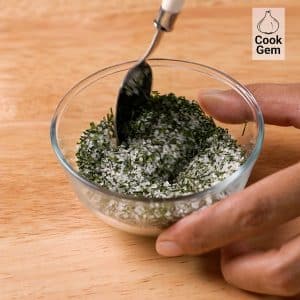
- Combine the extra sugar and pine needles in a small bowl.
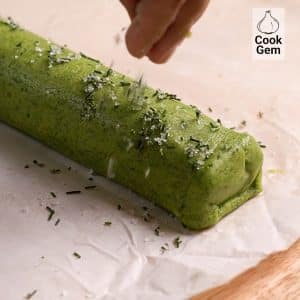
- Remove the logs from the refrigerator and unwrap. Sprinkle the edges of the cookie log with the extra sugar and pine needles.
- Slice the dough into about ½” cookies.
- Place the cookies on a cookie tray so that they spaced evenly.
- Bake for about ten minutes or until the edges turn light brown.
- Remove from the oven and let the cookies cool on the tray for 2-3 minutes.
- Then, place the cookies on a cookie rack to cool completely.
- Cookies are best stored in an air-tight container at room temperature for about one week. Alternatively, you can freeze the pine needle cookies for up to three months.
Nutrition
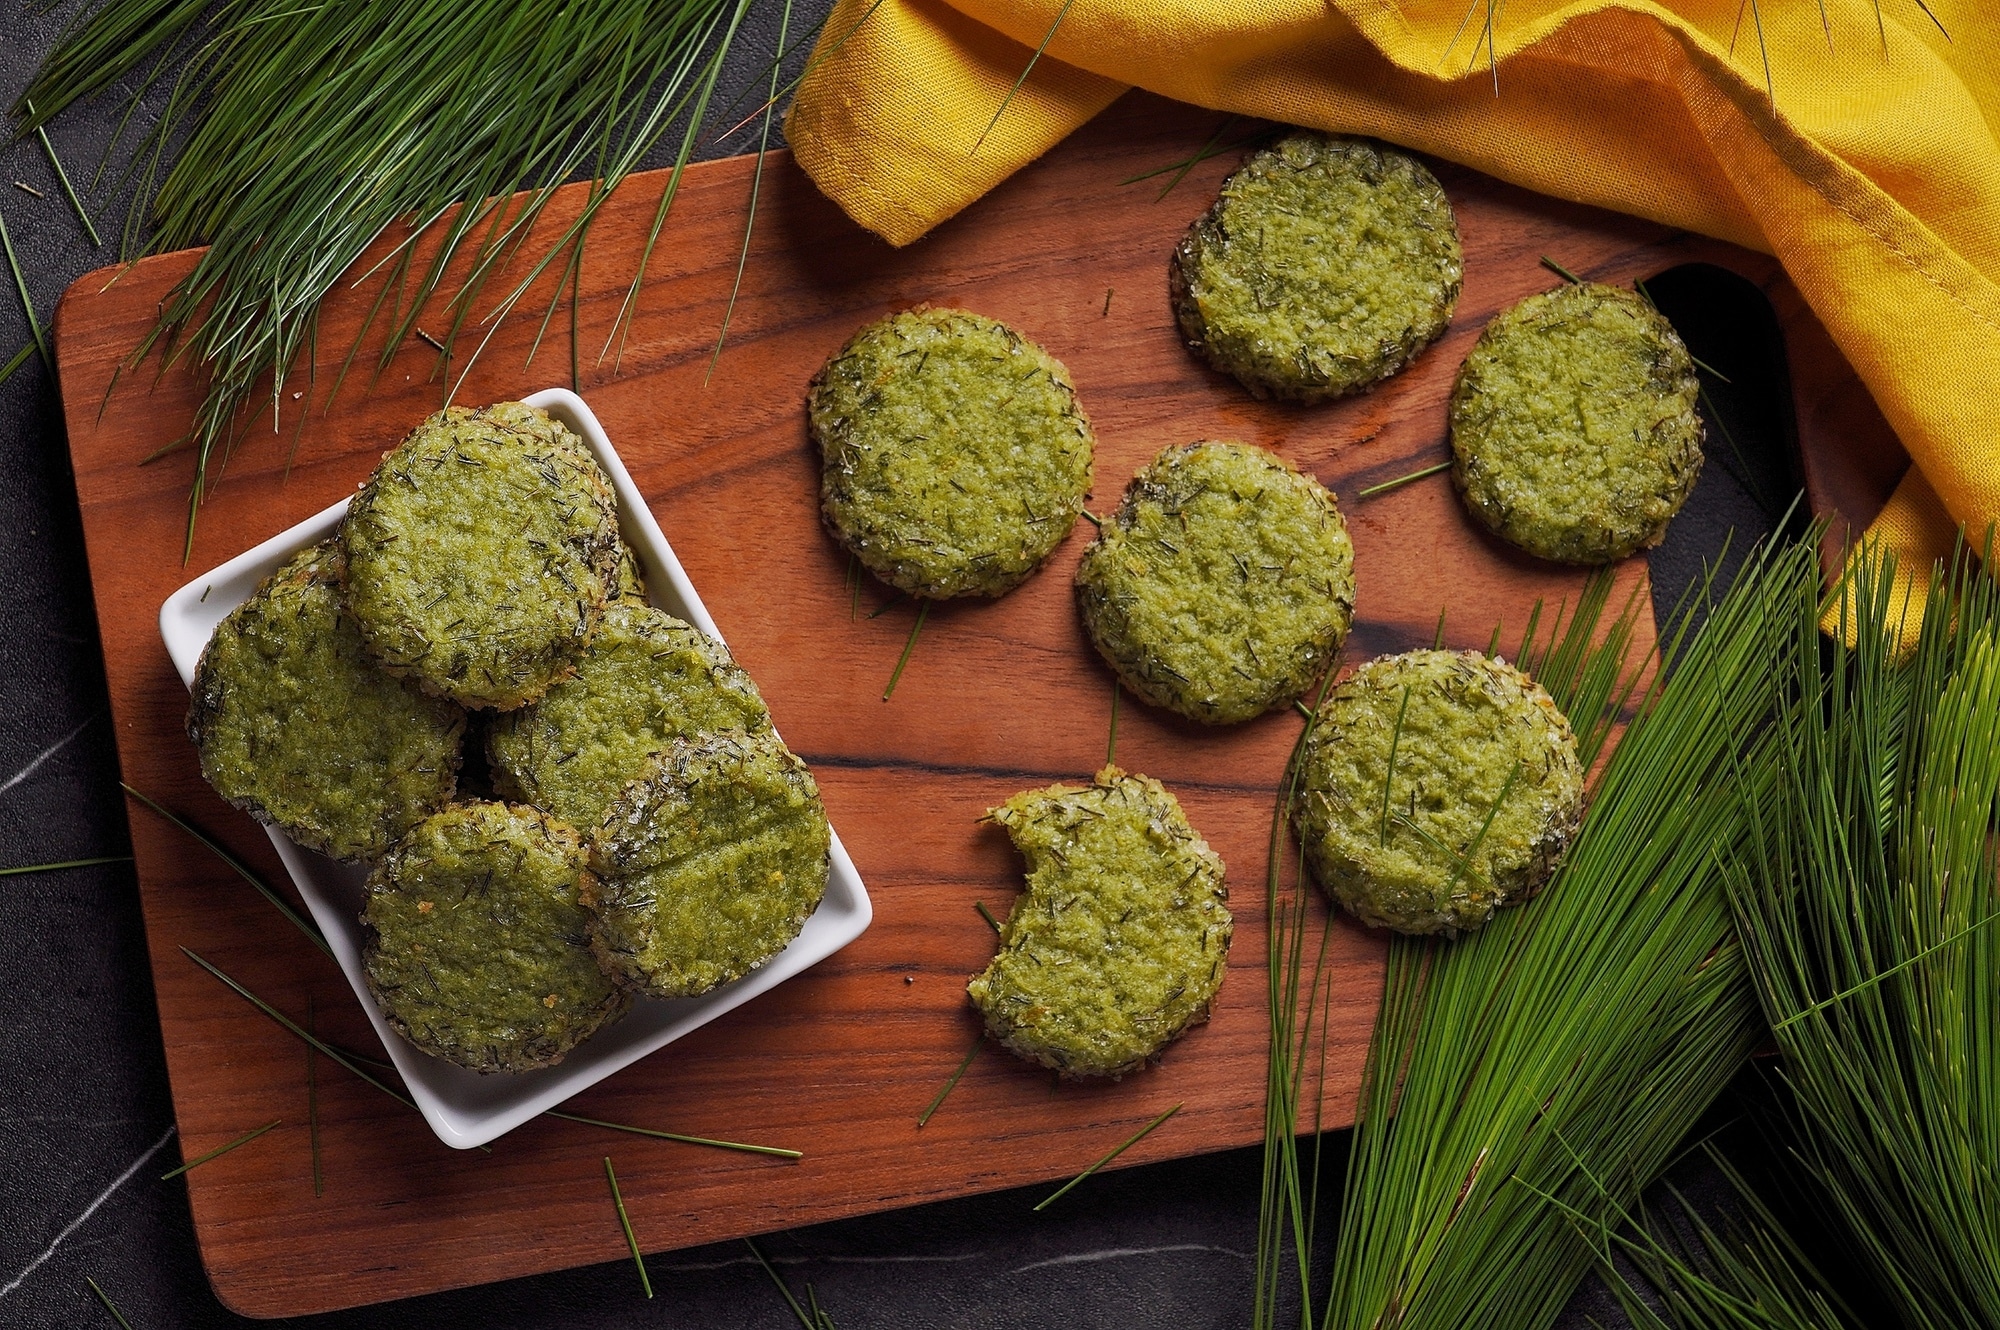
Holiday cookie season is upon us. You’re likely browsing the internet for either a tried-and-true cookie recipe or something completely different. Here, you’ll find something completely different.
This pine needle cookie recipe is unique, festive, and has health benefits. A cookie with health benefits?! Sounds great, doesn’t it?
Did you know that almost all pine needles and any evergreens are edible? In fact, so many things that you may find on your forest walks are edible and incredibly beneficial for your health.
Important Note: While most types are edible, the common yew evergreen can be lethal up to 50-100 grams for humans. Avoid Yew needles at all costs for this recipe, here is a video explaining how to identify them.
Some people really love the aroma of evergreens and pine needles. It’s nostalgic and brings the feel of wintertime into your home. So, what better way to satisfy that craving than with buttery, pine-scented cookies? Plus, you could pair this cookie with another cookie, like our cardamom spice cookies, for a perfect homemade holiday cookie platter.
Notes & Tips
- Make sure that your butter is room temperature and soft, rather than melted and liquid. The cookies will fall flat and not have the same texture if you use melted butter.
- You can use only orange or only lemon zest if you do not have both. You could also use lime zest.
- You can substitute pure maple syrup for sugar while making the dough if you’re seeking a true forest cookie!
- For a more festive cookie, roll the cookie log in green or red colored decorative sugar.
- If you encounter any berries on your evergreen, do not eat them, they are not edible and are actually poisonous.
- Be sure to wash any evergreen needles with water in case they were treated with chemicals.
- Smaller and softer evergreen needles work best in our opinion but your tastes my vary as each tree has a different taste.
How To Harvest Pine Needles For Pine Needle Cookies
There are two different pine needles that you can use for this cookie. White pine needles and red pine needles are what you need to look for when making this recipe.
There is an easy way to tell the difference between the two. Red pine needles grow in bunches of two while white pine needles grow in bunches of five.
Be sure to find fresh looking, clean needles while harvesting. It’s important to harvest the pine needles sustainably so that you do not harm the tree. The best way to do this is to be sure that you do not cut off over one quarter of the branches.
Give the pine needles a good rinse when you get home and dry them off with paper towels. This will prevent the needles from caking up when you grind them.
What Kitchen Tools Do You Need To Make Pine Needle Cookies?
There are a few things that you are going to need in your kitchen to ensure this recipe is a success.
Pine needle cookies require ground pine needles. Therefore, you need a suitable tool to do the grinding.
One thing you can use is a large, sharp chef knife. But this method will take quite some time. The best tool to use would be a coffee grinder or a small food processor.
A coffee grinder is a great kitchen tool to have even if you aren’t grinding coffee beans. It’s perfect for grinding whole spices and seeds.
Another tool that you’re going to need is a microplane. Microplanes, also known as zesters, are another affordable kitchen tool that comes in handy often. You’ll need it to zest the orange and lemon for this recipe. Microplanes are also great for mincing garlic and ginger.
Another Way To Make Pine Needle Cookies
Another way to make these pine needle cookies is to use pine-infused butter. Use this method if you want a stronger pine flavor or you simply don’t like the idea of eating pine needles.
Here is how you make pine-infused butter.
Collect an additional 1 cup of pine needles. Now, add the butter to a small saucepan and also add the pine needles. Next, melt the butter but be careful that it doesn’t brown. Let the pine needles steep in the melted butter at room temperature overnight.
Then, reheat the butter so that you can strain out the pine needles. Chill the strained butter in the refrigerator until it is soft. Now the butter is ready to use for the cookies.
You can do this to replace adding the pine needles to the recipe (omit grinding and adding them to the dough) or an addition for an extra boost of pine flavor.
