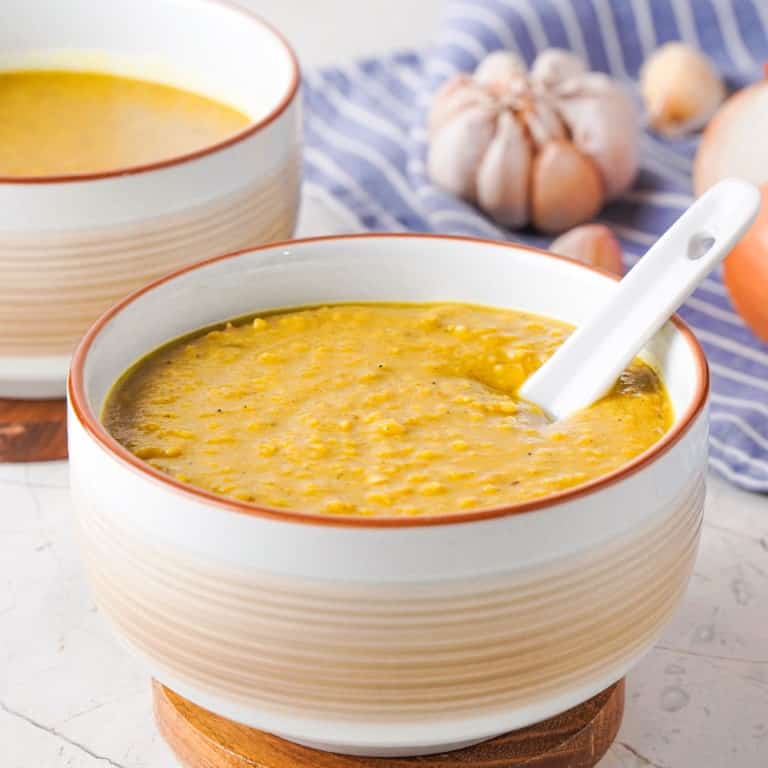
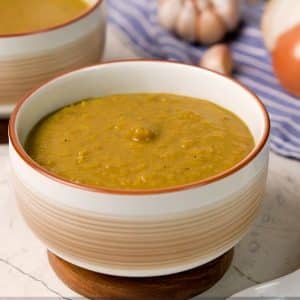
Homemade Guyanese Dhal
Important Note: When you buy through our links, we may earn a commission. As an Amazon Associate we earn from qualifying purchases. Content, pricing, offers and availability are subject to change at any time - more info.
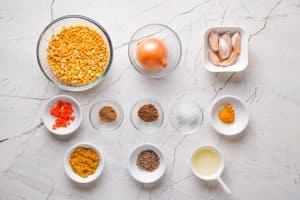
Ingredients
- 1 cup split peas
- 1 onion
- 6 garlic cloves
- 2 wiri wiri pepper
- 1 tbsp curry powder
- 1 tsp garam masala
- ½ tsp turmeric
- 1 tsp ground geera
- 1 ¼ tsp salt
- 1 ½ tsp vegetable oil
- 1 tsp whole geera
Instructions
- All ingredients ready? Let's begin!
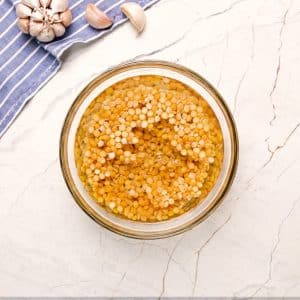
- Rinse the split peas a few times using cold water and drain.
- Peel and finely dice the onion.

- Peel and finely dice or press the garlic. Set 2 aside.

- Carefully destem and deseed the wiri wiri peppers before chopping into small pieces.
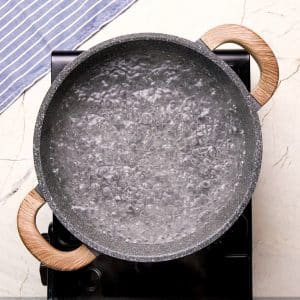
- In a large stock pot, add 6 cups of water and bring to a boil.
- Once the water is boiling, add curry powder, chopped onions and 4 portions of garlic, garam masala, turmeric, ground geera, and salt. Stir briefly to combine.
- Cook over medium-high heat for 40 minutes or until the split peas are soft.
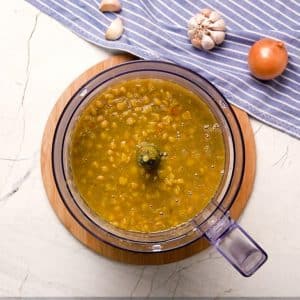
- Add all the contents of the pot to a heavy-duty blender or food processor. Pulse to blend until the contents have become thick and smooth with no lumps.
- Return the blended mixture back into a pan and bring to a boil over high heat.

- Once the mixture reaches a boil, turn the heat down to medium and allow to simmer for about 20 minutes. The soup should get thicker during this time.
- If you want an even thicker soup, keep simmering it. Otherwise, remove from heat.
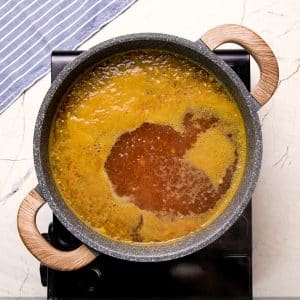
- Heat the oil in a small pan over medium-high heat. Once the oil is hot, add the remaining garlic and whole geera.
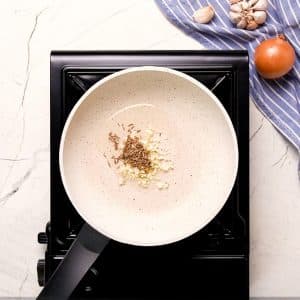
- Stir constantly for about 5 minutes or until the garlic and geera become very aromatic and even slightly burnt.

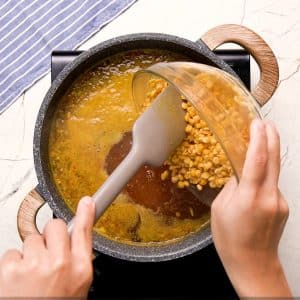
- Add the toasted garlic and geera to the main soup mixture (be very careful as the hot oil has a tendency to splash).
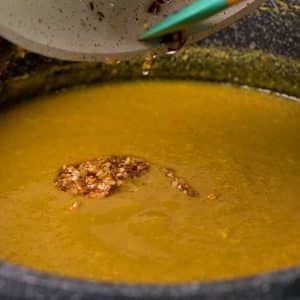
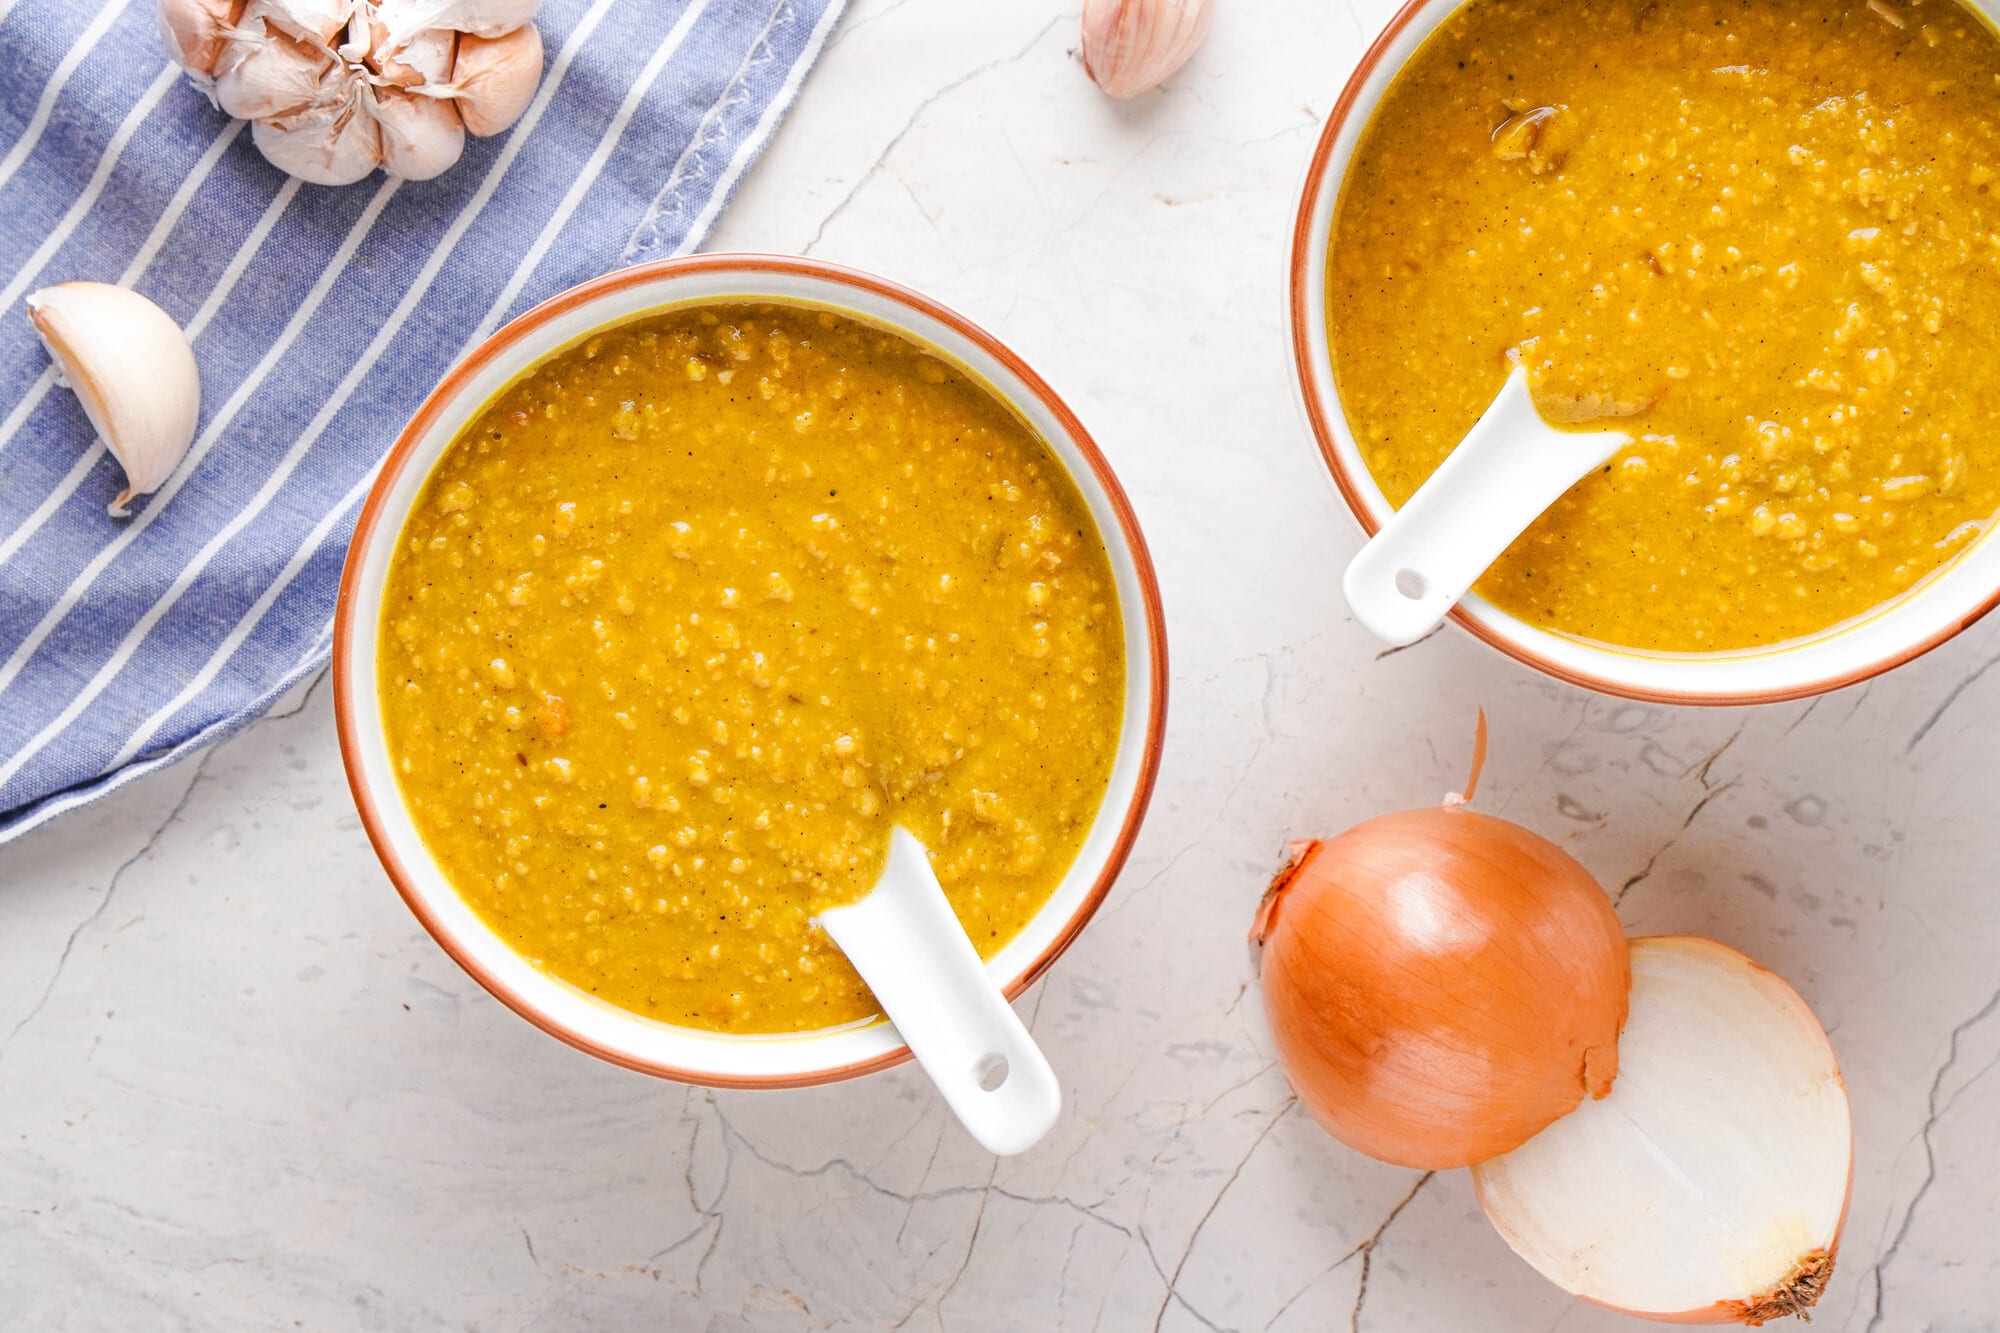
- Stir the garlic and geera into the soup and ladle into bowls. Serve hot and enjoy!
Nutrition
Dhal is basically a thick soup. It has a base of split peas that then get blended into a smooth, thick soup that will warm your bones. The main feature of this dish is the geera. It has a full, smoky taste that makes this the perfect option for cold weather. It takes a little while to cook, but you don’t have to necessarily supervise it the whole time.
If you’re intending to make Guyanese dhal your main dish, you may want to serve Guyanese braided bread as a side. It soaks up the soup divinely, especially if you spread the pieces with a little bit of butter first.
Notes & Tips
- The dhal can last in both the fridge and freezer. To save it in the fridge, put it in a liquid-proof container and it should be good for up to a week. If you want to freeze it, put it into a liquid-proof and freezer safe container before putting it in the freezer. Frozen, it should last for several months.
- When you are ready to defrost your frozen Guyanese dhal, there are a few methods you can do. One method is to leave it to defrost in the fridge overnight and then warm it up in the microwave the next day.
- Another method is to entirely warm it up from frozen in the microwave. This method requires you to keep an eye on it, because it will dethaw at an uneven rate. For example, the edges will get really hot while the center is still frozen. If you choose this method, make sure to check on it often and stir. Supervision will help prevent the soup from exploding in the microwave and making a mess.
- A third method (and my favorite method) is to defrost and warm it on the stovetop. To do so, you will need to put the frozen dhal into a pot over medium heat and stir occasionally until it has thawed and heated to your desired temperature. While this method might take a little bit of time, it guarantees an even thaw and causes little to no mess.
- The split peas can be cooked easier and faster if you have any sort of pressure cooker. I have a very versatile rice cooker, which is what I use. It’s not terribly important, but it does speed things up a little.
Substitutions & Alterations
If you want, you can add some tomato. It is not traditional, but it can be a nice, easy addition. I find that tomatoes tend to make the dhal a little bit more acidic, so I usually don’t use it, but it still tastes pretty good if you do!
All geera can be substituted by ground cumin. Don’t add the same amount as whole geera though, because ground cumin is more compacted.
If you don’t like spicy foods, you can omit the wiri wiri pepper entirely. If that’s still a little too hot for you, try reducing the amount of geera.
What is Geera?
Geera is also sometimes spelled “jeera” but can be more commonly known as cumin.
Geera is common in South American dishes. It is also a component of garam masala and can be used both ground and whole. This recipe calls for ground geera, whole geera, and garam masala. So, basically, a lot of cumin.
Toasting geera helps bring out its flavor, which is why there is multiple forms in this recipe. The ground version adds to the general taste, while the whole geera gets toasted and mixed in as an extra punch of flavor.
Whole Geera looks a lot like fennel seeds. If you are unfamiliar with both spices, I’ll describe it a bit better. It looks like a longer, thin seed and is a greyish-brown color. If you bite into it raw, it has a pungent flavor and a strange crunch. Toasted, the texture is a little bit more like a sunflower seed.
When you are looking to buy geera, you will probably find it more readily under the name “cumin” (provided you live in the US or UK). Don’t worry about that-it doesn’t make a difference.